
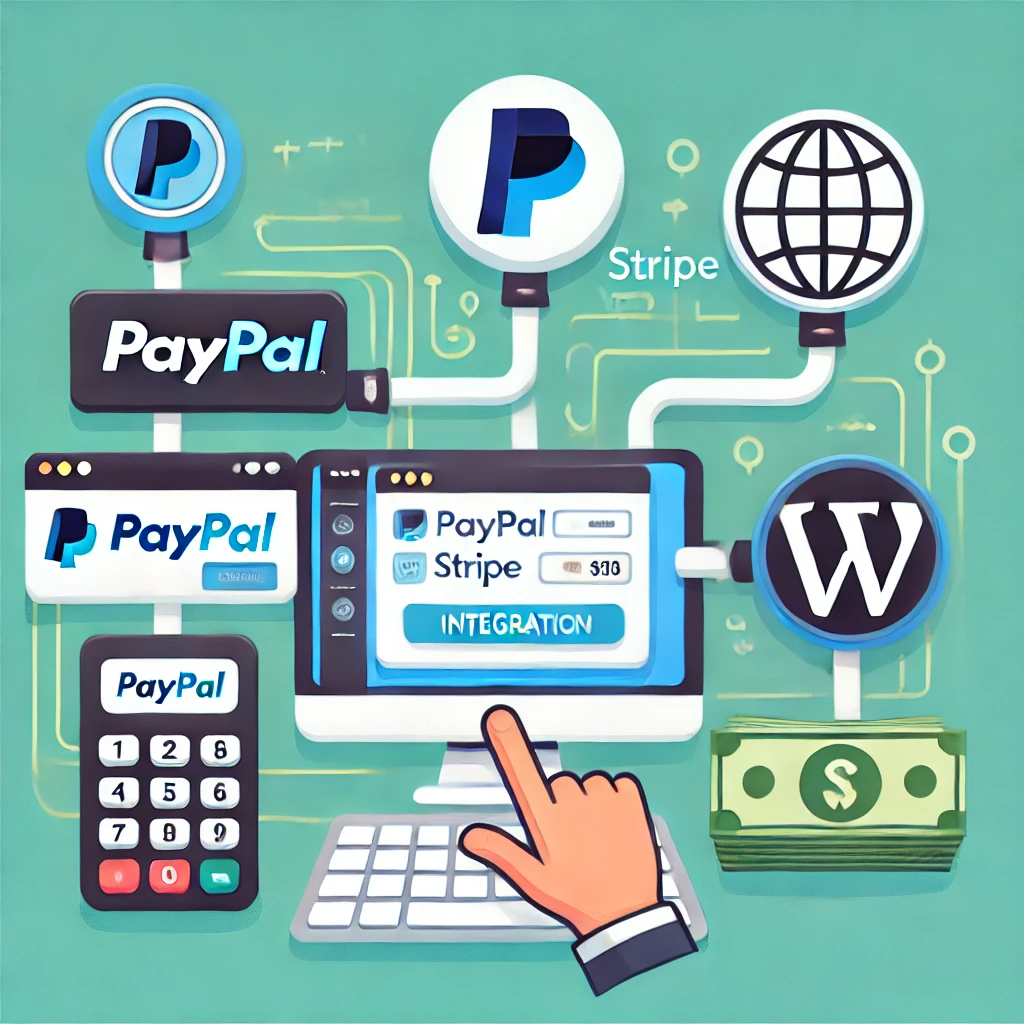
Como integrar gateways de pagamento de terceiros no WordPress: PayPal e Stripe

No mundo digital de hoje, a integração de um gateway de pagamento fiável no seu site WordPress é crucial para as empresas que pretendem vender produtos ou serviços online. Os gateways de pagamento como o PayPal e o Stripe oferecem transacções seguras e sem falhas, convenientes para clientes e proprietários de sites. Este guia irá guiá-lo através da integração destes gateways de pagamento de terceiros no seu site WordPress, garantindo uma experiência de checkout tranquila para os seus clientes.
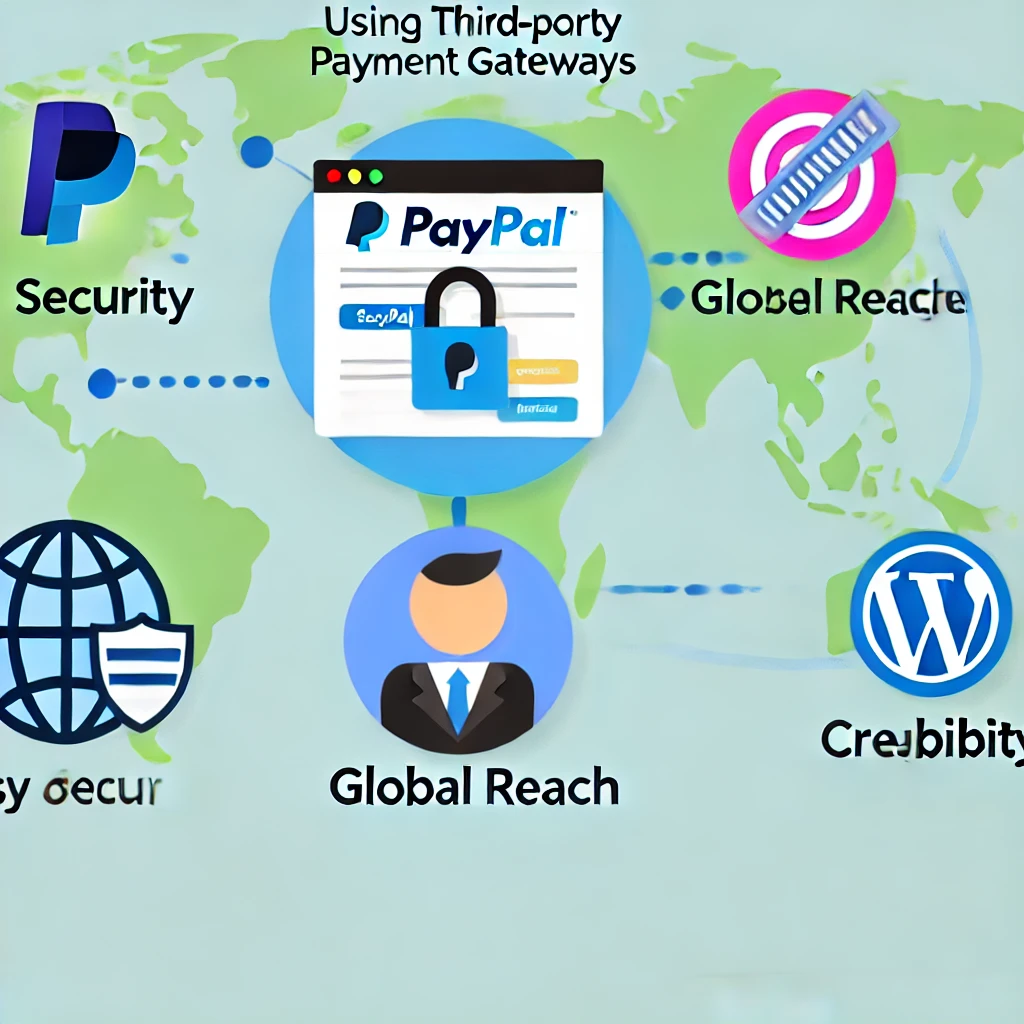
1. Porquê utilizar Gateways de Pagamento de Terceiros?
Os gateways de pagamento de terceiros, como o PayPal e o Stripe, são escolhas populares para as empresas online porque oferecem inúmeras vantagens:
- Segurança: Os gateways de pagamento tratam de informações financeiras sensíveis, protegendo os dados dos clientes com tecnologias de encriptação avançadas.
- Facilidade de utilização: Estas plataformas têm interfaces de fácil utilização, que permitem aos clientes concluir os pagamentos rapidamente, minimizando o atrito no processo de checkout.
- Alcance global: Tanto o PayPal como o Stripe suportam várias moedas, o que os torna ideais para empresas que atendem a clientes internacionais.
- Credibilidade: PayPal e Stripe são marcas bem conhecidas e de confiança, o que pode ajudar a aumentar a confiança dos clientes no seu sítio Web.
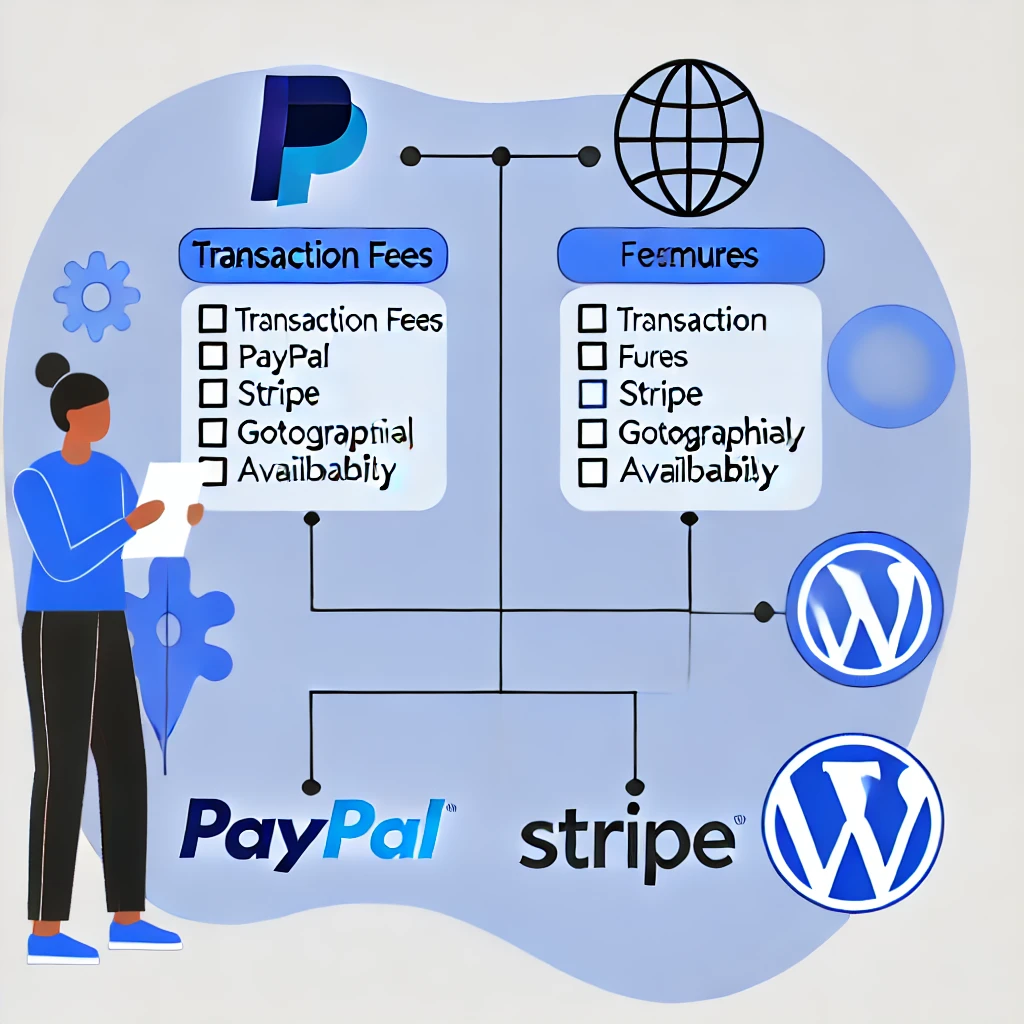
2. Escolher o gateway de pagamento certo para a sua empresa
Antes de mergulhar no processo de integração, é importante escolher o gateway de pagamento que melhor se adapta às necessidades da sua empresa. Eis alguns factores a considerar:
- Taxas de transação: O PayPal e o Stripe têm estruturas de taxas diferentes. Analise as suas taxas e escolha a que melhor se adequa ao seu modelo de receitas.
- Disponibilidade geográfica: Certifique-se de que o portal de pagamento que escolheu está disponível nas regiões dos seus clientes-alvo.
- Caraterísticas: O Stripe é conhecido pelas suas capacidades de personalização, enquanto o PayPal é popular pela sua simplicidade e facilidade de utilização. Dependendo dos seus conhecimentos técnicos e requisitos, um pode ser mais adequado do que o outro.
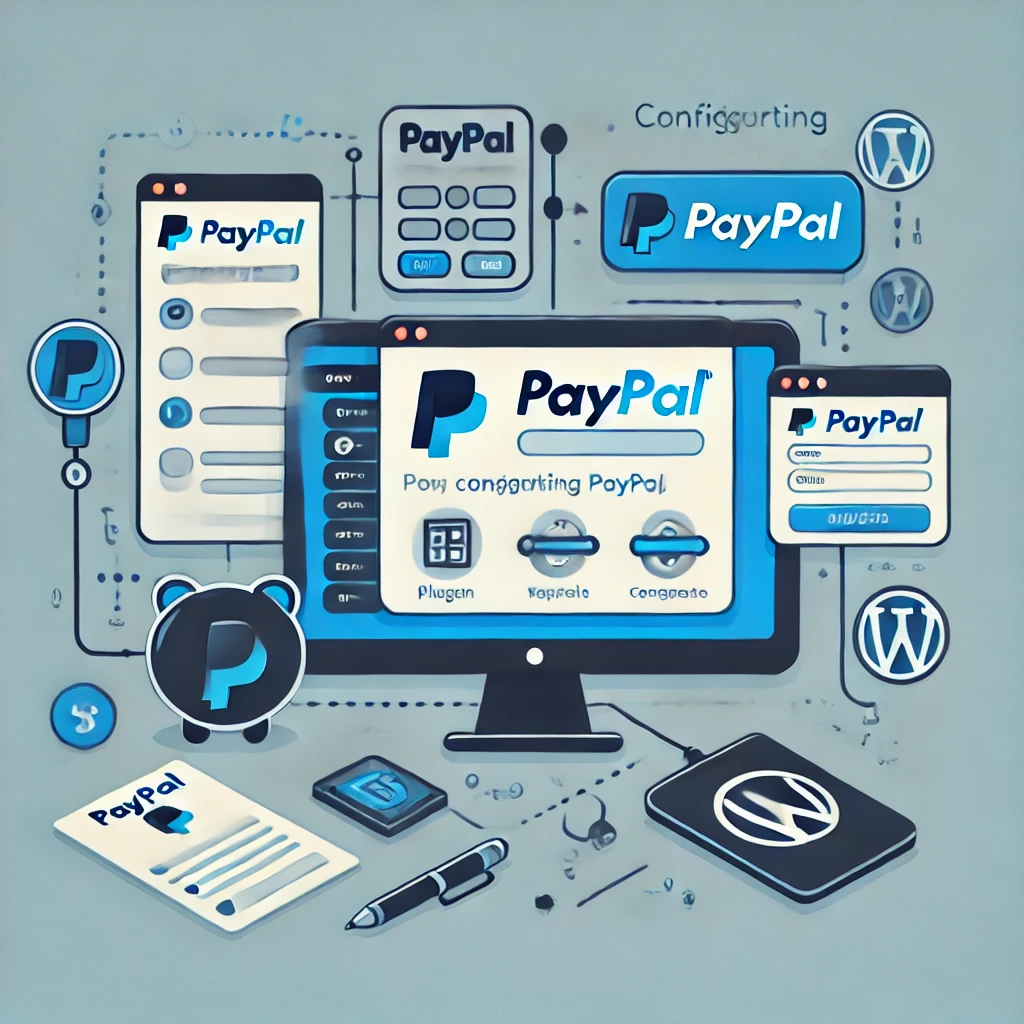
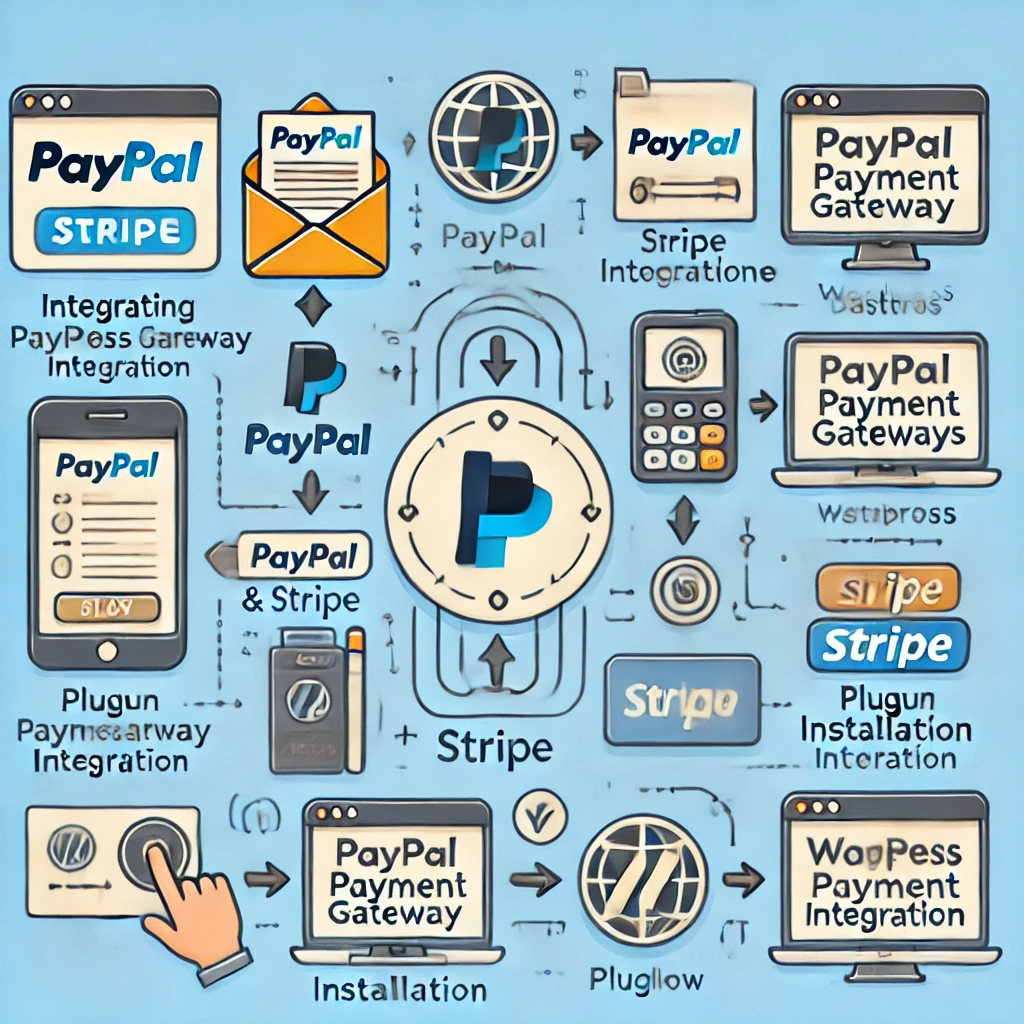
3. Configurar o PayPal no WordPress
Para integrar o PayPal no seu site WordPress, siga estes passos:
Etapa 1: instale um plug-in do PayPal
A forma mais simples de integrar o PayPal é utilizando um plugin dedicado. As opções mais populares incluem Aceite o pagamento WP Easy PayPal ou WooCommerce (se estiver a gerir uma loja de comércio eletrónico). Veja aqui como instalar um plug-in do PayPal:
- Aceda ao seu painel de controlo do WordPress, navegue até Plugins > Adicionar novo.
- Pesquise por "PayPal" e selecione um plugin adequado às suas necessidades.
- Clique em Instale agora e depois Ativar.
Passo 2: Configure as definições do PayPal
Uma vez ativado o plugin, tem de o configurar para se ligar à sua conta PayPal:
- No seu painel de controlo do WordPress, navegue até às definições do plug-in.
- Introduza o seu ID do comerciante do PayPal ou Endereço de e-mail do PayPal.
- Adicione opções adicionais, como moeda, estilo do botão de pagamento e URLs de retorno.
Como obter as credenciais da API do PayPal:

- Inicie sessão no seu Conta comercial do PayPal.
- Navegue até Ferramentas > Todas as ferramentase, em seguida, selecione Credenciais da API.
- Crie e gira as suas credenciais API para obter o ID do cliente e Chave secreta necessário para a integração.
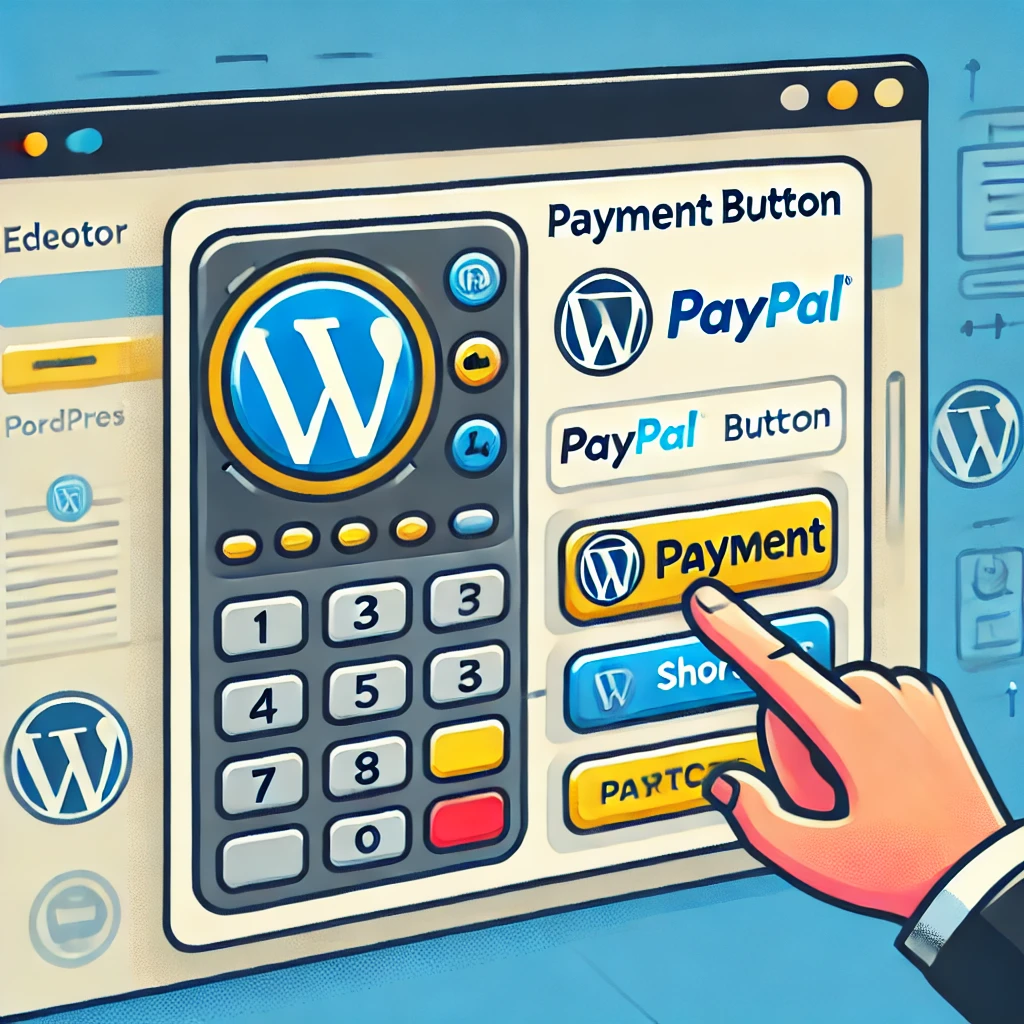
Etapa 3: Adicione o botão de pagamento do PayPal ao seu site
Dependendo do plugin que escolher, pode adicionar um botão de pagamento PayPal a páginas ou publicações específicas:
- Utilize o shortcode fornecido para adicionar o botão de pagamento a qualquer página ou publicação onde pretenda aceitar pagamentos.
- Em alternativa, utilize o editor de blocos do WordPress para adicionar um botão PayPal diretamente ao seu conteúdo.
4. Configurar o Stripe no WordPress
O Stripe é outro gateway de pagamento popular que lhe permite aceitar pagamentos com cartão de crédito diretamente no seu sítio Web. Veja aqui como integrar o Stripe no WordPress:
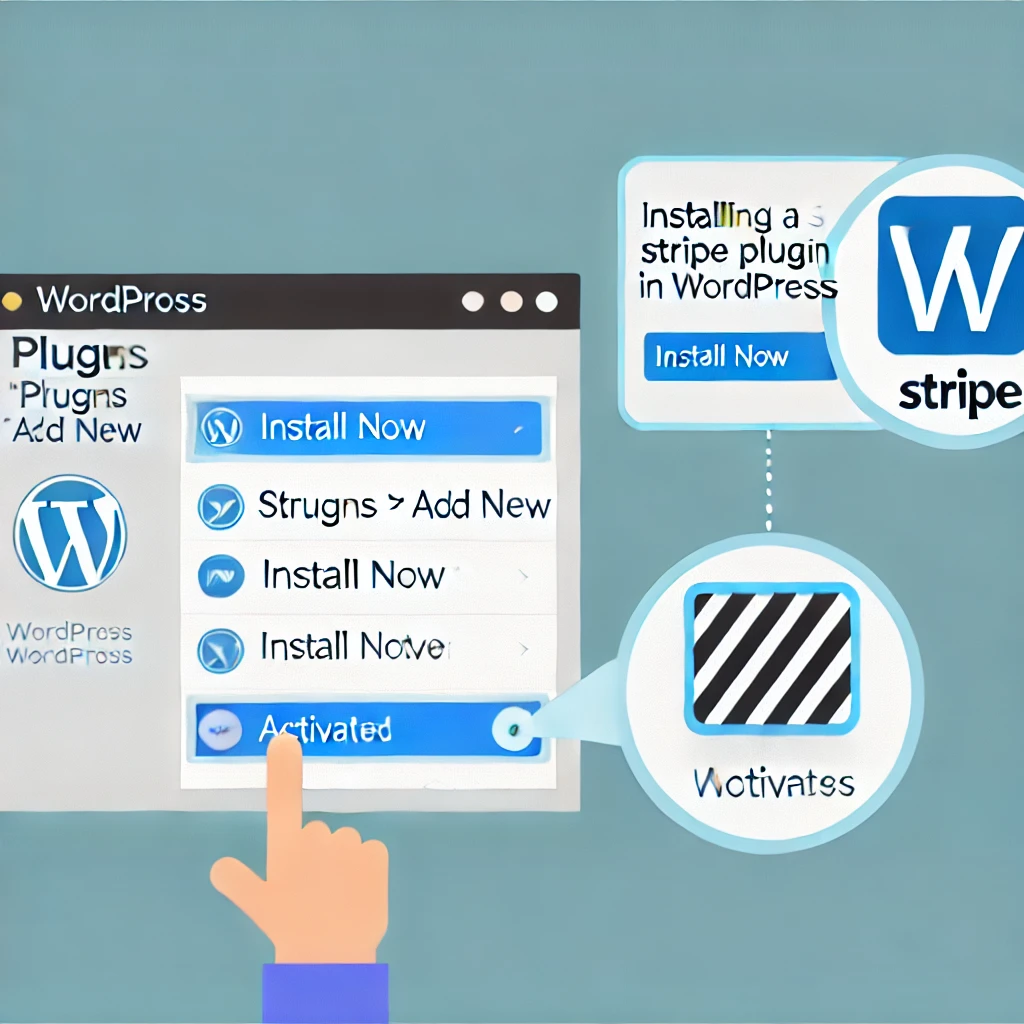
Passo 1: Instale um plug-in Stripe
À semelhança do PayPal, a integração do Stripe pode ser feita facilmente através de um plugin. Algumas opções populares são WP Simple Pay ou Gateway de pagamento WooCommerce Stripe.
- Aceda ao seu painel de controlo do WordPress, navegue até Plugins > Adicionar novo.
- Pesquise por "Stripe" e escolha um plugin que se adeqúe às suas necessidades.
- Clique em Instale agora e depois Ativar.
Passo 2: Configure as definições do Stripe
Para configurar o Stripe, tem de ligar a sua conta Stripe ao seu sítio WordPress:
- No seu painel de controlo do WordPress, navegue até às definições do plug-in.
- Inicie sessão no seu Conta Stripe e obtenha o seu Chaves API (chave publicável e chave secreta).
- Introduza estas chaves nas definições do plugin.
Como obter as chaves da API do Stripe:
- Inicie sessão no seu Painel de controlo do Stripe.
- Navegue até Programadores > Chaves API.
- Obtenha o seu Chave publicável e Chave secreta para integração.
- Configure opções adicionais, como moeda, URLs de sucesso e fracasso e modo de teste.

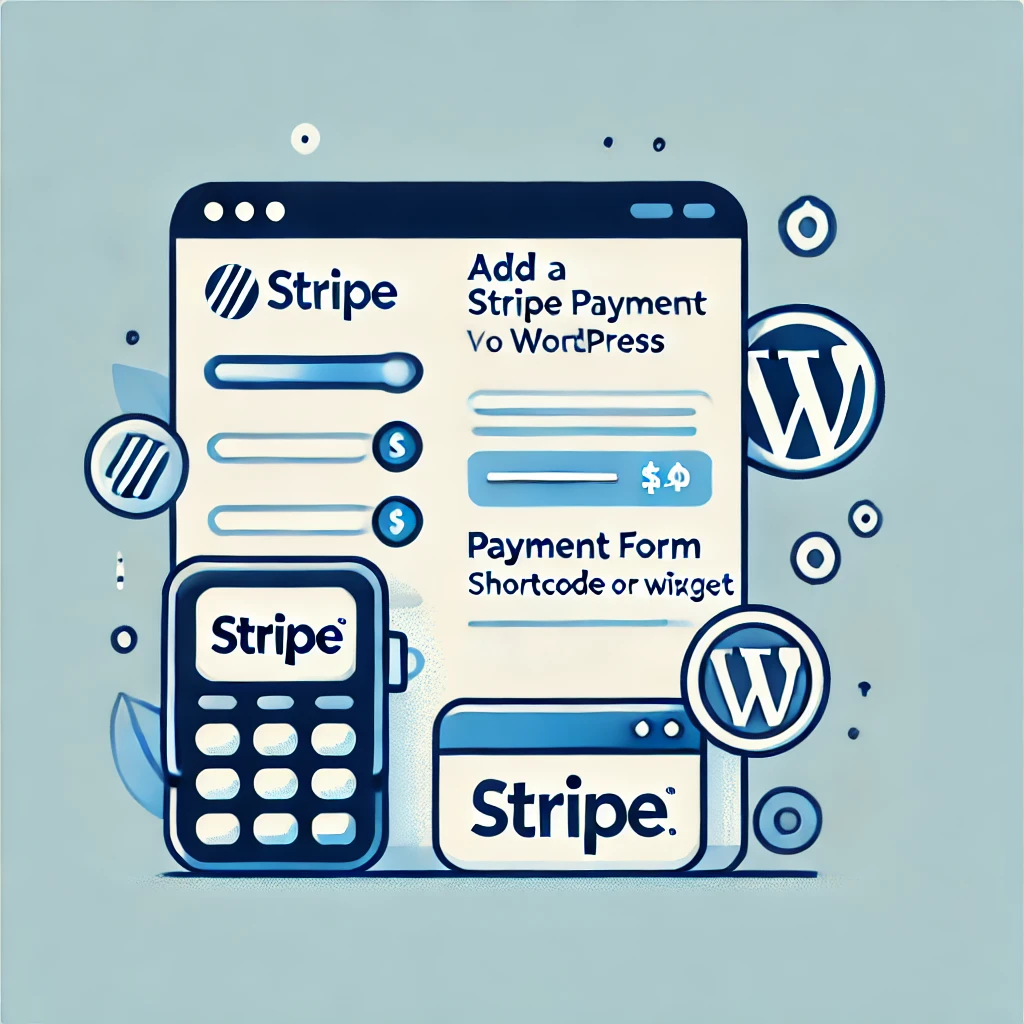
Passo 3: Adicione o formulário de pagamento Stripe
A maioria dos plugins Stripe permite-lhe adicionar um formulário ou botão de pagamento diretamente ao seu site WordPress:
- Utilize um shortcode ou um widget para adicionar o formulário de pagamento Stripe a qualquer página ou publicação.
- Personalize o formulário para corresponder à sua marca, garantindo uma experiência de utilizador perfeita.
5. Integração do WooCommerce para PayPal e Stripe
Se estiver a gerir uma loja de comércio eletrónico completa no WordPress, WooCommerce é uma das melhores formas de integrar o PayPal e o Stripe. O WooCommerce oferece opções incorporadas para adicionar estes gateways de pagamento:
- Instale o WooCommerce: Se ainda não o fez, instale e active o WooCommerce indo a Plugins > Adicionar novo e procure por "WooCommerce".
- Configure as opções de pagamento: Nas suas definições do WooCommerce, navegue até Pagamentos. Encontrará opções para ativar o PayPal e o Stripe.
- Configurar detalhes da conta: Introduza o seu e-mail PayPal ou as chaves API Stripe para ligar as suas contas.
- Personalize o checkout: Personalize a página de checkout para garantir que ambas as opções de pagamento são claramente apresentadas aos seus clientes.
6. Testar o seu gateway de pagamento
Antes de entrar em funcionamento, é essencial testar o gateway de pagamento para se certificar de que tudo está a funcionar corretamente:
- Sandbox do PayPal: O PayPal fornece-lhe um Caixa de areia ambiente que lhe permite testar pagamentos sem utilizar dinheiro real. Pode criar contas sandbox para simular interações entre compradores e vendedores.
- Modo de teste de tiras: A Stripe oferece-lhe um Modo de teste onde pode utilizar números de cartão de teste para garantir que o processo de pagamento está a funcionar corretamente. Certifique-se de que muda para Modo em direto quando os testes estiverem concluídos.
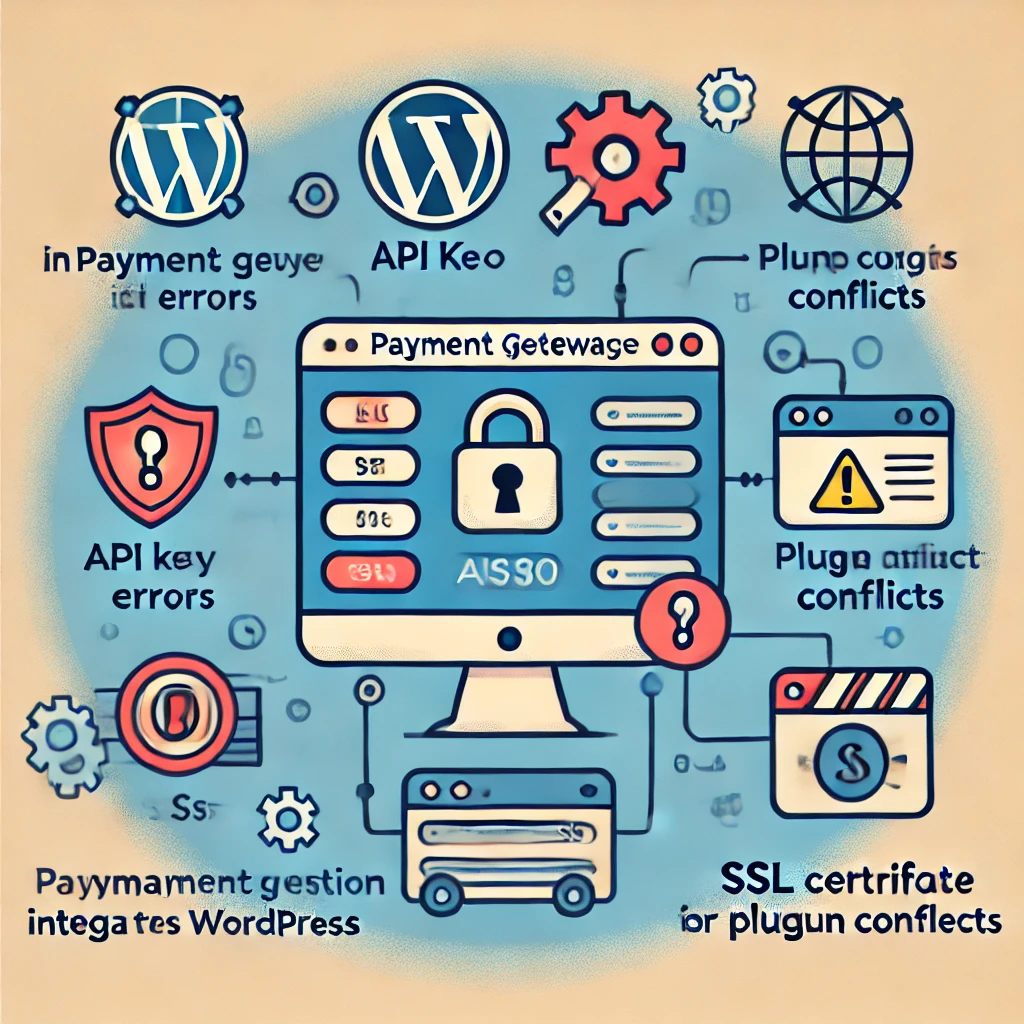
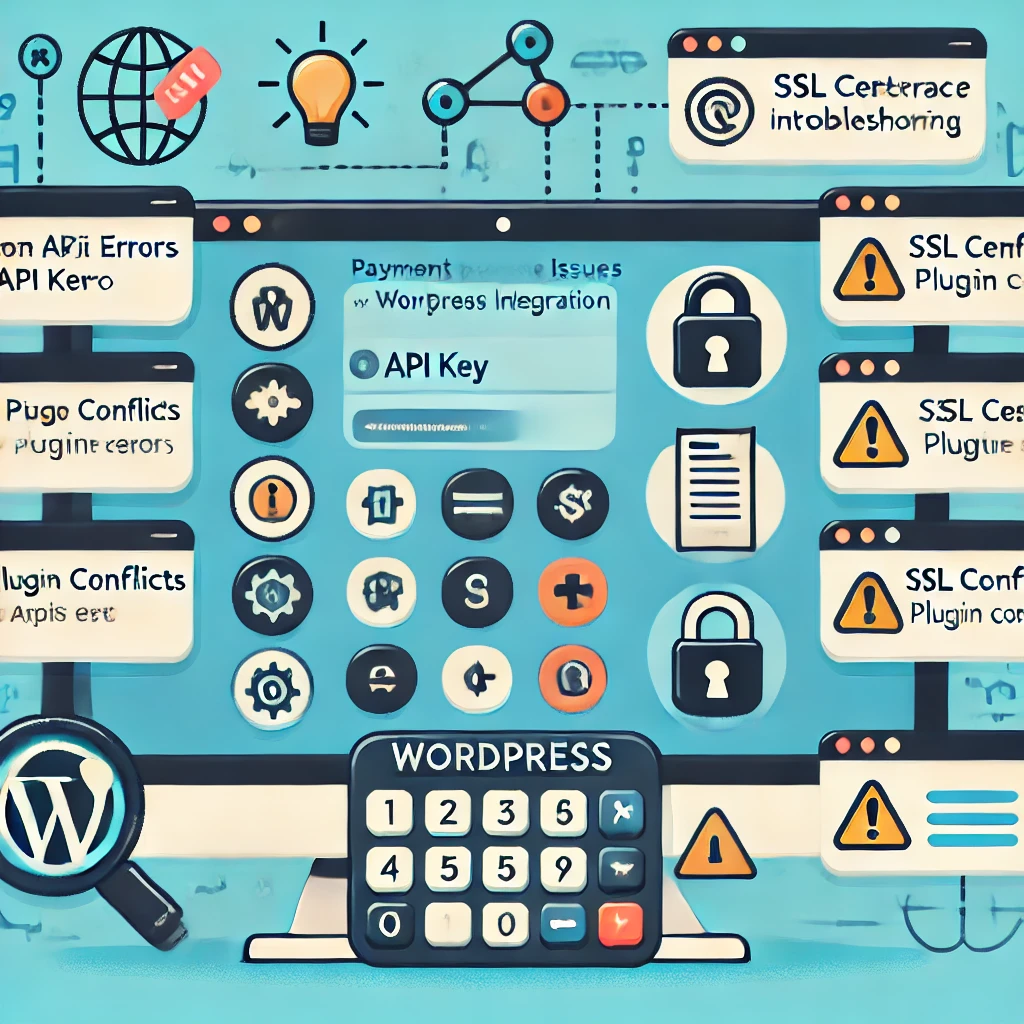
7. Problemas comuns e resolução de problemas
Durante o processo de integração, pode deparar-se com alguns problemas comuns:
- Pagamento não processado: Certifique-se de que as suas chaves API estão corretamente introduzidas. Verifique se não está a utilizar chaves de teste no ambiente real.
- Conflitos de plugins: Por vezes, outros plug-ins podem causar conflitos. Desactive os outros plug-ins um a um para identificar a origem do problema.
- Problemas de SSL: Os gateways de pagamento requerem ligações seguras (HTTPS). Certifique-se de que o seu certificado SSL está corretamente instalado e ativo.
8. Garantir a segurança e a conformidade
A segurança é fundamental quando lida com informações de pagamento. Eis algumas práticas recomendadas para garantir que a integração do seu gateway de pagamento é segura:
- Utilize HTTPS: Certifique-se de que o seu sítio WordPress tem um certificado SSL instalado. Isto garante que todos os dados transmitidos entre o seu site e o gateway de pagamento são encriptados.
- Conformidade com a PCI: Tanto o PayPal como o Stripe estão em conformidade com o PCI DSS, o que significa que cumprem as normas da indústria para transacções seguras. No entanto, certifique-se de que o seu sítio Web também cumpre os requisitos de segurança necessários.
- Deteção de fraudes: O PayPal e o Stripe oferecem ferramentas de deteção de fraude incorporadas. Utilize estas funcionalidades para proteger a sua empresa de transacções fraudulentas.
- Actualizações regulares: Mantenha o núcleo, os temas e os plug-ins do WordPress actualizados para se proteger contra vulnerabilidades. Considere a utilização de plug-ins de segurança como Wordfence para adicionar uma camada extra de proteção.

9. Melhorar a experiência do utilizador
Uma experiência de pagamento sem problemas é fundamental para melhorar as taxas de conversão. Eis algumas dicas para melhorar o processo de checkout:
- Checkout de uma página: Minimize o número de etapas necessárias para concluir uma compra. A utilização de um plug-in de checkout de uma página pode ajudar a reduzir o abandono do carrinho.
- Formulários de pagamento personalizados: Personalize os seus formulários de pagamento de acordo com o estilo da sua marca. Isto cria uma experiência mais coesa para os clientes.
- Check-out do hóspede: Permita que os clientes efectuem o check-out sem criar uma conta. Isto é particularmente útil para melhorar as taxas de conversão entre os compradores de primeira viagem.

10. Benefícios e considerações
A integração do PayPal e do Stripe oferece-lhe várias vantagens: Saiba mais sobre as opções de pagamento do WooCommerce.
- Conveniência para o cliente: O PayPal permite que os utilizadores paguem com a sua conta ou cartão de crédito, enquanto o Stripe aceita a maioria dos cartões de crédito diretamente no seu sítio Web.
- Facilidade de configuração: Com os plug-ins, a integração do PayPal ou do Stripe é feita em apenas alguns passos, mesmo para principiantes.
No entanto, considere o seguinte:
- Taxas de transação: Tanto o PayPal como o Stripe cobram taxas por cada transação. Certifique-se de que estas taxas são tidas em conta na sua estratégia de preços.
- Experiência do utilizador: O Stripe permite que os clientes paguem sem sair do seu site, proporcionando uma experiência mais suave em comparação com o PayPal, onde os utilizadores são frequentemente redireccionados para o site do PayPal.
Conclusão
A integração de gateways de pagamento de terceiros, como o PayPal e o Stripe, no seu Web site WordPress pode melhorar significativamente a experiência dos seus clientes e simplificar as suas operações comerciais. Ao utilizar plug-ins, o processo de integração torna-se simples, permitindo que mesmo aqueles com conhecimentos técnicos mínimos configurem opções de pagamento seguras e eficientes.
Lembre-se de testar exaustivamente o seu gateway de pagamento antes de o ativar e certifique-se de que o seu site é seguro seguindo as práticas recomendadas. Com o PayPal e o Stripe, pode fornecer aos seus clientes uma experiência de checkout fiável e sem falhas, ajudando a sua empresa a crescer e a prosperar online.


Respostas