
Guia completo para criar um pré-carregador profissional no Elementor Pro para uma experiência de site mais suave

Introdução
Uma forma eficaz de melhorar esta experiência é adicionar um pré-carregador - um animação ou imagem que aparece enquanto o conteúdo da página carrega em segundo plano. Isto proporciona aos utilizadores uma transição perfeita enquanto esperam, assegurando que o seu site parece polido e profissional. Neste guia, iremos percorrer cada passo da configuração de um pré-carregador em Elementor Propermitindo-lhe apresentar animações personalizadas ou logótipos de marcas que reforçam a identidade do seu sítio.
Clique para aceda ao canal de compra genuíno do Elementor Pro.

O que é um pré-carregador e porquê utilizá-lo?
Um pré-carregador é uma animação ou gráfico de espaço reservado que é apresentado enquanto o conteúdo do seu site está a carregar. Isto pode ser especialmente útil para páginas com conteúdo pesado que podem demorar mais tempo a carregar. A utilização de um pré-carregador cria uma melhor experiência para o utilizador, reduzindo o tempo de carregamento percetível, mantendo os utilizadores envolvidos e impedindo-os de ver páginas parcialmente carregadas. Além disso, um pré-carregador permite-lhe mostrar a sua marca e dar um pouco de personalidade ao seu sítio Web.
Como criar um pré-carregador no Elementor Pro
Passo 1: Crie um modelo de cabeçalho
O primeiro passo é crie um cabeçalho modelo que inclui o pré-carregador. Ao colocar o pré-carregador num modelo de cabeçalho, pode garantir que este aparece de forma consistente em todas as páginas do seu Web site.
Aceda ao Theme Builder:
- Aceda ao seu Painel de controlo do Elementor, navegue Modelose selecione Criador de temas.
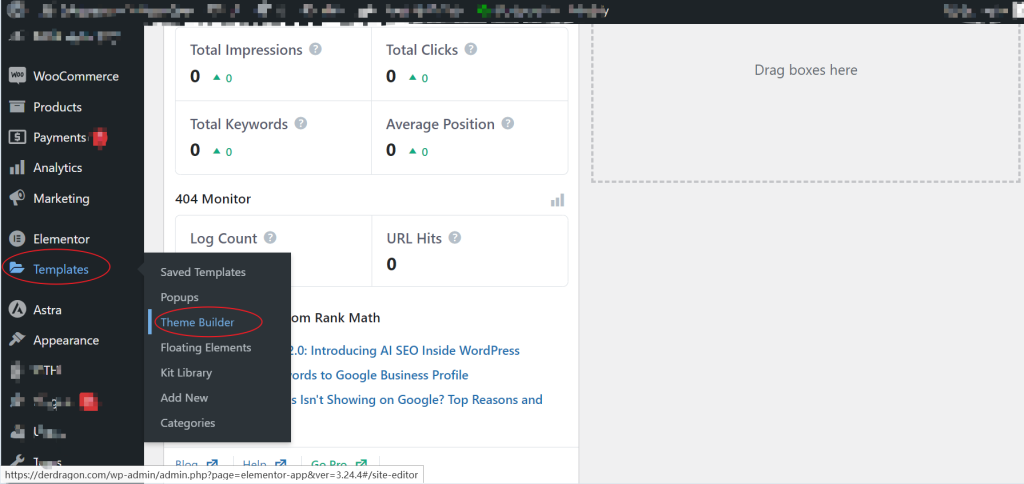
Crie um novo modelo de cabeçalho:
- No Theme Builder, localize o Cabeçalho secção e clique no botão + para criar um novo modelo.
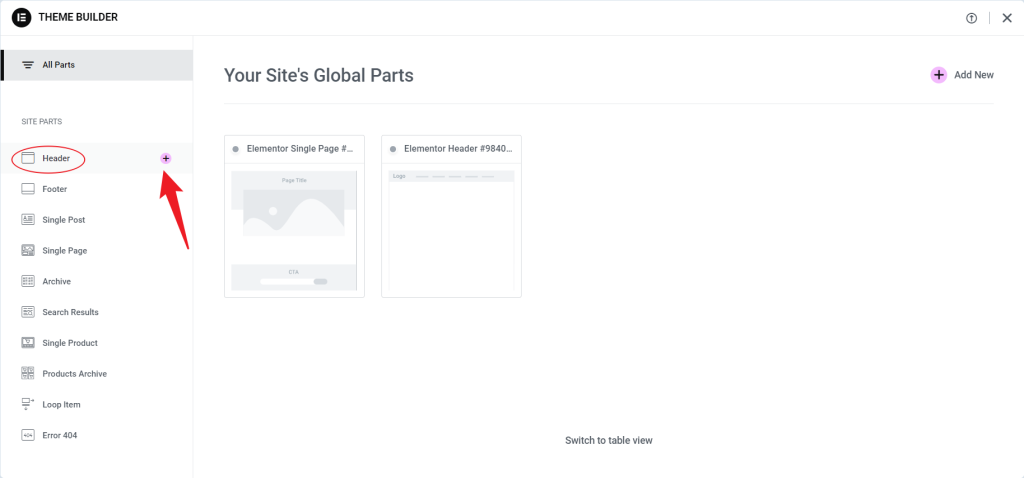
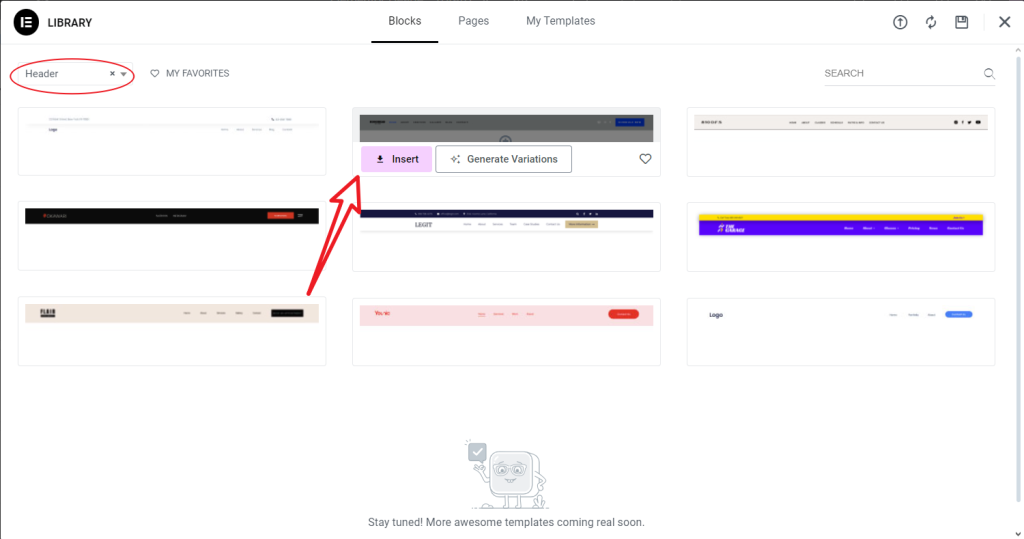
- Selecione um modelo e clique em Inserir para ir para a página.
Publique o modelo:
- Depois de desenhar o seu cabeçalho, clique em Publicar.
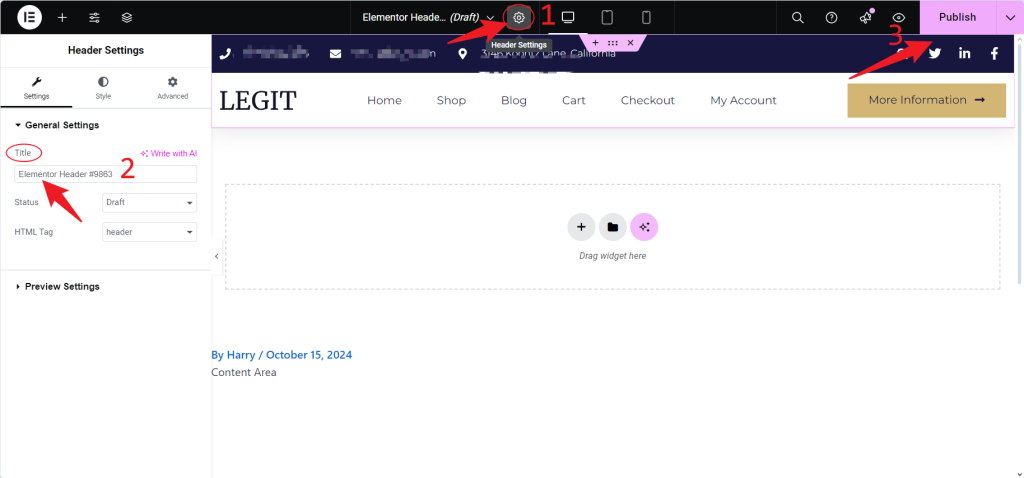
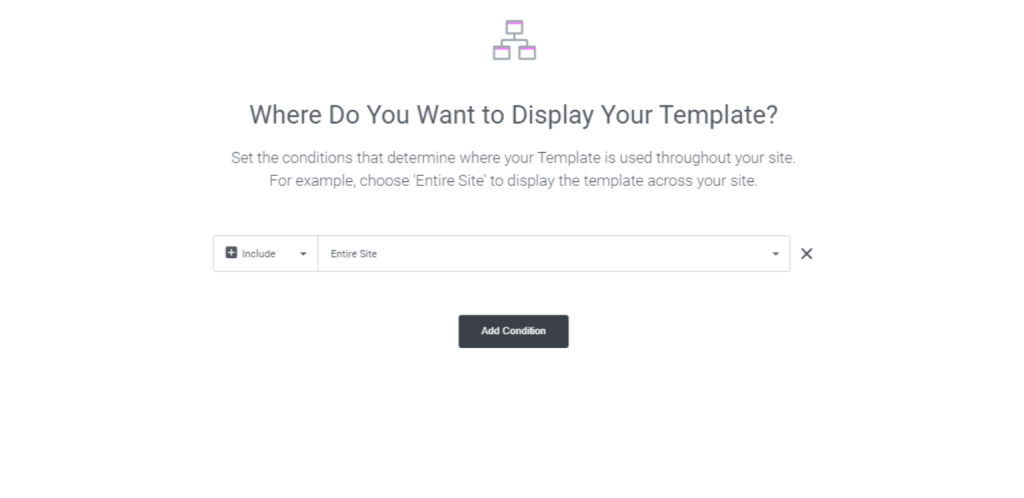
- Quando lhe forem solicitadas as condições de visualização, selecione Todo o sítio para garantir que o pré-carregador é aplicado a todas as páginas do seu sítio Web.
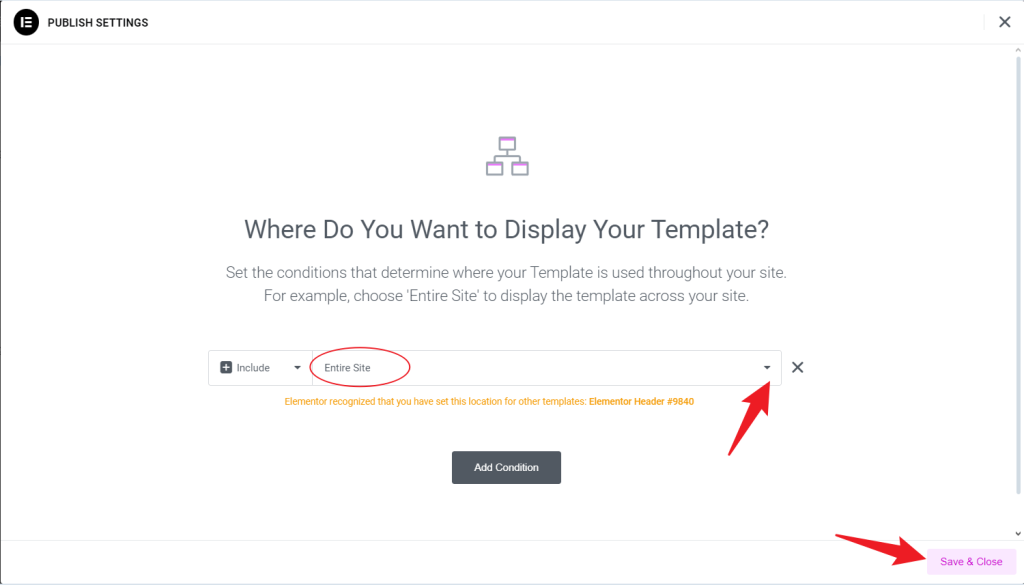
- Clique em Guardar e fechar.
Passo 2: Adicione um contentor e defina uma ID CSS

Agora, vamos adicionar um contentor que irá alojar a animação do pré-carregador. Definir um único ID CSS para este contentor permitir-nos-á direccioná-lo com CSS e JavaScript mais tarde.
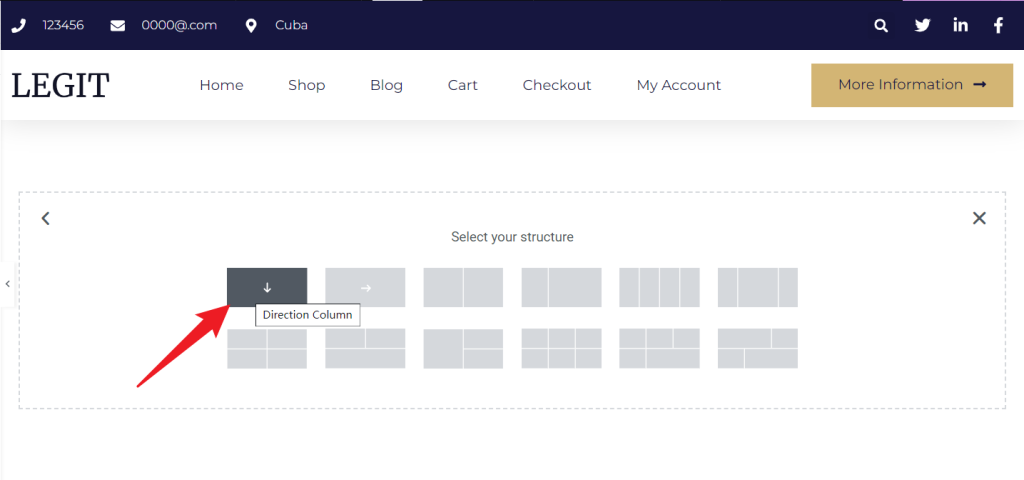
Adicionar um contentor:
- No seu novo modelo de cabeçalho, adicione um contentor de coluna única.
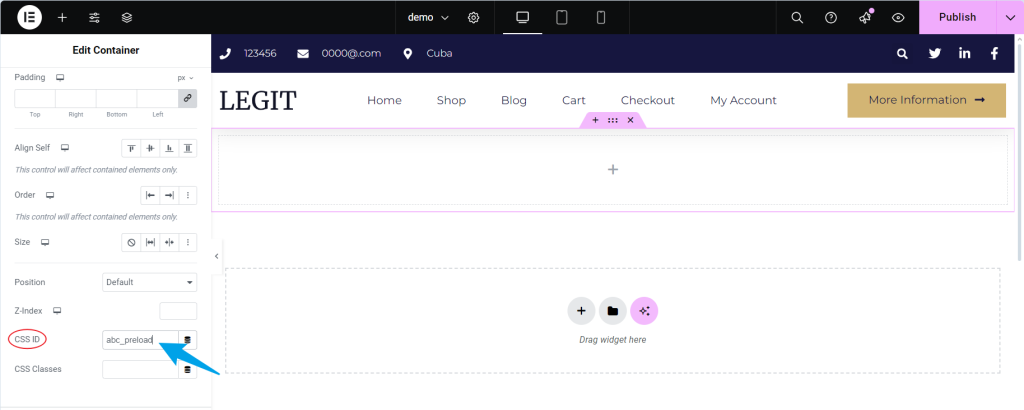
Defina o ID CSS:
- Aceda ao Avançado das definições do contentor.
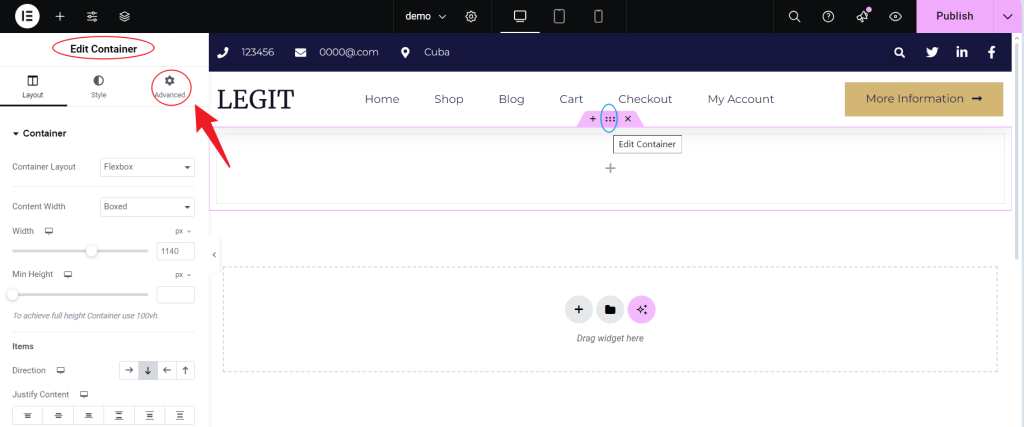
- No ID CSS campo, introduza abc_preload. Este ID será utilizado para aplicar CSS e JavaScript personalizados para controlar o comportamento do pré-carregador.
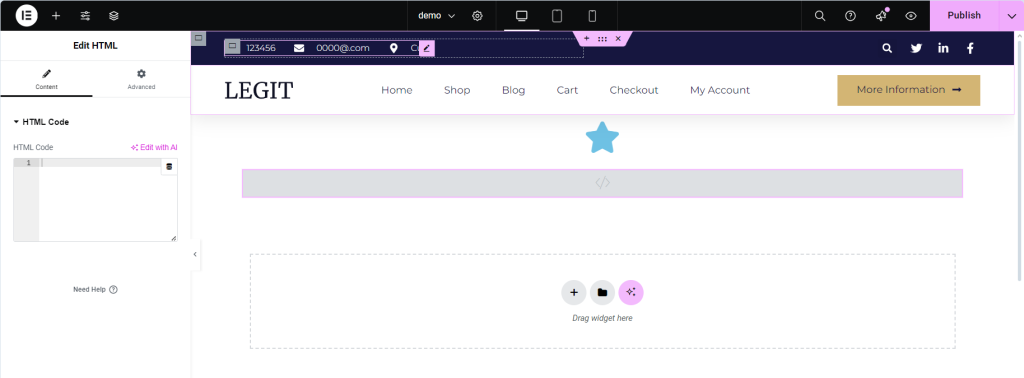
Passo 3: Adicione um ícone ou widget de imagem
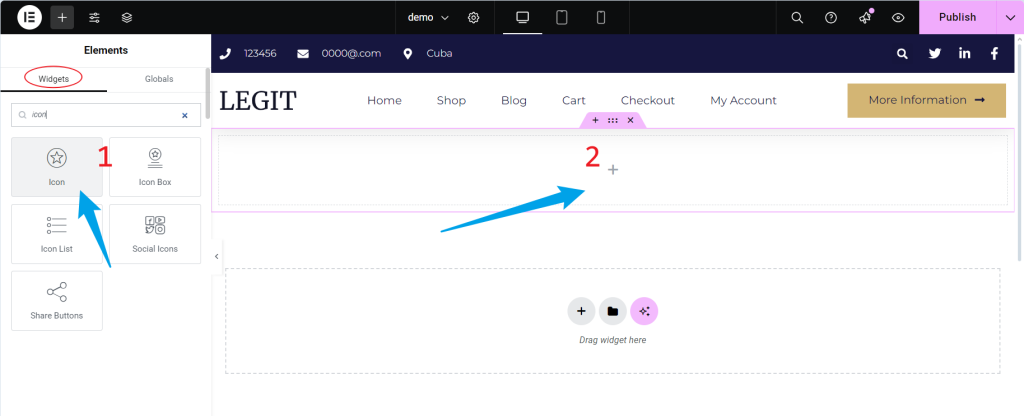
Para criar o elemento visual do seu pré-carregador, pode adicionar um Ícone ou Imagem para apresentar um ícone de carregamento ou o logótipo da sua marca.
Adicione o Widget:
- Pode adicionar um widget Ícone ou Imagem ao contentor, dependendo se pretende um ícone de carregamento padrão ou um logótipo personalizado.
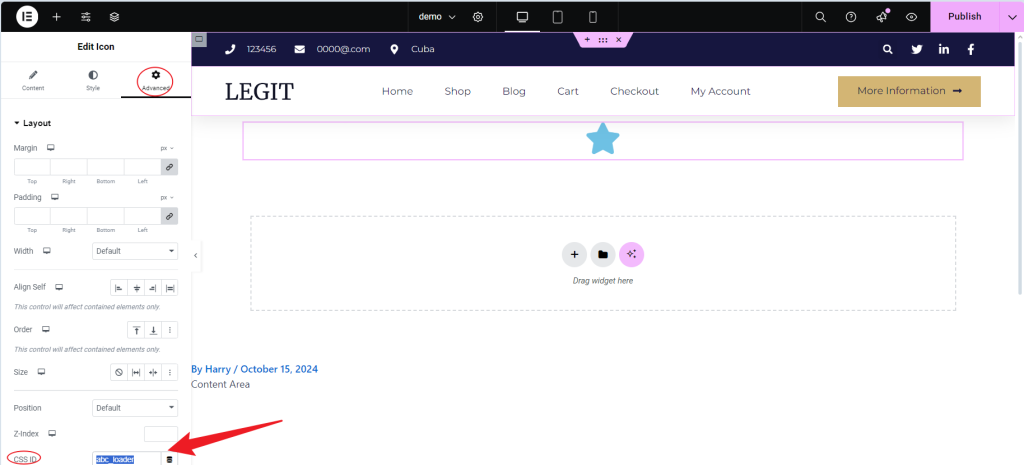
Defina o ID CSS para o Widget:
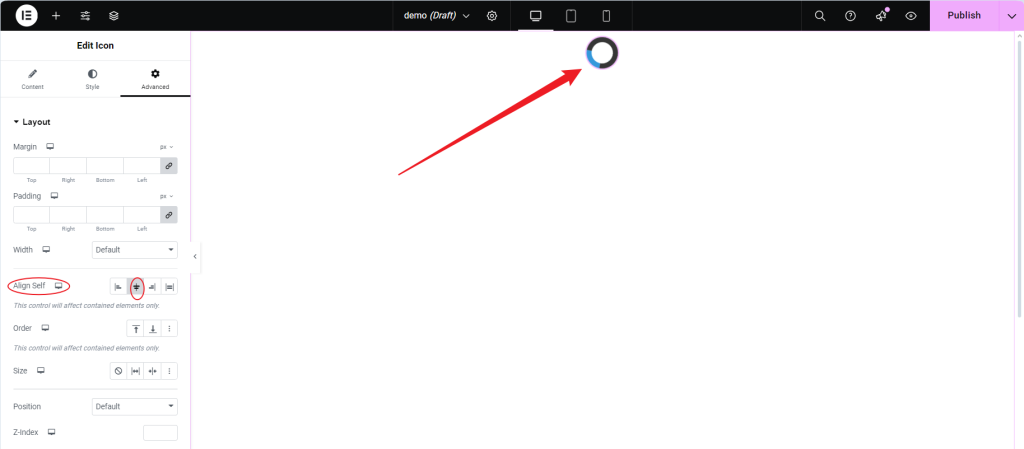
- Aceda ao Avançado das definições do widget e defina o ID CSS para abc_loader.
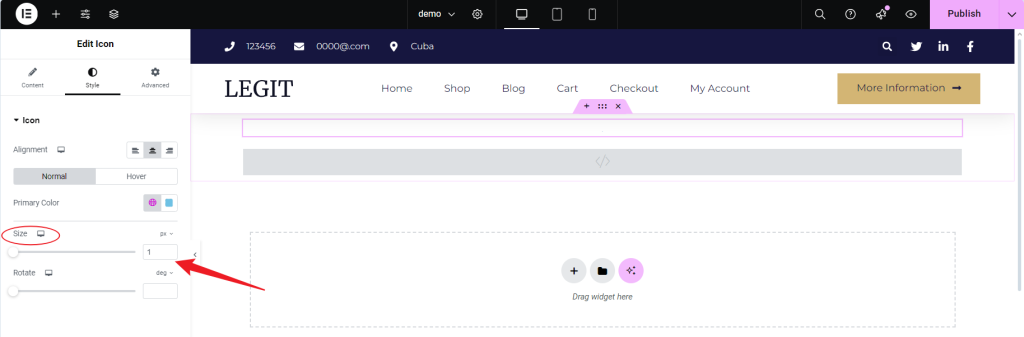
Estilize o ícone ou a imagem:
- Navegue até ao Estilo e ajuste o tamanho do ícone ou da imagem de acordo com o seu design. Muitas vezes, é melhor utilizar ícones com um tamanho de cerca de 1px.
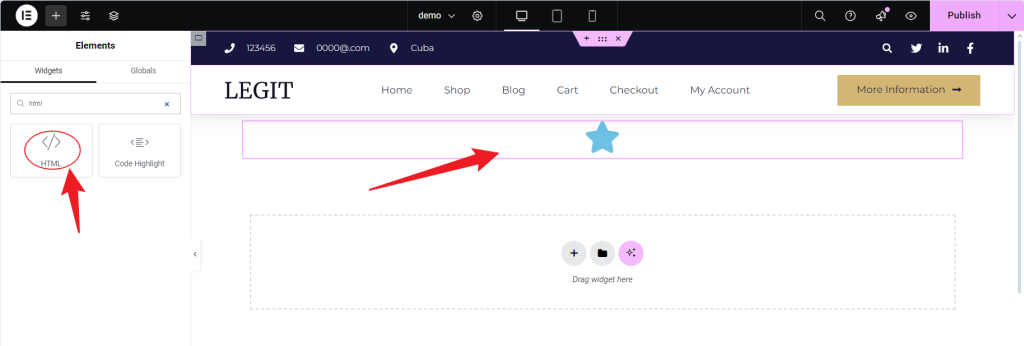
Passo 4: Adicione um widget HTML para controlar o pré-carregador
Em seguida, adicionaremos um widget HTML que contém JavaScript para controlar quando o pré-carregador é apresentado e quando desaparece. Este script irá ocultar o pré-carregador após um pequeno atraso, permitindo que o seu conteúdo seja carregado sem problemas.
Adicione o widget HTML:
- Por baixo do widget de ícone ou imagem, adicione um widget HTML.
Insira o código JavaScript:
- No widget HTML, cole o seguinte código JavaScript:
<script>
  document.addEventListener('DOMContentLoaded', function () {
    setTimeout(function () {
      document.getElementById('abc_preload').style.display = 'none';
      document.getElementById('content').classList.add('visible');
    }, 2000); // Adjust the delay as needed (in milliseconds)
  });
</script>
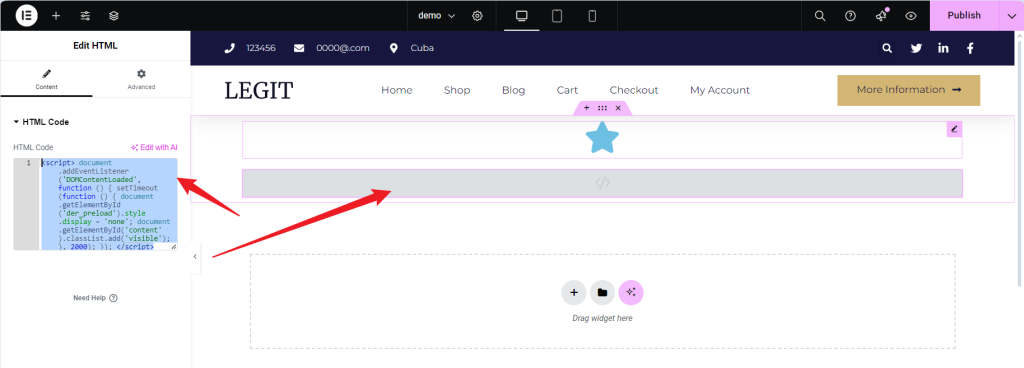
Este código irá ocultar o pré-carregador 2 segundos depois de o conteúdo da página ter começado a carregar. Com base no tempo médio de carregamento do seu sítio Web, pode ajustar o 2000 para aumentar ou diminuir o atraso (em milissegundos).
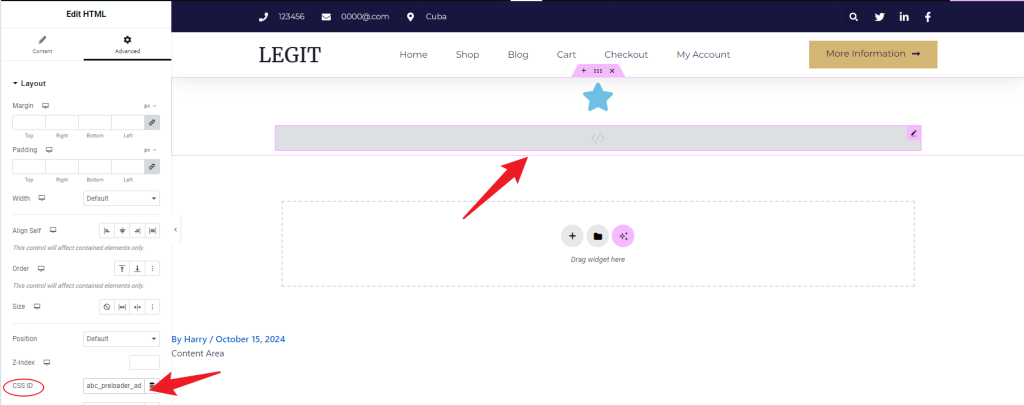
Defina o ID CSS para o Widget HTML:
- Na secção Avançado defina o ID CSS para abc_preloader_adds para evitar um espaçamento não intencional.
Passo 5: Adicione CSS personalizado para estilizar o pré-carregador
Com a estrutura montada, vamos adicione CSS personalizado para estilizar o contentor do pré-carregador e a animação de carregamento.
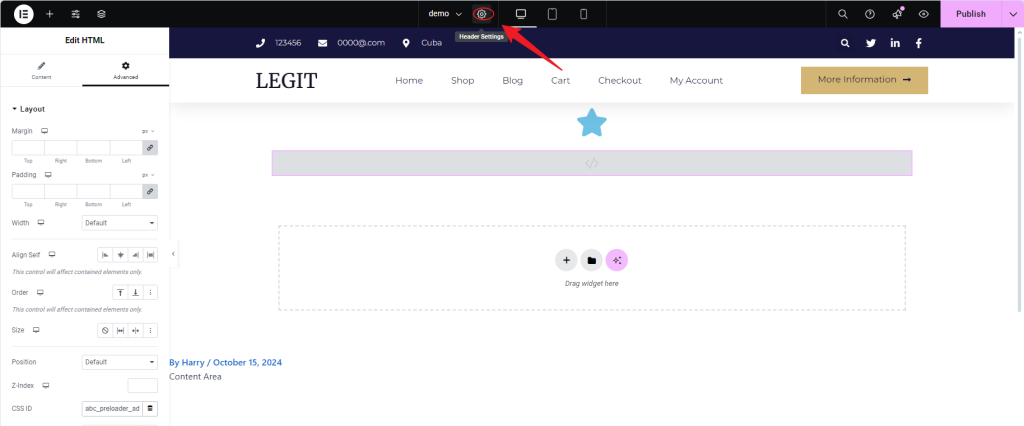
Abra as definições de CSS personalizadas:
- Clique no botão Definição da página (ícone de engrenagem) no painel do Elementor.
- Aceda ao Avançado e abra o separador CSS personalizado secção.
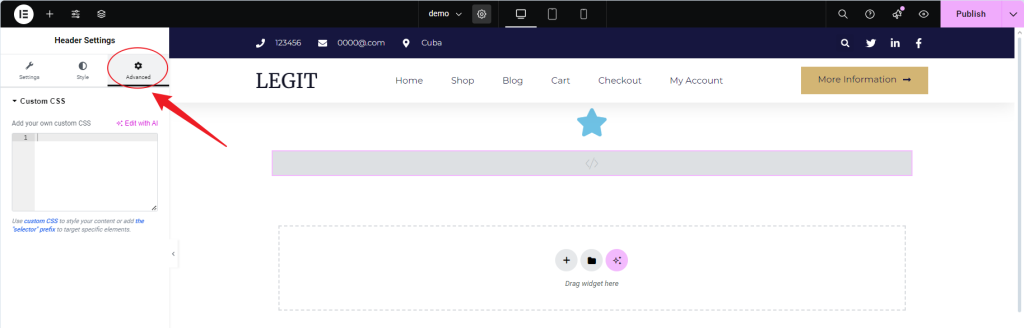
- Cole o seguinte código CSS:
#abc_preload {
  posição: fixo;
  top: 0;
  esquerda: 0;
  largura: 100%;
  altura: 100%;
  fundo: #fff;
  exibição: flex;
  alinhar-itens: centro;
  justify-content: center;
  z-index: 1000;
}

#abc_loader {
  border: 8px solid #363636;
  border-top: 8px solid #3498db;
  border-radius: 50%;
  largura: 50px;
  altura: 50px;
  animação: gire 1s linear infinito;
}

@keyframes spin {
  0% { transform: rotate(0deg); }
  100% { transform: rotate(360deg); }
}

#abc_preloader_adds {
  display: none;
}
- Este código irá:
- Cubra a página inteira com um fundo branco até o pré-carregador estar oculto.
- Centrar o carregador (#abc_loader) tanto vertical como horizontalmente na página.
- Animar o carregador gira indefinidamente.
Passo 6: Publique o modelo e teste o pré-carregador
Publique o modelo de cabeçalho:
- Clique em Publicar e confirme as condições de visualização como Todo o sítio para garantir que o pré-carregador está ativo em todo o seu site.
Teste o pré-carregador:
- Visite o seu site para ver o pré-carregador em ação. Se o tempo de carregamento parecer demasiado curto ou longo, ajuste o atraso no código JavaScript conforme necessário.
Conclusão
Adicionar um pré-carregador ao seu sítio Web Elementor Pro melhora a experiência do utilizador ao criar uma transição perfeita enquanto o conteúdo é carregado. Esta animação ou gráfico envolve os utilizadores, reduzindo os tempos de carregamento perceptíveis, e reforça a identidade da sua marca com visuais personalizados, como logótipos ou ícones de carregamento. O processo de configuração envolve:
- Criar um modelo de cabeçalho.
- Adicionar um contentor para o pré-carregador.
- As CSS e o JavaScript são utilizados para controlar o seu aspeto e comportamento.
Personalizável e reativo, um pré-carregador bem concebido acrescenta um toque refinado ao seu site, assegurando uma experiência suave e profissional em todos os dispositivos.
Perguntas frequentes
1. Quais são as vantagens de utilizar um pré-carregador?
Um pré-carregador pode melhorar a experiência do utilizador, reduzindo o tempo de carregamento percetível, mantendo os utilizadores envolvidos e dando um aspeto profissional ao seu site. Também ajuda a evitar que os utilizadores vejam páginas parcialmente carregadas, criando uma experiência de navegação mais suave.
2. Posso personalizar a animação do pré-carregador?
Sim, pode personalizar a animação do pré-carregador modificando o CSS no código. Pode alterar o elemento #abc_loader para incluir diferentes tipos de animações, cores, tamanhos e outros efeitos visuais. Se desejar, pode substituir o ícone por um GIF ou outra animação personalizada.
3. Como é que posso ajustar a duração do pré-carregador?
No código JavaScript, verá um valor de 2000 na função setTimeout, que representa o atraso em milissegundos. Pode alterar este valor para aumentar ou diminuir o tempo em que o pré-carregador está visível. Por exemplo, se o alterar para 3000, o pré-carregador será apresentado durante 3 segundos.


Respostas