How to Use Selenium for Automated Testing of WordPress Sites

In today’s competitive digital landscape, ensuring the stability and reliability of your WordPress site is more crucial than ever. According to a recent survey by WP Engine, 85% of users expect websites to perform flawlessly, and even a slight malfunction can result in a 20% drop in user engagement. Stability and reliability are critical as downtime or broken functionalities can lead to loss of revenue and damage to brand reputation, especially for e-commerce and business websites. Automated testing provides a practical solution to tackle the constant need for updates and the evolving complexities of modern web applications. Selenium, a popular open-source tool, is an excellent choice for automating the testing of WordPress sites. It is particularly suitable due to its flexibility, broad browser support, and ability to integrate with multiple programming languages. Unlike other tools, Selenium allows for extensive cross-browser testing and provides a high level of customization, which makes it ideal for the diverse requirements of WordPress sites. In this article, we’ll explore how to effectively use Selenium to conduct automated testing for WordPress, backed by examples and data-driven insights to demonstrate its value.

Why Use Selenium for WordPress Testing?
Selenium is a powerful tool that allows developers and testers to automate interactions with browsers, making it an ideal choice for end-to-end testing. Selenium supports a range of programming languages such as Python, Java, and C#, enabling developers to choose a language they are comfortable with. It also supports multiple browsers and operating systems, making it a flexible solution for WordPress testing.
When managing a WordPress site, frequent updates—whether they involve themes, plugins, or the WordPress core itself—can cause unintended disruptions. Automated testing with Selenium helps mitigate these risks by ensuring that key functionalities, such as user registration, login, and form submissions, work as expected after every change.

Getting Started with Selenium for WordPress
To get started, you’ll need a basic setup of Selenium. For this tutorial, we’ll use Python, a popular language among testers and developers for its simplicity and readability. Below, we outline the steps for setting up Selenium and writing a simple automated test for a WordPress site.
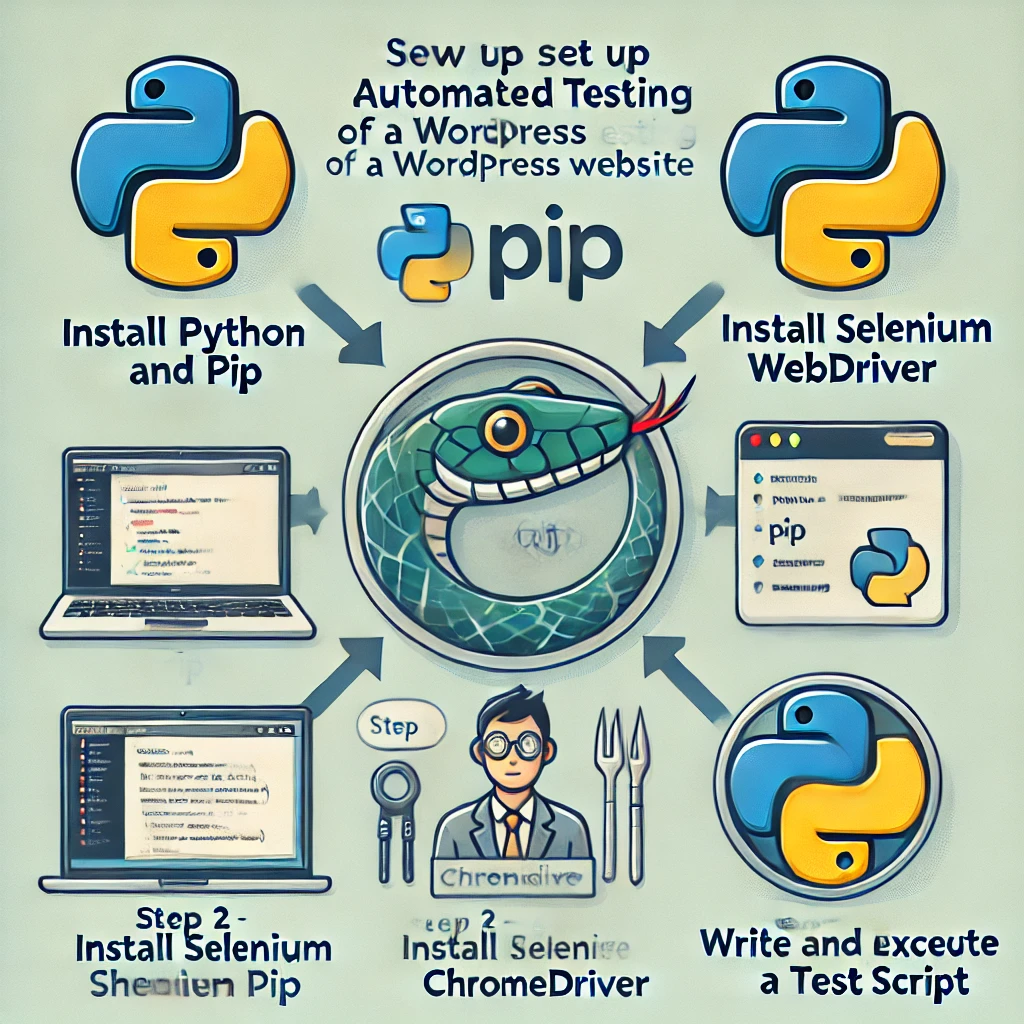
Step 1: Setting Up the Environment
First, ensure that you have Python and pip (Python package installer) installed. Then, install Selenium by running the following command:
pip install seleniumNext, download the appropriate WebDriver for the browser you want to use. For example, to automate Chrome, download the ChromeDriver that matches your Chrome version. You can find the correct WebDriver by visiting the official Selenium browser drivers page, where you will find links to download drivers for Chrome, Firefox, Safari, and other supported browsers. You can find the latest ChromeDriver on the official Selenium documentation page.
Step 2: Writing Your First Test Script
Consider a simple scenario: testing the login functionality of a WordPress site. Here is a Python script using Selenium to automate the login process:
from selenium import webdriver
from selenium.webdriver.common.by import By
from selenium.webdriver.common.keys import Keys
import time

# Set up the WebDriver
driver = webdriver.Chrome(executable_path='/path/to/chromedriver')  # Replace '/path/to/chromedriver' with the actual path where ChromeDriver is installed

# Navigate to the WordPress login page
driver.get("https://yourwordpresssite.com/wp-login.php")

# Find the username and password fields and enter credentials
username = driver.find_element(By.ID, "user_login")
password = driver.find_element(By.ID, "user_pass")

username.send_keys("your_username")
password.send_keys("your_password")

# Click the login button
login_button = driver.find_element(By.ID, "wp-submit")
login_button.click()

# Explicitly wait for the dashboard to load
from selenium.webdriver.support.ui import WebDriverWait
from selenium.webdriver.support import expected_conditions as EC
WebDriverWait(driver, 10).until(EC.title_contains("Dashboard"))

# Verify successful login by checking the dashboard title
assert "Dashboard" in driver.title

# Close the browser
driver.quit()
In this script, Selenium opens Chrome, navigates to the WordPress login page, enters the credentials, and clicks the login button. The script then verifies that the user has successfully logged in by checking the page title.
For more detailed information on Selenium WebDriver and its capabilities, refer to the official Selenium documentation.
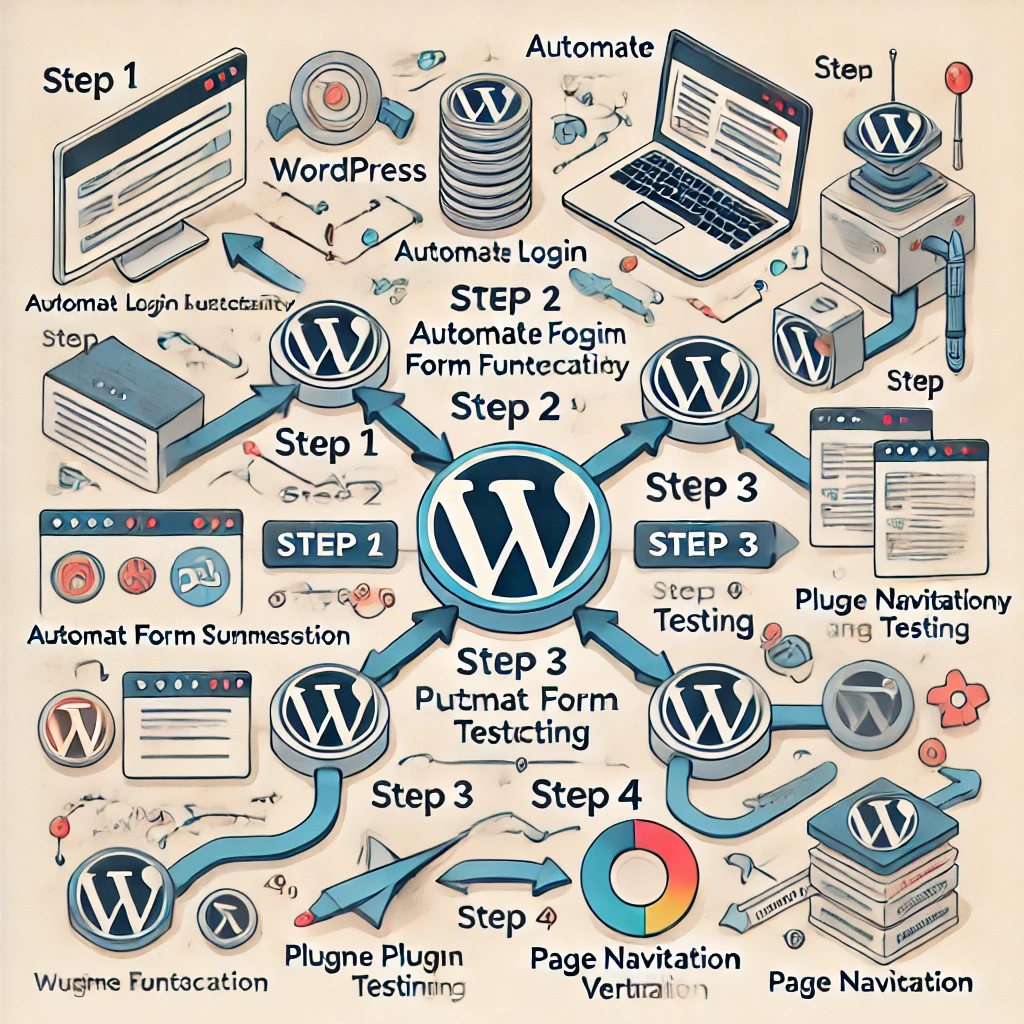
Automating Common WordPress Scenarios
Besides login functionality, Selenium can automate various other common WordPress tasks:

Form Submission: Automating contact form submissions to verify that forms are working correctly. For example, you can use Selenium to fill out a contact form on your WordPress site and verify that a success message appears after submission:
driver.get("https://yourwordpresssite.com/contact")
name_field = driver.find_element(By.ID, "name")
email_field = driver.find_element(By.ID, "email")
message_field = driver.find_element(By.ID, "message")

name_field.send_keys("Test User")
email_field.send_keys("test@example.com")
message_field.send_keys("This is a test message.")

submit_button = driver.find_element(By.ID, "submit")
submit_button.click()

success_message = WebDriverWait(driver, 10).until(
    EC.presence_of_element_located((By.CLASS_NAME, "success-message"))
)
assert "Thank you" in success_message.text
Plugin Compatibility: Testing if plugins work as expected after updates, ensuring they don’t break site functionality. For instance, you can navigate to a plugin’s settings page and verify that key elements are still present and functional:

driver.get("https://yourwordpresssite.com/wp-admin/admin.php?page=plugin-settings")
settings_header = WebDriverWait(driver, 10).until(
    EC.presence_of_element_located((By.TAG_NAME, "h1"))
)
assert "Plugin Settings" in settings_header.text
Page Navigation: Verifying that all links and navigation menus are working correctly across different browsers and devices. You can use Selenium to click on menu items and verify that the expected page loads:
driver.get("https://yourwordpresssite.com")
menu_item = driver.find_element(By.LINK_TEXT, "About Us")
menu_item.click()
WebDriverWait(driver, 10).until(EC.title_contains("About Us"))
assert "About Us" in driver.title
Case Study: Measuring the Impact of Automated Testing
To understand the impact of automated testing, consider a case study involving a mid-sized e-commerce WordPress site. Before implementing Selenium, the development team reported an average of 25 bugs per release, which required significant manual testing time, often spanning 30-40 hours per update. After integrating Selenium, the number of bugs found in production decreased by 60%, and the time spent on regression testing was reduced by 50%, allowing the team to focus on new feature development. Before implementing Selenium, the site faced frequent issues after updates—such as broken forms and non-functional plugins—leading to a 15% drop in conversion rates due to poor user experience. After integrating Selenium-based automated testing, the site was able to identify and fix issues during development, reducing the number of post-deployment bugs by 60%. As a result, user satisfaction improved, and conversion rates increased by 10% over the next quarter.

Best Practices for Using Selenium with WordPress
- Use Explicit Waits: WordPress sites often have dynamic elements that load at different times. Using explicit waits can help ensure that Selenium interacts with elements only when they are ready.
from selenium.webdriver.common.by import By
from selenium.webdriver.support.ui import WebDriverWait
from selenium.webdriver.support import expected_conditions as EC
Wait for the dashboard to load
WebDriverWait(driver, 10).until(EC.presence_of_element_located((By.ID, “wp-admin-bar-my-account”)))
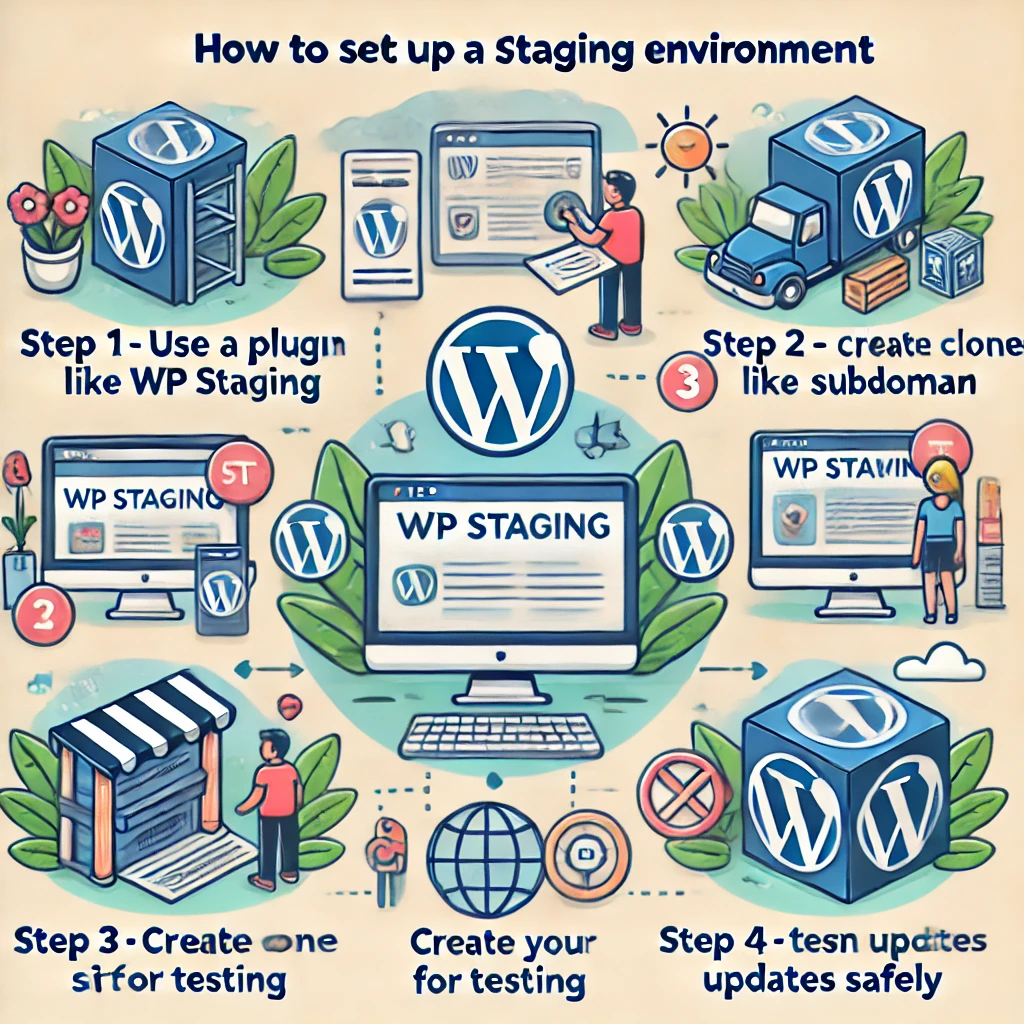
- Run Tests in a Staging Environment: Always run Selenium tests in a staging environment to avoid affecting real users or data. A staging environment is a replica of your production environment where you can safely test changes without impacting live users. To set up a staging environment for WordPress, consider using a plugin like WP Staging or create a subdomain where you can clone your site. This setup allows you to test updates, new features, and automated tests in an environment that mirrors production conditions.
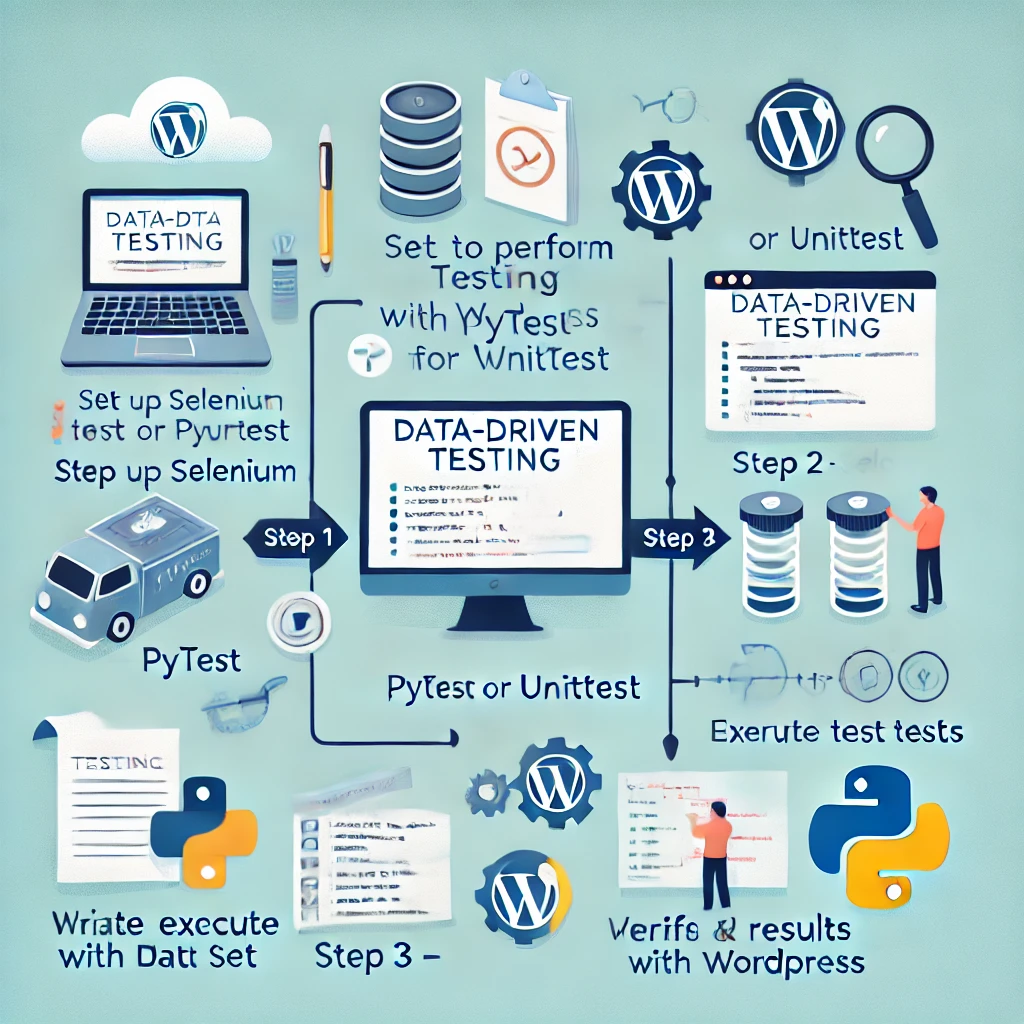
Data-Driven Testing: Use data-driven testing to verify WordPress functionalities with different sets of inputs. This can be achieved by integrating Selenium with testing frameworks like pytest or unittest.
Challenges and How to Overcome Them
- Handling Pop-ups and Alerts: WordPress sites may have pop-ups for newsletters or promotions. Selenium provides methods like
switch_to.alertto handle these scenarios. - Dynamic Content: Elements that load dynamically can be tricky. Using Selenium’s wait mechanisms, such as
WebDriverWait, can help ensure stable test execution.

Conclusion
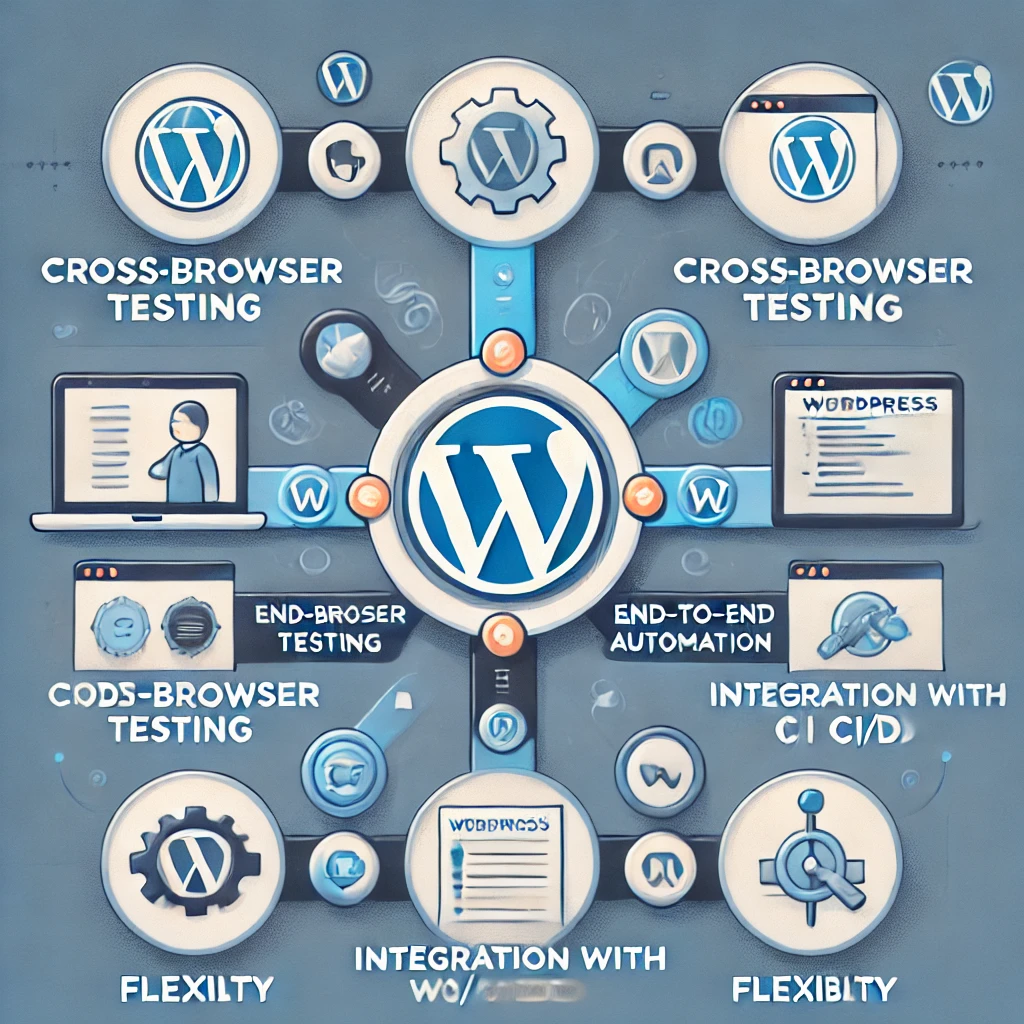
Automated testing using Selenium is a valuable approach to maintaining the quality and stability of WordPress sites, particularly as they grow in complexity. Key benefits include:
- Cross-Browser Testing: Selenium supports multiple browsers, making it easy to ensure compatibility across different environments.
- End-to-End Automation: It allows for testing user interactions such as form submissions, logins, and page navigation.
- Integration with CI/CD: Selenium can be integrated with CI/CD pipelines, ensuring continuous and automated testing.
- Flexibility: Selenium supports various programming languages, allowing developers to work in the environment they are most comfortable with. By automating repetitive test cases—such as login, form submissions, and plugin compatibility—you can significantly reduce the risk of errors, improve user experience, and ultimately enhance the reliability of your site. The example script and best practices provided here should serve as a starting point for implementing Selenium in your WordPress projects.
Implementing automated testing might seem challenging initially, but the long-term benefits far outweigh the costs. With fewer post-deployment issues and higher user satisfaction, automated testing can give your WordPress site the reliability it needs to thrive in a competitive environment.
Next Steps
If you’re interested in delving deeper, consider exploring Selenium Grid for parallel testing across different browsers, or integrating your Selenium tests with CI/CD pipelines using tools like Jenkins. For more information, you can refer to the following tutorials:
- Selenium Grid Documentation: Learn how to set up Selenium Grid for distributed testing.
- Jenkins and Selenium Integration: Understand how to integrate Selenium tests with Jenkins for CI/CD.
By taking these additional steps, you can make your WordPress testing even more robust and scalable.


Responses