
How to Create and Apply a “Scroll to Top” Button in Elementor Without Plugins
A “Scroll to Top” button is an excellent addition to any long page. It gives users a quick way to return to the top, making navigation more accessible and user-friendly. This guide will walk you through creating a “Scroll to Top” button in Elementor, no plugins required, and applying it across your whole website to keep the look and feel consistent.
Set Up a Global Button Template in Elementor
Start by Creating a New Template:
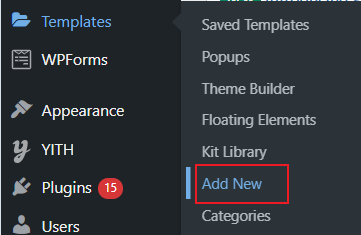
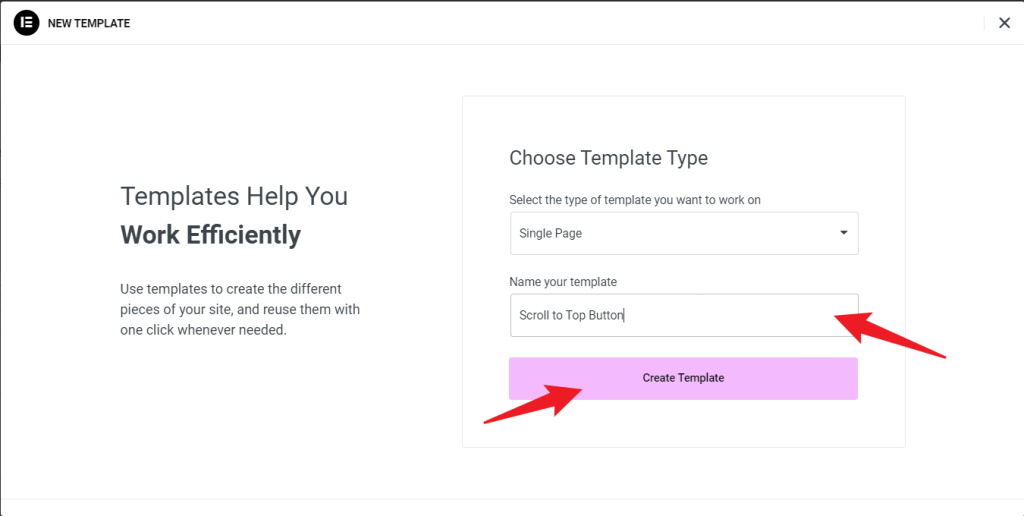
- In the WordPress dashboard, go to “Templates” > “Add New.”
- Select “Single Page” from the dropdown menu as the template type. Name it something like “Scroll to Top Button“.
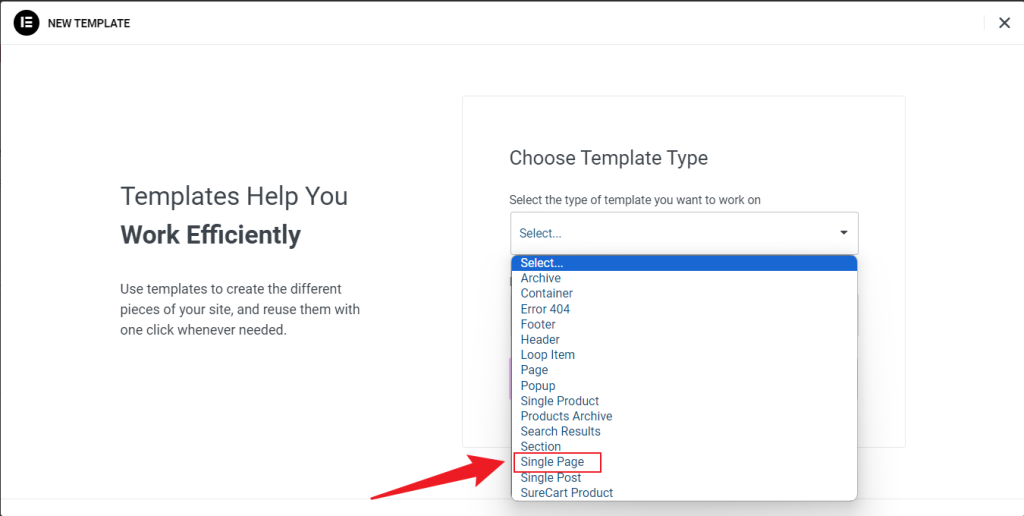
- Click “Create Template” to open the Elementor editor.
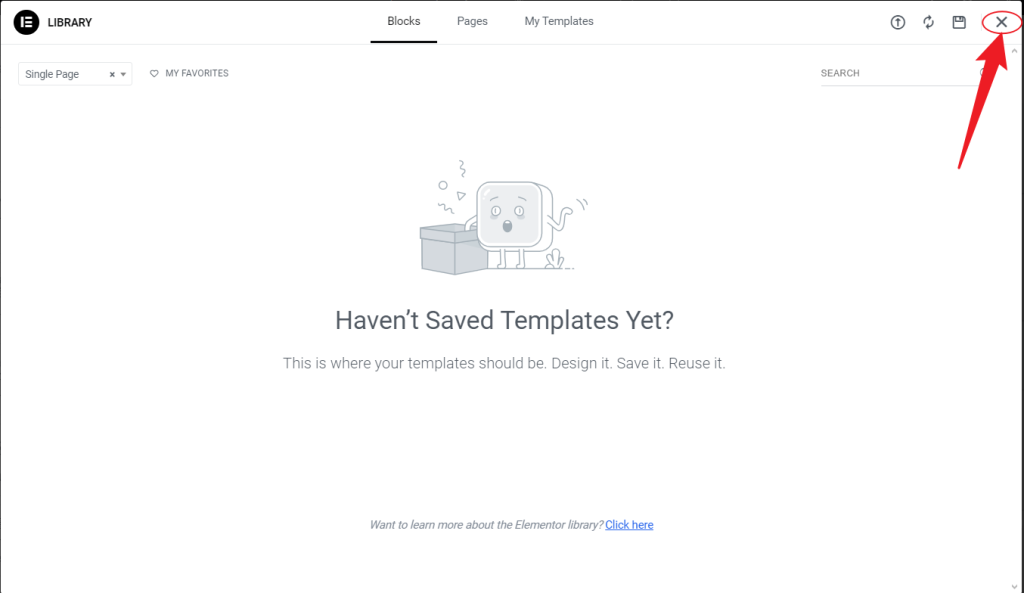
- Exit the Library: Click the “X” at the top-right corner to close the template library.
Add and Customize the Button:
- Drag the “Button” widget from the sidebar into the template.
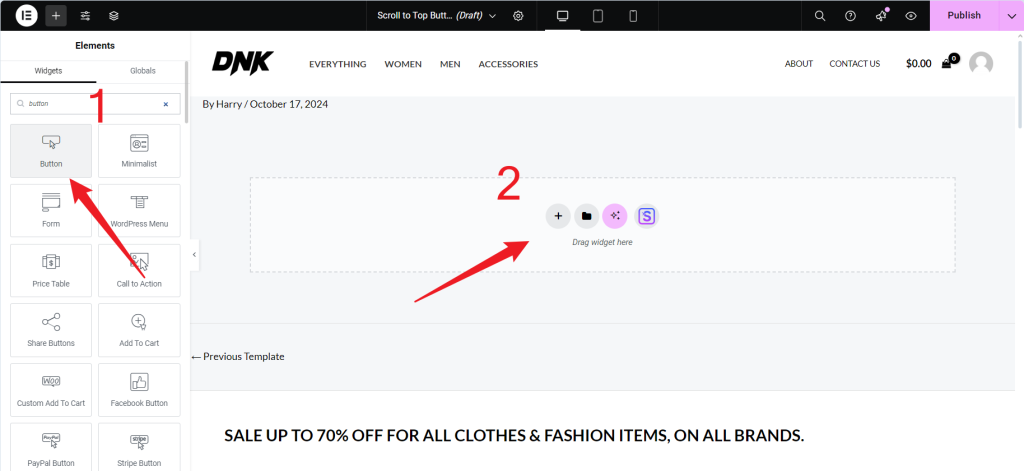
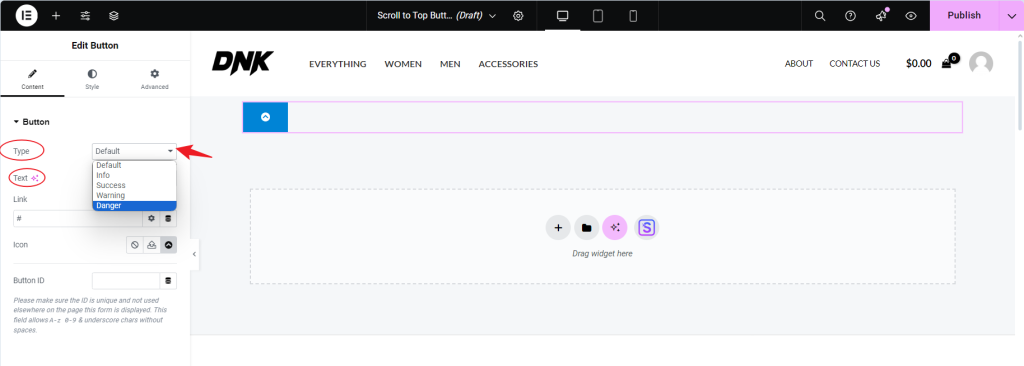
- Change the button text to “Scroll to Top” or use an upward arrow icon.

- Go to the icon gallery and select the up arrow icon.
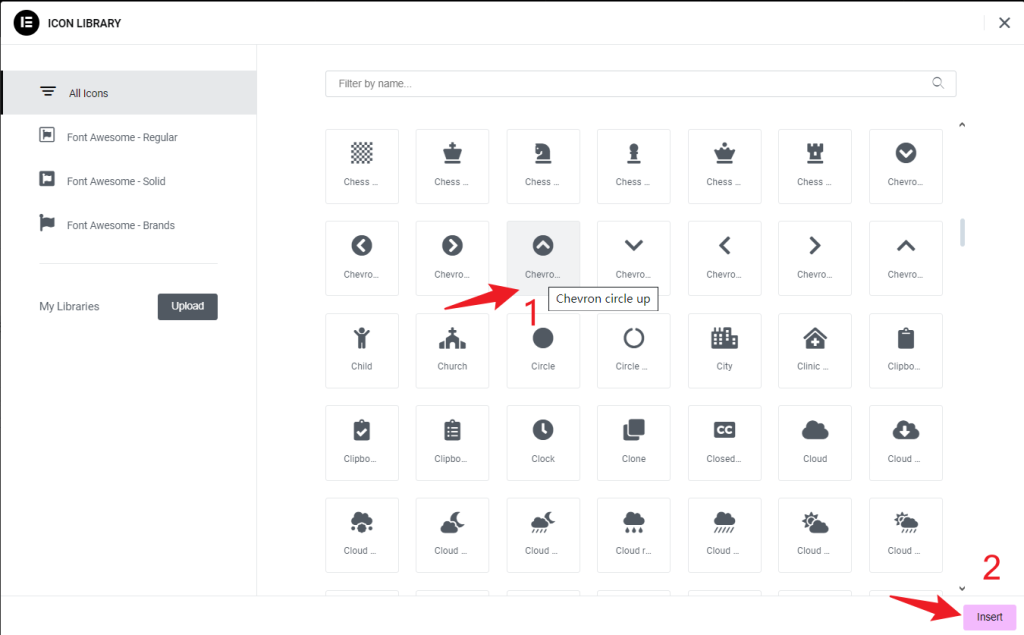
- Select a different button type to delete the text.
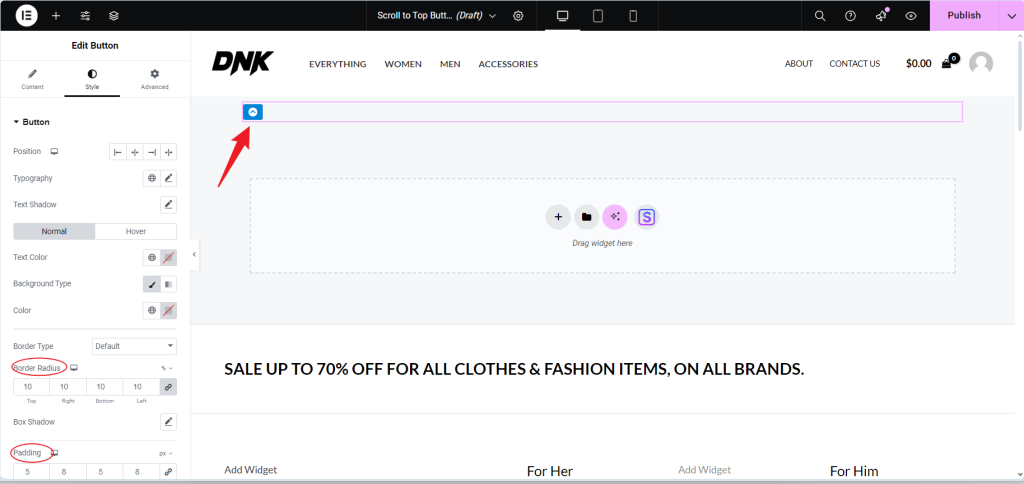
- Go to the “Style” tab and set the background color, font, and border-radius so it matches your site’s style. A round button with a contrasting color works well to keep it visible.
Changing the Button Style
- Use Rounded Corners
- Go to the Style tab in Elementor.
- Set the Border Radius to 10% to create a perfectly round button.
- Modify the Padding values to adjust the spacing inside an element. This defines the inner space between the content and the element’s borders.
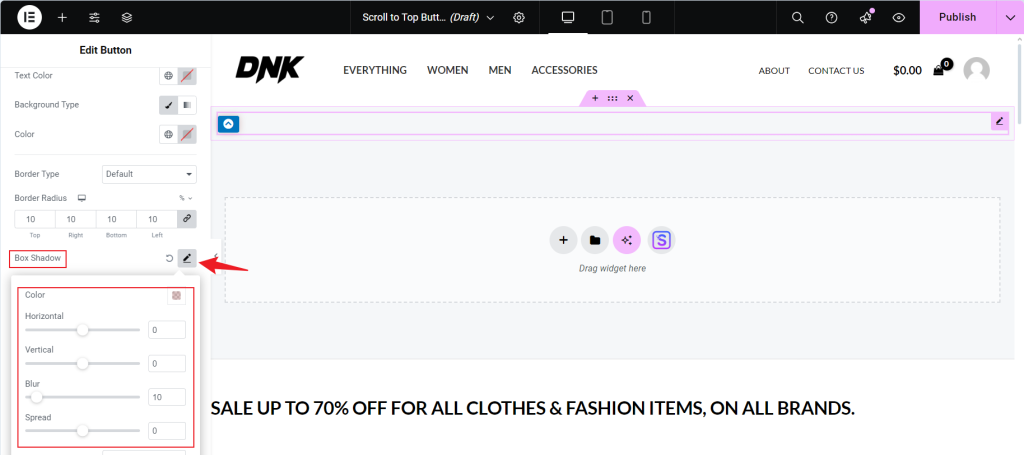
- Add a Shadow Effect
- In the Box Shadow settings (usually found under Style > Border), add a subtle shadow to create depth. Use settings like:
- Blur: 10px
- Spread: 0px
- Color: Choose a light grey or transparent black to give a soft shadow.
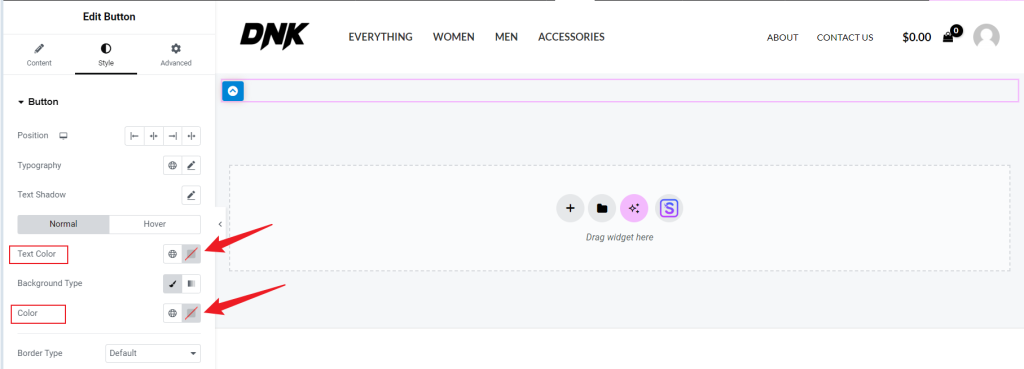
- Choose a Contrasting Color Scheme
- Use colors that contrast with your website’s background. For example, if your background is light, opt for a bold color like blue, orange, or green.
- For the icon color, ensure it’s white or another color that stands out against the button background.
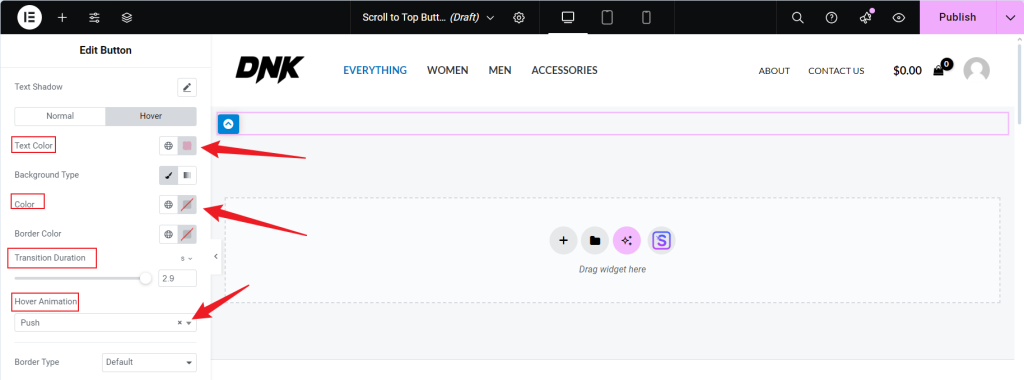
- Add a Hover Effect
- In the Hover settings under the Style tab, you can:
- Change the background color on hover to a lighter or darker shade of the button’s color.
- Hover Animation allows you to control the speed of animations and transitions.
- In the Hover settings under the Style tab, you can:
- Add a Pulse Animation (Optional)
- In the Advanced tab, go to Custom CSS (available in Elementor Pro) and add a pulse animation:
- Replace
#yourButtonIDwith the ID of your button. This will make the button subtly grow and shrink, drawing attention to it.
@keyframes pulse { 0% { transform: scale(1); } 50% { transform: scale(1.05); } 100% { transform: scale(1); } } #yourButtonID { animation: pulse 2s infinite; }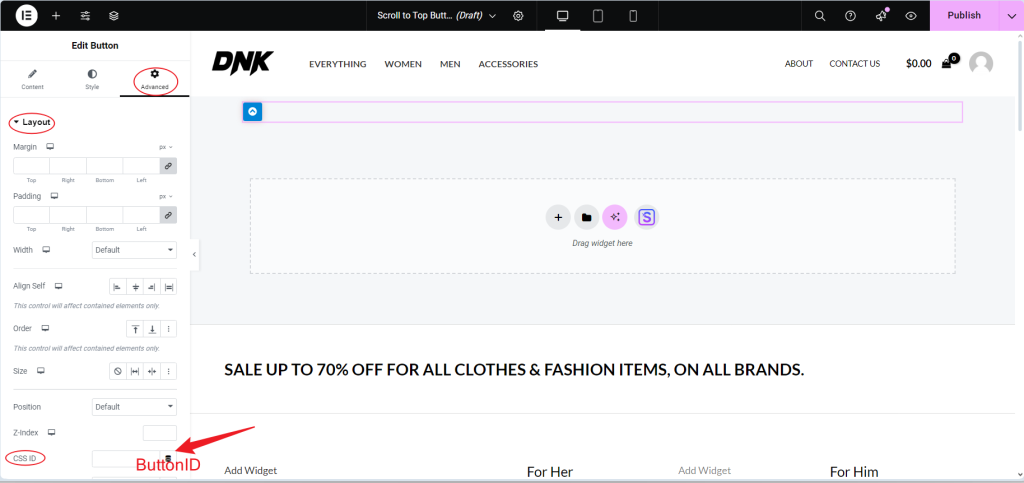
This code adds a pulsing animation effect to a specified button. The button smoothly grows slightly larger and then returns to its original size over 2 seconds, repeating continuously. This effect draws attention to the button, making it more noticeable to users.
Fix the Button in Place:
- In the “Advanced” tab, under “Positioning,” choose “Fixed.”
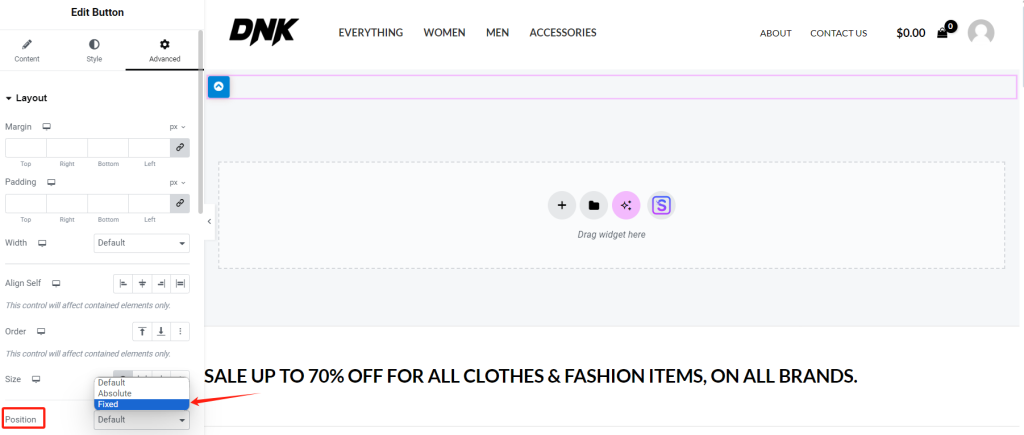
- Place the button in the bottom-right corner with a 20px margin from both sides so it stays put as users scroll.
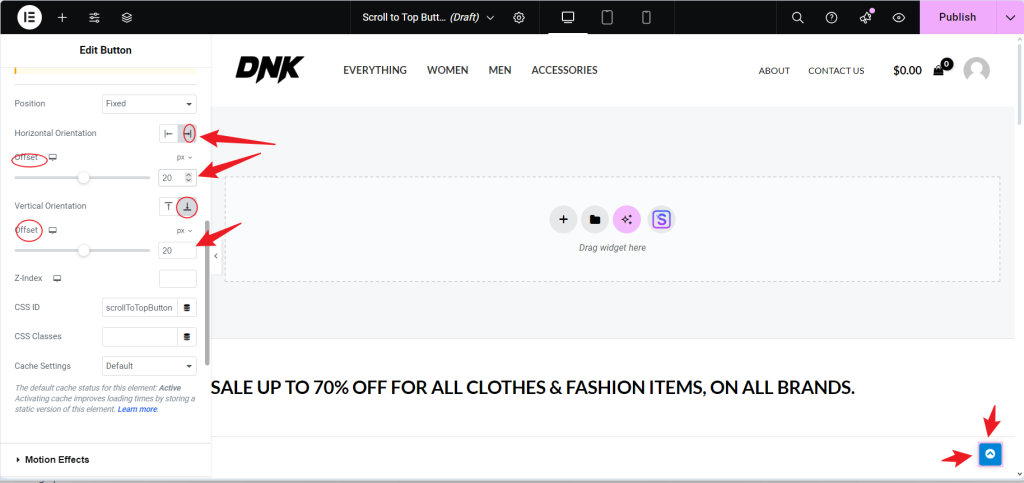
- Click “Publish“. Set the display conditions to “All Pages.” This will ensure the button is displayed on every page, providing a consistent user experience.

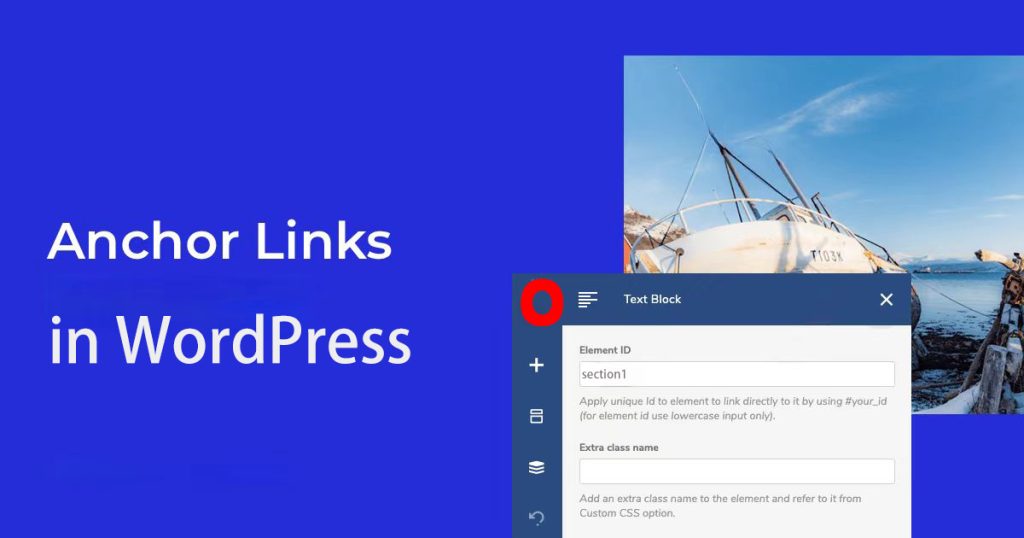
Add an Anchor at the Top of the Page
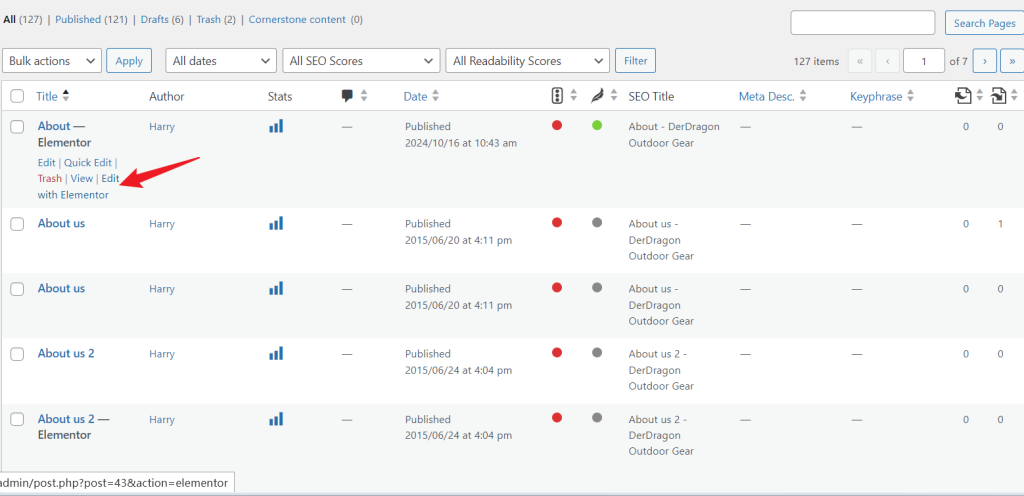
- Open the Page in Elementor:
- Go to your WordPress dashboard, navigate to Pages or Posts, and select the page you want to edit.
- Click Edit with Elementor to open the page in the Elementor editor.
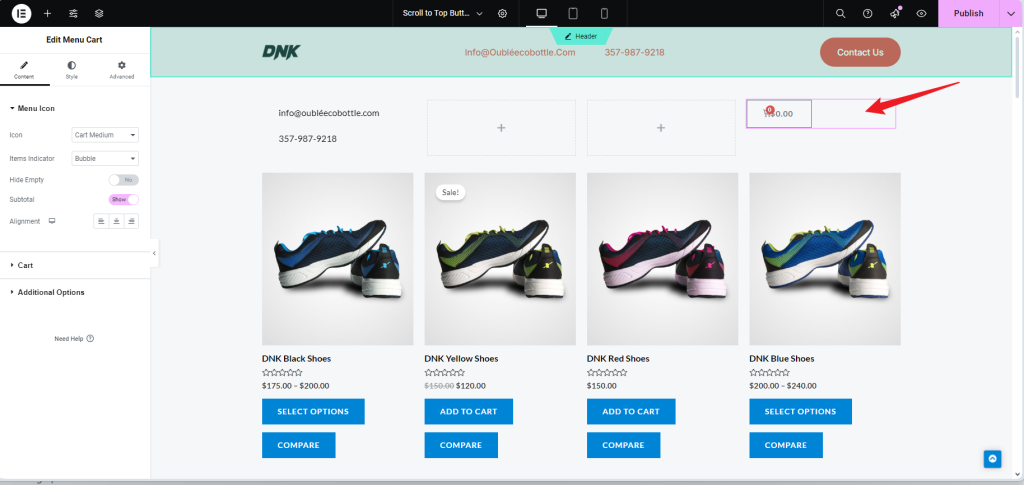
- Select the Top Element:
- Choose an element near the top of the page where you want users to be directed when they click the “Scroll to Top” button. This is typically the header section, a title, or the first section of the page.
- Click on the element to select it.
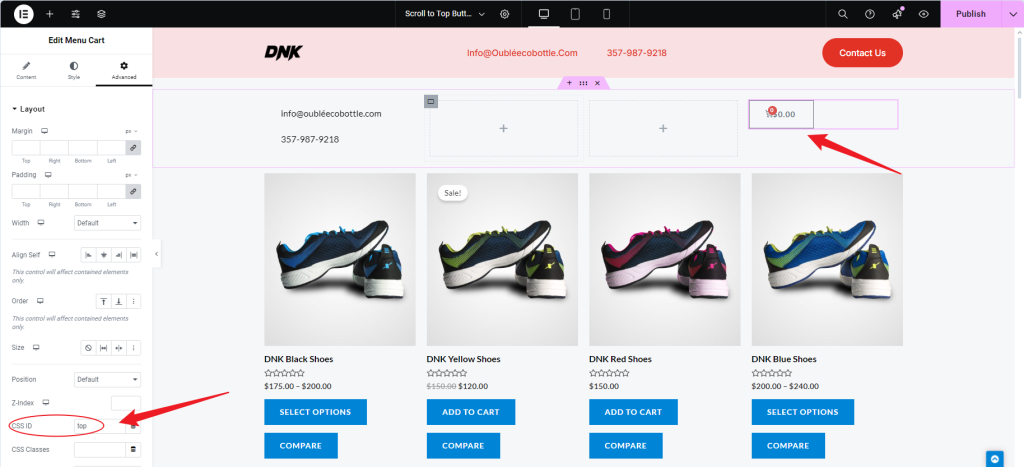
- Go to the Advanced Tab:
- With the top element selected, navigate to the Advanced tab in the Elementor panel on the left.
- Set the CSS ID:
- Find the CSS ID field under the Advanced tab.
- Enter the word
top(or any other simple word you prefer, such asstart).
- Save Your Changes:
- Once you’ve set the CSS ID, click Update to save the changes to the page.
Important Note:
- Make sure the CSS ID you entered matches the one in your “Scroll to Top” button’s link. For example, if you set the CSS ID as
top, the button’s link should be#top.
Add an Anchor for the Button:
- Open any page in Elementor and click on the top element (like a heading or a section).
- ISet the Button Link. In the Link field, enter
#top(make sure to include the#symbol).
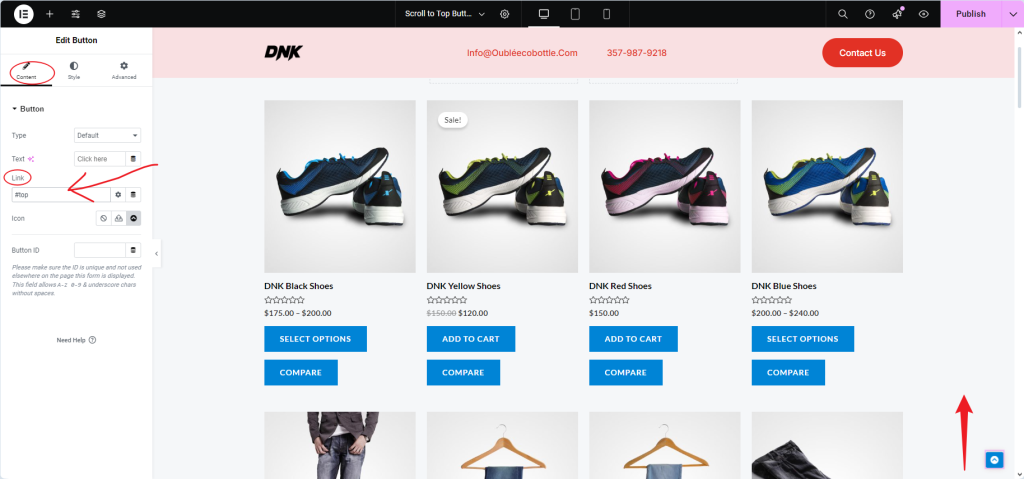
- Read on to see the results.
Conclusion
Adding a “Scroll to Top” button in Elementor is a straightforward way to improve user experience on longer pages by allowing easy navigation back to the top. By creating a global button template, you ensure a consistent appearance across your entire site. The process includes designing the button, setting custom styles like rounded corners and shadow effects, and optionally adding animations like a pulse effect for added visibility.
Once the button is designed, you can fix it in place using the “Fixed” positioning and ensure it appears on all pages through display conditions. Additionally, by setting a CSS ID at the top of each page (such as “top”) and linking the button to this anchor (#top), users can quickly scroll back to the top of the page when clicking the button.
Frequently Asked Questions

1. Why should I add a “Scroll to Top” button?
This button saves users from constant scrolling, especially on long pages. It offers a quick way back to the top and makes the site easier to navigate.
2. Can I add more animation effects to the button?
Sure! Elementor’s Motion Effects allow you to add animations like bounce or slide to make the button more eye-catching.
3. Are there plugins that can do this?
Yes, several plugins offer “Scroll to Top” buttons. But adding them through custom code helps keep your site faster by avoiding the need for extra plugins.

Responses