
Comprehensive Guide to Optimizing Your WordPress Database Performance
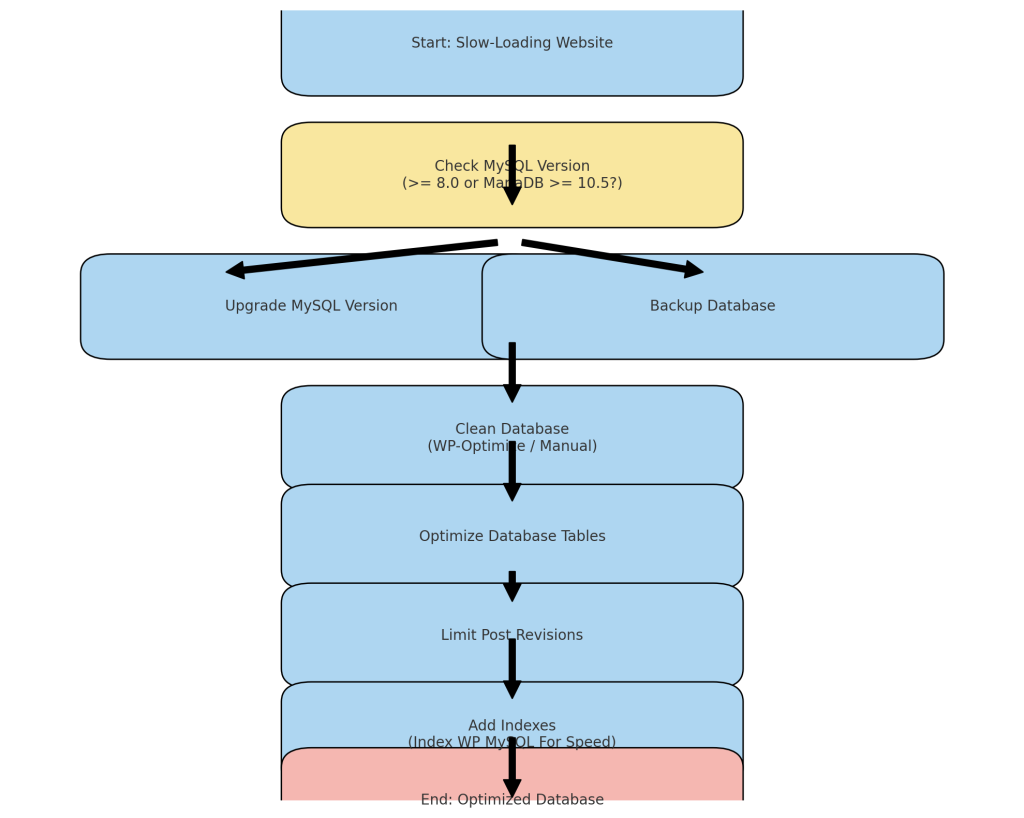
When managing a WordPress website, a slow-loading website can often be traced back to an inefficient database. This guide will focus on practical, step-by-step methods for optimizing your WordPress database performance, addressing the possible root causes of slowness. This tutorial is written for beginners and covers everything from upgrading MySQL to cleaning your database tables while considering plugin compatibility.
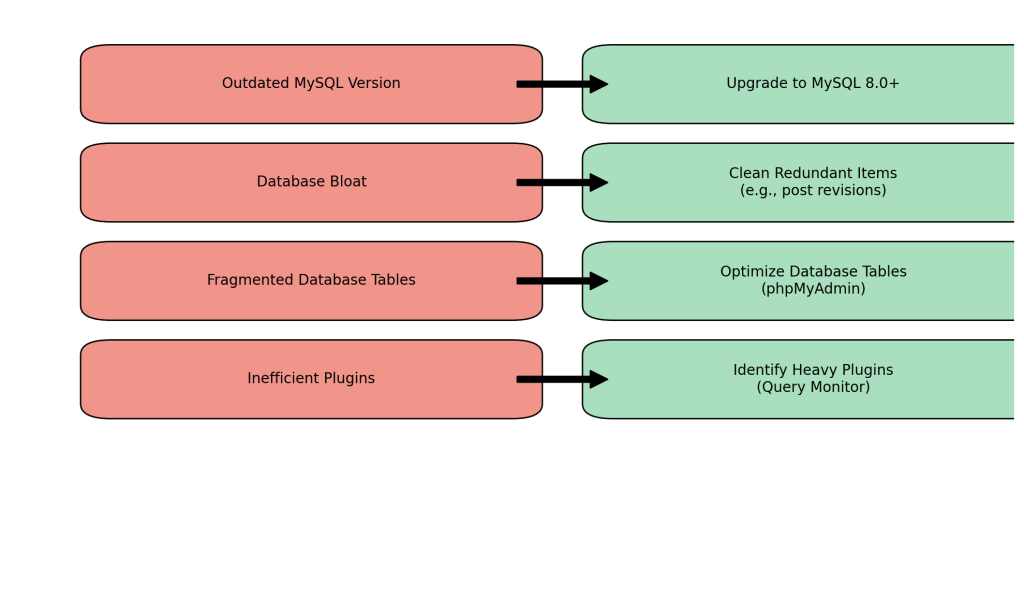
1. Common Reasons for a Slow WordPress Database
Before optimizing, it’s essential to understand the main causes of database-related slowness:
- Outdated MySQL Version: Running older versions of MySQL (such as 5.6 or lower) can significantly impact the speed and security of your site.
- Database Bloat: WordPress stores redundant items, like post revisions, spam comments, and transient data, contributing to a bloated database.
- Fragmented Database Tables: Frequent additions, deletions, and edits can lead to fragmented tables, making queries less efficient.
- Inefficient Plugins: Some plugins run heavy queries that strain the database, causing slowdowns.
Now, let’s move on to how to optimize each of these areas.
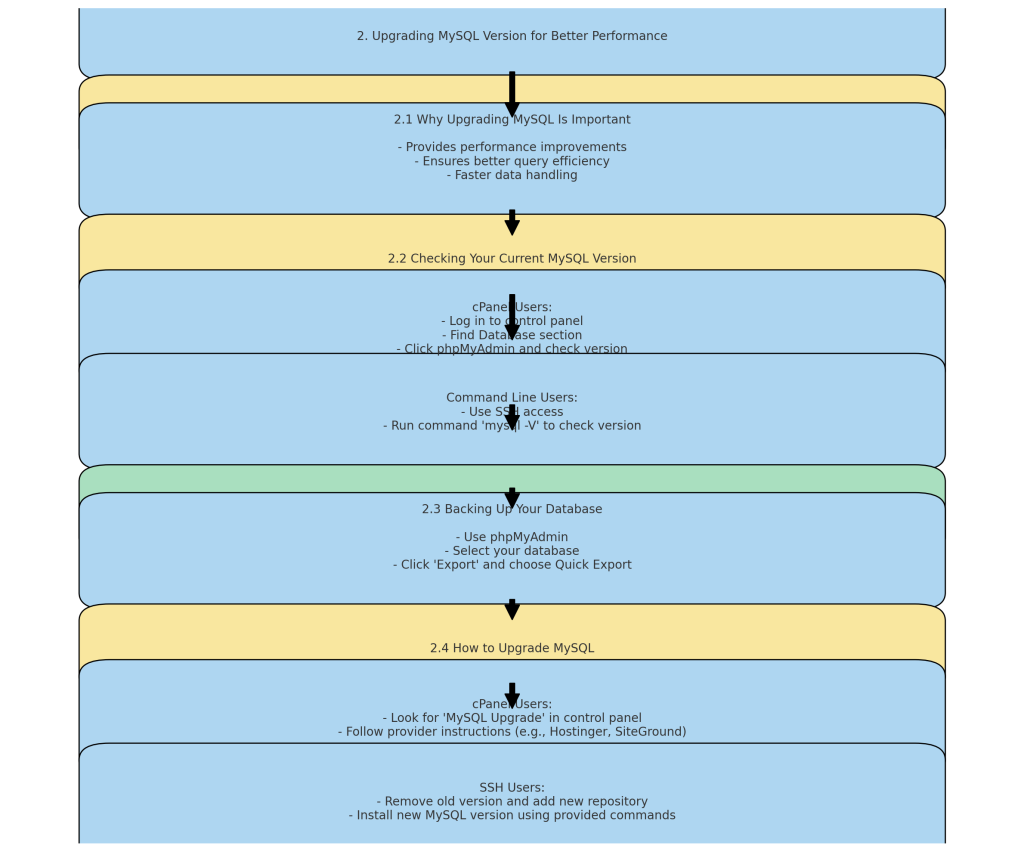
2. Upgrading MySQL Version for Better Performance
2.1 Why Upgrading MySQL Is Important
Upgrading to MySQL 8.0 or MariaDB 10.5+ can provide significant performance improvements, including better query efficiency and faster data handling. However, it’s crucial to ensure plugin compatibility because some plugins may not work with the latest versions of MySQL.
2.2 Checking Your Current MySQL Version
- cPanel Users: Login to your hosting provider’s control panel, usually cPanel. Find the Database section and click phpMyAdmin. Once inside, look at the server version shown on the home page.
- Command Line: If you have SSH access, use the following command:
mysql -VThis will display your current version.
2.3 Backing Up Your Database
Before upgrading, always back up your entire database to avoid data loss.
- Using phpMyAdmin: Log into cPanel, go to phpMyAdmin, select your database, and click Export. Choose Quick Export and save it as a .sql file.
2.4 How to Upgrade MySQL
For cPanel Users: Many hosting providers allow you to upgrade via the control panel. Look for a section called MySQL Upgrade, or contact your hosting provider for help. If you need help finding this, check the hosting provider’s documentation or support centre. Here are specific instructions for popular hosting providers:
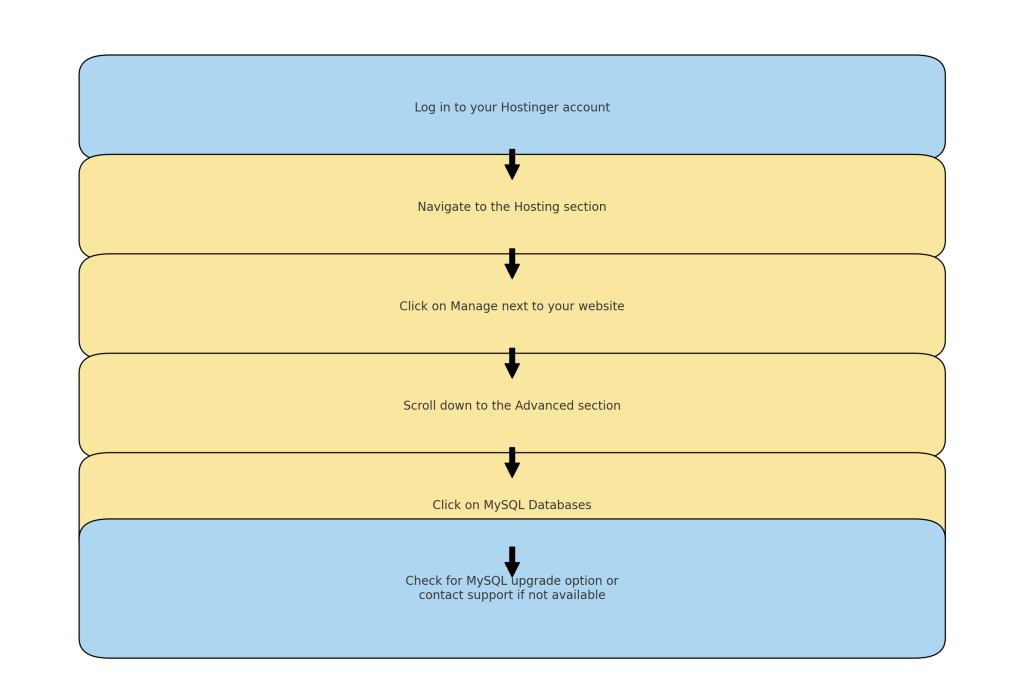
Hostinger:
- Log in to your Hostinger account and navigate to the Hosting section.
- Click on Manage next to your website.
- Scroll down to the Advanced section and click on MySQL Databases.
- You will see an option to upgrade your MySQL version if available. If not, contact Hostinger support for further assistance.
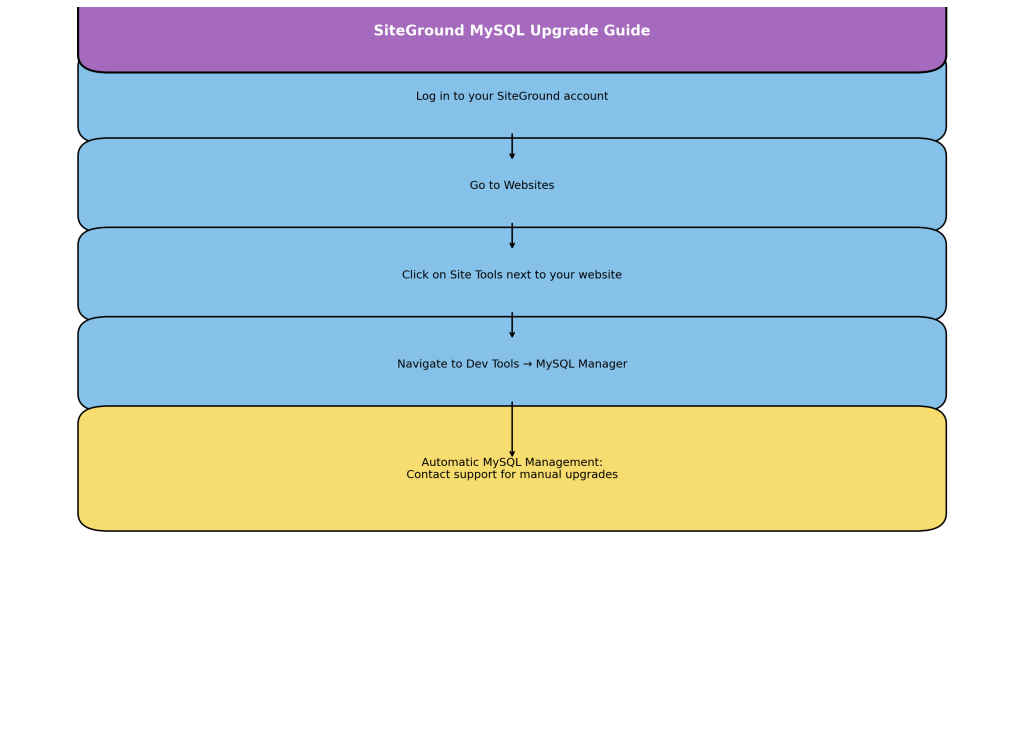
SiteGround:
- Log in to your SiteGround account and go to Websites.
- Click on Site Tools, following the website you want to manage.
- In Site Tools, navigate to Dev Tools → MySQL Manager.
- SiteGround manages MySQL versions automatically, but if you need to upgrade manually, contact SiteGround support for guidance.
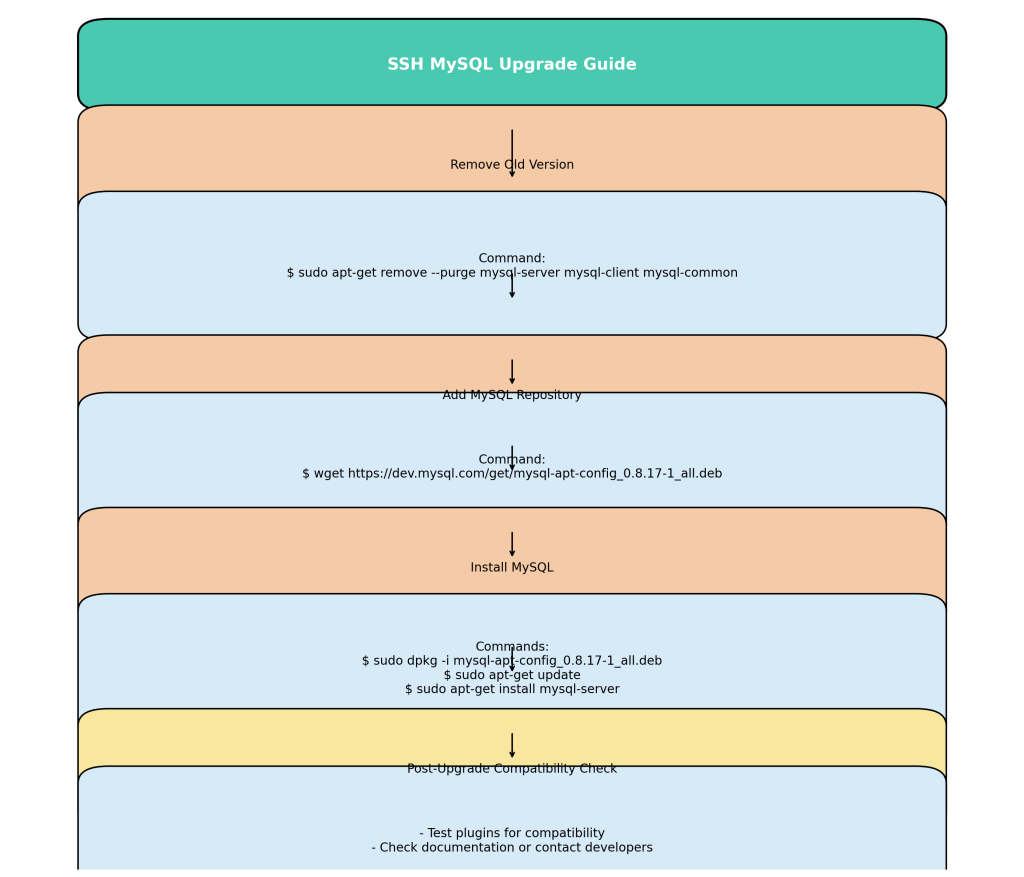
For SSH Access (Command Line):
1.Remove Old Version:
sudo apt-get remove --purge mysql-server mysql-client mysql-common2.Add the MySQL Repository and Install:
wget https://dev.mysql.com/get/mysql-apt-config_0.8.17-1_all.deb
sudo dpkg -i mysql-apt-config_0.8.17-1_all.deb
sudo apt-get update
sudo apt-get install mysql-server
Post-Upgrade Compatibility Check: After upgrading, you may need to test plugins for compatibility. Many plugins list the supported MySQL versions on their official WordPress plugin page, or you can contact the developers directly.
3. Cleaning and Optimizing the Database
One of the best ways to optimize the database is to remove unnecessary data such as post revisions, spam comments, and transients.
3.1 Using a Plugin for Database Cleanup
WP-Optimize: This beginner-friendly plugin helps clean up the database automatically without diving into manual SQL commands.
Steps:
- Go to Plugins → Add New in your WordPress dashboard.
- Search for WP-Optimize cli,ck Install, and then Activate.
- Navigate to WP-Optimize from your dashboard, then select Database.
- Tick boxes for Revisions, Drafts, Spam Comments, etc., and click Run Optimization.
Why This Matters: Removing these items reduces database size and improves query efficiency.
3.2 Manual Database Cleanup
For those comfortable with phpMyAdmin:
- Log in to phpMyAdmin through cPanel or another hosting control panel like Plesk.
- Select the database, and look for the wp_posts table to delete revisions using this SQL query manually:
DELETE FROM wp_posts WHERE post_type = 'revision';Note: Always create a backup before running manual queries.
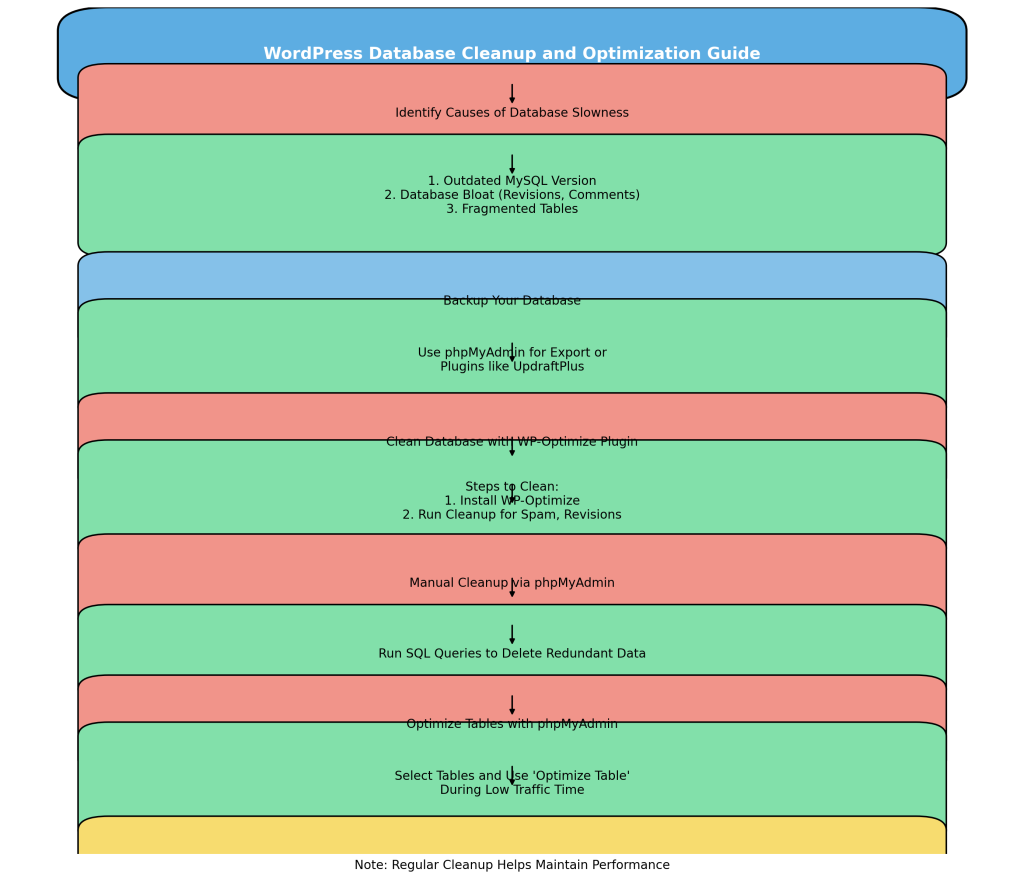
4. Optimizing Database Tables
WordPress adds deletes or updates data can lead to fragmentation. Regular optimization can defragment the database.
4.1 Using phpMyAdmin to Optimize Tables
- Log in to phpMyAdmin through your hosting provider’s control panel.
- Select your database and tick the tables you want to optimize.
- Scroll down and choose Optimize Table from the dropdown menu.
Note: Optimizing large tables may temporarily impact your website’s performance, leading to potential downtime or slower response times. It is advisable to do this during low-traffic periods.
4.2 Why Optimization Helps
Defragmentation: Optimizing reduces fragmentation, which allows for faster read/write operations, ultimately leading to quicker response times.
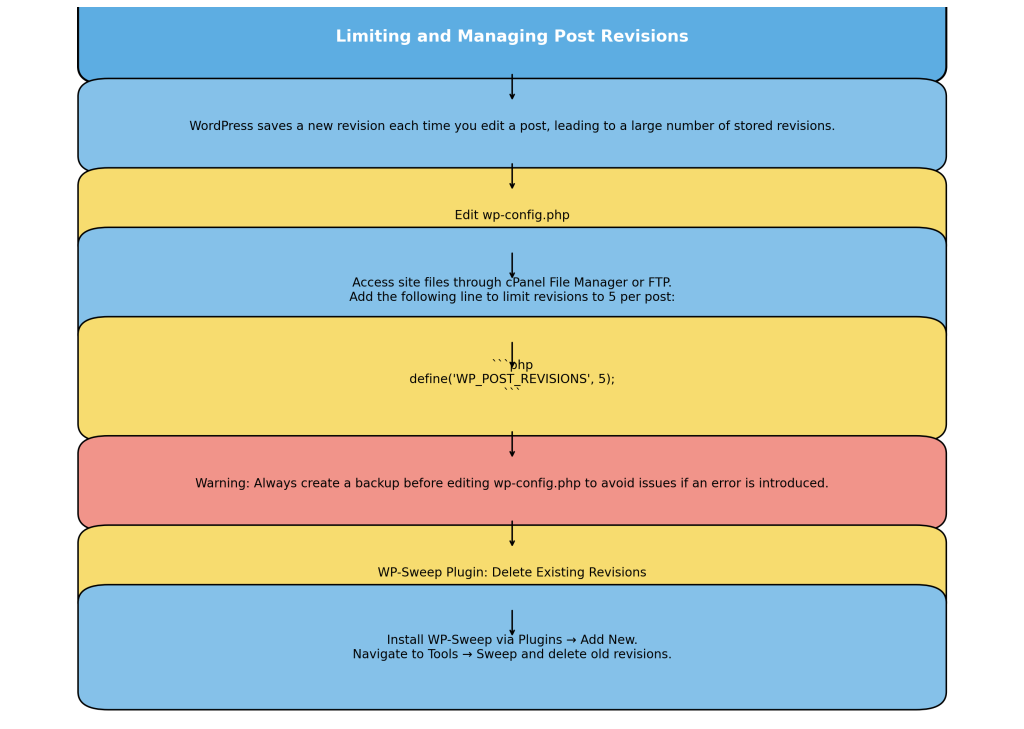
5. Limiting and Managing Post Revisions
WordPress saves a new revision each time you edit a post, leading to many stored revisions. You can limit these revisions to reduce database bloat.
5.1 Limiting Revisions
- Edit wp-config.php: Access your site files through cPanel File Manager or via FTP.
- Add the following line to limit revisions to 5 per post:
define('WP_POST_REVISIONS', 5);- Warning: Always create a backup before editing wp-config.php to avoid issues if an error is introduced.
- Why Do This: Reducing the number of revisions helps maintain a leaner database, which speeds up queries and improves performance.
5.2 Deleting Existing Revisions
- WP-Sweep Plugin: Use this plugin to remove old post revisions safely.
- Steps: Go to Plugins → Add New, search for WP-Sweep, install and activate it, then go to Tools → Sweep.
- Click Sweep next to Revisions to delete them.
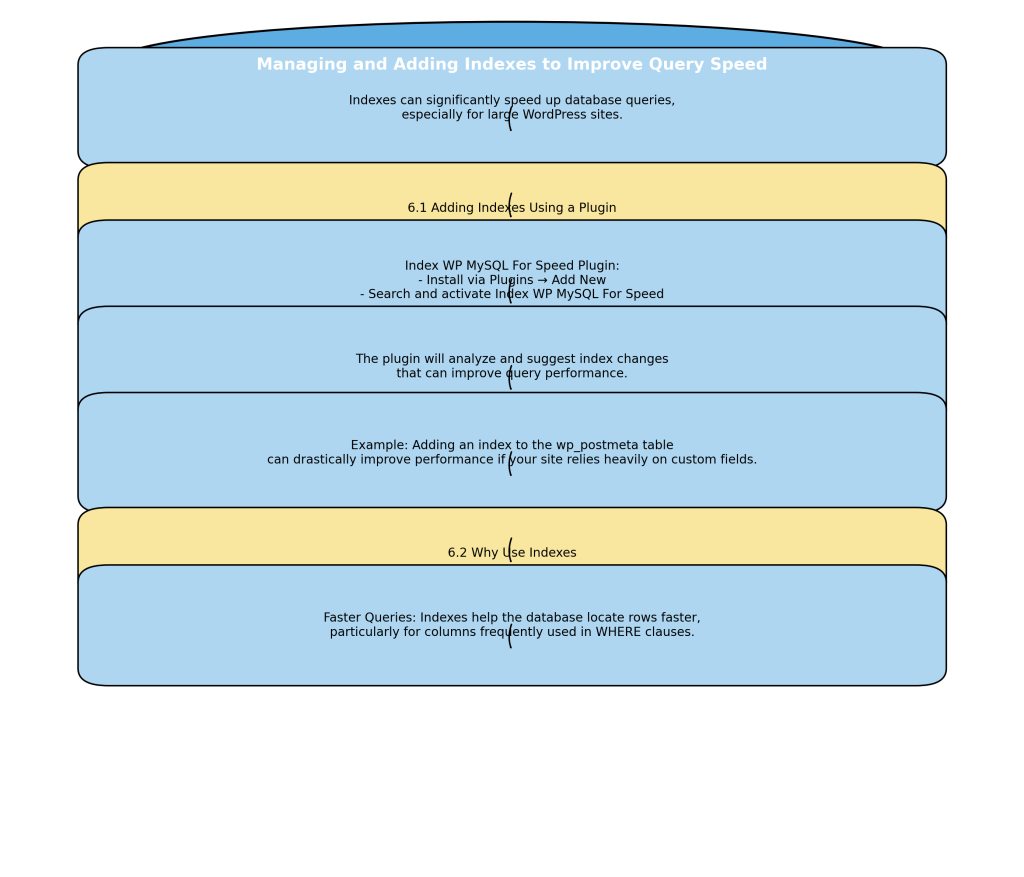
6. Managing and Adding Indexes to Improve Query Speed
Indexes can significantly speed up database queries, especially for large WordPress sites.
6.1 Adding Indexes Using a Plugin
- Index WP MySQL For Speed: This plugin helps add useful indexes automatically.
- Install via Plugins → Add New, search for Index WP MySQL For Speed, and activate it.
- It will analyze and suggest index changes that can improve query performance.
Example: Adding an index to the wp_postmeta table can drastically improve performance if your site relies heavily on custom fields.
6.2 Why Use Indexes
Faster Queries: Indexes help the database locate rows faster, particularly for columns frequently used in WHERE clauses.
7. Monitoring and Diagnosing Database Performance
Install Query Monitor: This plugin helps you understand which plugins or themes make slow queries.
- Install through Plugins → Add New, search for Query Monitor, and activate it.
- Navigate to Query Monitor on your admin toolbar to see a breakdown of all the database queries slowing down your site.
Follow-Up: Once you identify slow queries, consider optimizing the associated plugin or contacting the plugin developer for further assistance.
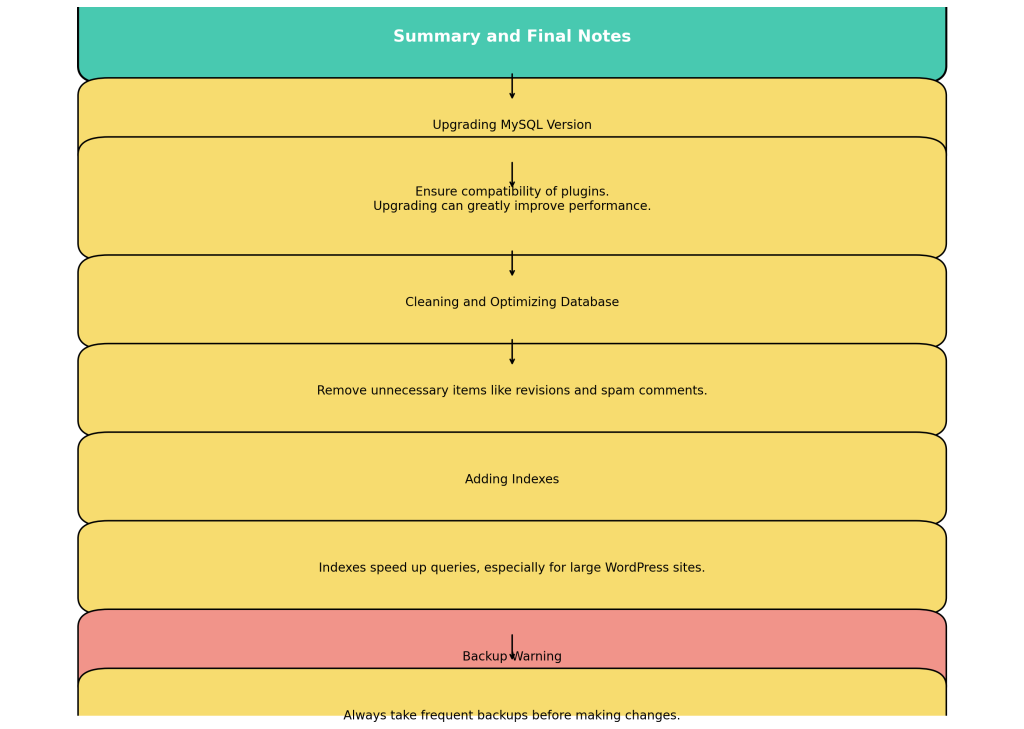
Summary and Final Notes
Optimizing your WordPress database is essential for ensuring a fast-loading website. Whether upgrading MySQL, cleaning up revisions, adding indexes, or defragmenting tables, these optimizations will significantly enhance your site’s performance. Remember to take frequent backups, use beginner-friendly plugins when needed, and always test changes in a staging environment first to ensure compatibility, especially when upgrading major components like MySQL.
If you follow the steps in this guide, you’ll be well on your way to a lean, fast, and optimized WordPress site.


Responses