
WordPress : Guide des tests automatisés et de l'intelligence artificielle
L'époque où l'on s'appuyait uniquement sur les tests manuels pour le développement de logiciels, y compris WordPress, est révolue. Le passage des tests manuels aux tests automatisés est une réponse à l'évolution des besoins des équipes de développement logiciel. Cet article offre une vue d'ensemble conviviale mais détaillée des raisons de ce changement, des avantages des tests automatisés et de l'intégration continue (IC) pour le développement de WordPress, et de la manière de mettre en œuvre ces pratiques de manière efficace.

1. Le passage du test manuel au test automatisé dans WordPress
Les tests manuels sont essentiels pour comprendre le fonctionnement d'une application, mais ils présentent de nombreuses limites. Ils prennent du temps, nécessitent des ressources importantes et sont sujets à l'erreur humaine, en particulier dans les scénarios répétitifs.
Les tests automatisés répondent à ces problèmes en fournissant un moyen rapide, efficace et cohérent de tester les applications WordPress. Que vous construisiez un simple blog ou un site web complexe destiné aux membres, les tests automatisés permettent de gagner du temps, de réduire les erreurs et de s'assurer que votre site web fonctionne comme prévu.

1.1 Pourquoi passer aux tests automatisés ?
- Maximiser l'efficacité: Les tests automatisés permettent d'exécuter rapidement de nombreux cas de test, ce qui réduit le temps et les efforts nécessaires par rapport aux tests manuels.
- Évolutivité: Au fur et à mesure que votre site web ou votre application devient plus complexe, les tests automatisés peuvent gérer davantage de scénarios sans augmenter la charge de travail de votre équipe de développement.
- Facilité d'intégration: Les tests automatisés s'intègrent de manière transparente dans le pipeline de développement, ce qui permet de détecter et de résoudre rapidement les erreurs. Ceci est crucial dans les environnements Agile et DevOps, où les mises à jour sont fréquentes.
- Répétable et fiable: Les tests automatisés peuvent être répétés dans plusieurs environnements, ce qui garantit que toutes les fonctionnalités continuent de fonctionner comme prévu, ce qui est particulièrement important pour les sites WordPress comportant divers plugins et personnalisations.
2. les avantages des tests automatisés et de CI/CD dans le développement de WordPress
Les tests automatisés et l'intégration continue/déploiement continu (CI/CD) sont essentiels pour maintenir des sites web WordPress de haute qualité.
- Tests automatisés permet aux développeurs de détecter les erreurs à un stade précoce, ce qui réduit les risques de déploiement de bogues dans la production.
- Intégration continue garantit que les modifications apportées au code par différents développeurs sont régulièrement fusionnées dans un référentiel partagé, ce qui réduit les conflits et les problèmes d'intégration.
- Déploiement continu automatise le déploiement des mises à jour, en veillant à ce que les dernières fonctionnalités soient mises en service de manière transparente, sans perturber les fonctionnalités existantes.

3. Outils clés pour les tests automatisés dans WordPress
Plusieurs outils peuvent être utilisés pour rationaliser les tests automatisés dans WordPress. Ces outils garantissent la qualité du code, vérifient la compatibilité des plugins et aident à identifier les problèmes dès le début du cycle de développement.
3.1 PHPUnit
PHPUnit est le cadre de test officiel que l'équipe de développement de WordPress a approuvé pour tester le code PHP. C'est un outil robuste qui assure la stabilité des plugins et des thèmes.
Configuration pas à pas de PHPUnit:
1. installez PHPUnit :
Installez PHPUnit via Composer. Exécutez la commande suivante pour l'installer :
composer require --dev phpunit/phpunitRaison: L'utilisation de Composer permet de s'assurer que vous disposez de la bonne version de PHPUnit compatible avec votre environnement WordPress.
2. cloner le dépôt de test de WordPress :
Clonez le dépôt de test WordPress pour créer un environnement de test isolé. Utilisez Git ou SVN pour le clonage :
git clone https://github.com/WordPress/wordpress-develop.gitRaison: Il vous fournit les fichiers et l'environnement nécessaires pour tester votre code WordPress sans affecter votre installation de production.
3. configurer votre environnement de test :
- Mettez en place un environnement de test local en utilisant un serveur local comme MAMP, WAMP ou Docker. Cette étape permet de s'assurer que l'environnement de test correspond le plus possible à votre environnement de production.
- Conseil: Docker est particulièrement utile pour créer des conteneurs isolés qui évitent les conflits avec votre installation de développement principale.
4. exécutez les tests PHPUnit :
Exécutez les tests à l'aide de la commande suivante :
./vendeur/bin/phpunitRaison: L'exécution de tests permet d'identifier les bogues dès le début du processus de développement, ce qui améliore la qualité du code et réduit les problèmes de déploiement.
PHPUnit est idéal pour tester les fonctionnalités de vos plugins et thèmes, et fournir des informations détaillées aux développeurs.
3.2 WP-CLI
WP-CLI est l'interface en ligne de commande pour WordPress, simplifiant la configuration et la gestion des tests PHPUnit.
Utiliser WP-CLI pour mettre en place des tests:
1. installez WP-CLI :
- Téléchargez WP-CLI à l'aide de la ligne de commande :
curl -O https://raw.githubusercontent.com/wp-cli/builds/gh-pages/phar/wp-cli.phar
chmod +x wp-cli.phar
mv wp-cli.phar /usr/local/bin/wpRaison: WP-CLI offre un moyen plus rapide de gérer les installations WordPress, particulièrement utile pour les tâches répétitives telles que la mise en place d'environnements de test.
2. générer les fichiers de test du plugin :
Utilisez WP-CLI pour créer des fichiers de tests unitaires pour votre plugin :
wp scaffold plugin-tests my-pluginRaison: Le wp scaffold plugin-tests crée tous les fichiers nécessaires pour commencer les tests, ce qui vous fait gagner du temps.
3. mettre en place la base de données de test :
Créez une base de données de test distincte pour exécuter les tests unitaires sans affecter vos données de production :
bash bin/install-wp-tests.sh wordpress_test root '' localhostConseil: Utilisez toujours une base de données de test dédiée afin d'éviter toute modification accidentelle des données de votre site réel.
4. exécuter les tests :
- Ecrivez des tests unitaires et exécutez-les en utilisant PHPUnit. WP-CLI aide à automatiser le processus d'échafaudage, ce qui simplifie le démarrage des tests.
3.3 Cypress pour les tests de bout en bout
Cyprès est un framework open-source permettant de créer des tests de bout en bout pour les sites web WordPress. Il est particulièrement utile pour tester la façon dont un site web interagit avec les utilisateurs.
Comment configurer Cypress:
1.Installer Cypress :
Installez Cypress via npm :
npm install cypress --save-devRaison: Cypress est conçu pour des tests de bout en bout, ce qui signifie qu'il teste l'ensemble du flux de travail de votre site web, fournissant ainsi des informations sur les interactions avec les utilisateurs.
2. configurez Cypress :
Cypress crée automatiquement les fichiers et dossiers nécessaires, tels que cypress.jsonpour configurer le cadre de travail. Vous pouvez configurer ce fichier en fonction des besoins de votre projet.
Conseil: Personnalisez le baseUrl en cypress.json pour l'adapter à votre environnement de test.
3. écrire des tests :
Cypress utilise JavaScript pour écrire des scripts de test. Par exemple, pour tester une page de connexion :
describe('Test de connexion', () => {
  it('devrait se connecter avec succès', () => {
    cy.visit('https://example.com/login') ;
    cy.get('input[name="username"]').type('user') ;
    cy.get('input[name="password"]').type('password') ;
    cy.get('button[type="submit"]').click() ;
    cy.contains('Tableau de bord').should('be.visible') ;
  }) ;
}) ;Raison: Cypress propose une syntaxe claire qui facilite l'écriture et la compréhension des cas de test, même pour les débutants.
4. exécuter les tests :
Exécutez les tests Cypress en utilisant :
npx cypress openConseil: L'interface utilisateur de Cypress représente visuellement chaque étape du test, ce qui facilite le débogage.
Cyprès offre un moyen très visuel et interactif de tester les interactions des utilisateurs, ce qui le rend particulièrement efficace pour les tests frontaux.

3.4 Behat pour le développement guidé par le comportement (BDD)
Behat est un framework qui se concentre sur le développement guidé par le comportement (BDD), ce qui est idéal pour tester les expériences des utilisateurs dans WordPress.
Configuration de Behat:
1. installez Behat :
Installez Behat en utilisant Composer :
composer require --dev behat/behatRaison: Behat vous permet de tester le comportement de votre application WordPress en langage naturel, en vous assurant que la fonctionnalité répond aux exigences de l'entreprise.
2. configurez Behat :
Créez un behat.yml fichier de configuration :
par défaut :
  suites :
    default :
      contextes :
        - FeatureContext
  extensions :
    Behat\MinkExtension :
      base_url : http://localhost
selenium2 : ~Conseil: Utilisez MinkExtension pour l'automatisation du navigateur, ce qui facilite la simulation des interactions avec l'utilisateur.
3 Scénarios d'écriture dans Gherkin :
Behat utilise Gherkin, un langage qui décrit le comportement des utilisateurs. Il s'agit d'un langage qui décrit le comportement de l'utilisateur :
Fonctionnalité : Connexion de l'utilisateur
  Scénario : Connexion réussie
    Je suis sur "/login"
    Lorsque j'inscris "username" avec "user", j'inscris "password" avec "password".
    Et que je remplis "password" avec "password"
    Et que j'appuie sur "Login"
Je devrais alors voir "Welcome to your dashboard" (Bienvenue dans votre tableau de bord)Raison: Le fait d'écrire en Gherkin permet aux parties prenantes non techniques de comprendre ce qui est testé.
4. exécuter les tests :
Exécutez Behat en utilisant :
vendor/bin/behatConseil: L'exécution fréquente de tests permet d'identifier les écarts entre les comportements attendus et les comportements réels.
Behat est idéal pour s'assurer que votre site web WordPress répond aux exigences de l'entreprise en se concentrant sur les scénarios de l'utilisateur final.
3.5 Codeception pour les tests complets
Codeception permet aux développeurs de réaliser des tests unitaires, fonctionnels et d'acceptation à partir d'un seul outil, offrant ainsi des tests complets pour les projets WordPress.
Comment configurer Codeception:
1.Installez Codeception :
Utilisez Composer pour installer Codeception :
composer require codeception/codeception --devRaison: Codeception prend en charge différents tests, ce qui le rend polyvalent pour les tests complets de WordPress.
2. initialiser Codeception :
Exécutez la commande d'initialisation pour configurer Codeception :
vendor/bin/codecept bootstrapConseil: L'initialisation de Codeception crée la structure de dossier requise pour les différentes suites de tests.
3. configurer les suites de tests :
- Personnalisez le fichier codeception.yml et configurez des suites spécifiques comme les tests d'acceptation ou les tests unitaires.
- Raison: Chaque suite a un objectif distinct, ce qui permet d'effectuer des tests ciblés.
4. écrire des tests :
Codeception prend en charge les scripts de test basés sur PHP pour tester différents scénarios, comme par exemple :
wantTo('s'assurer que la connexion fonctionne') ;
$I->amOnPage('/login') ;
$I->fillField('username', 'user') ;
$I->fillField('password', 'password') ;
$I->click('Connexion') ;
$I->see('Tableau de bord') ;Conseil: L'utilisation de noms de tests descriptifs facilite la compréhension des intentions et des résultats des tests.
5. exécuter les tests :
- Utilisez la commande pour exécuter les tests :
vendor/bin/codecept runCodeception combine différents tests en un seul flux de travail, validant ainsi des projets WordPress complexes de manière robuste.
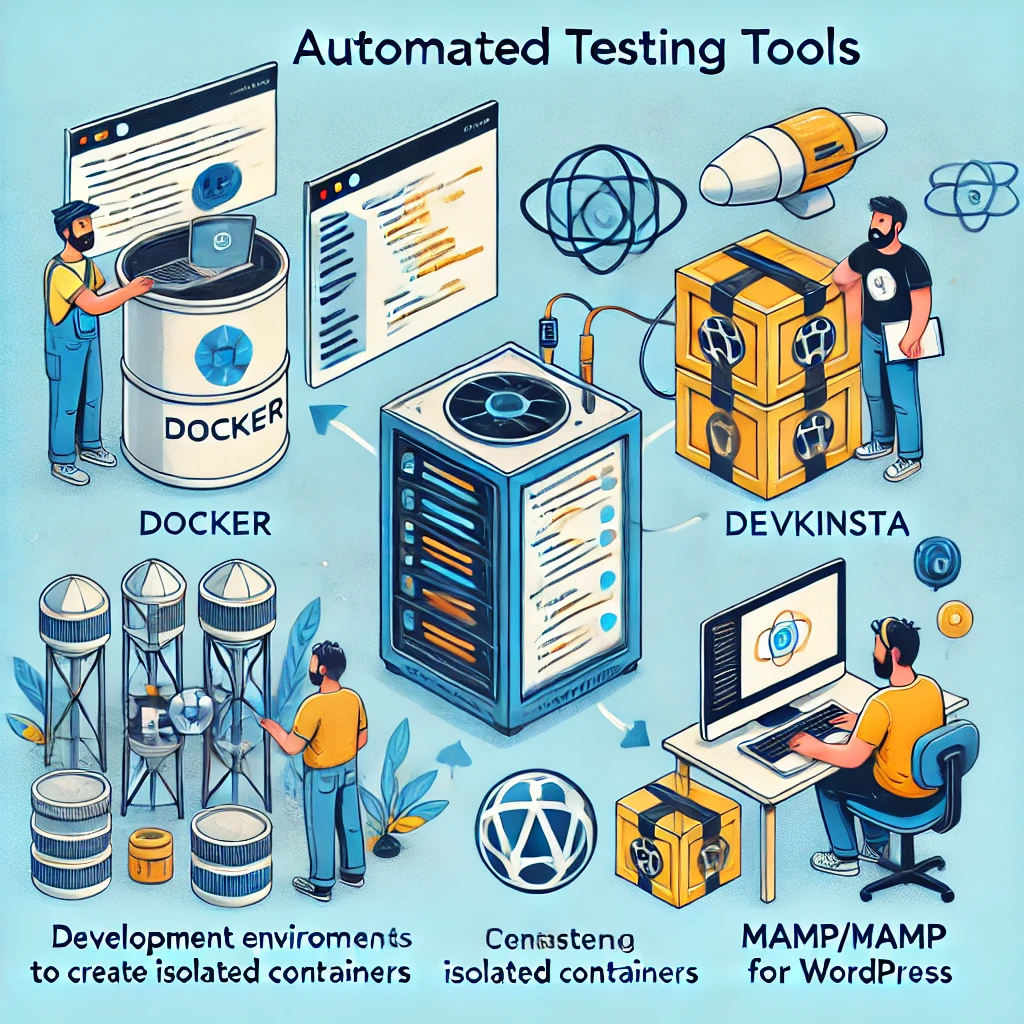
4. Intégration des outils de test dans les environnements de développement
L'intégration d'outils de test automatisés dans les environnements de développement permet de rationaliser et d'améliorer les processus de test. Voici comment vous pouvez intégrer ces outils dans différents environnements :
- Docker: Utilisez Docker pour créer des conteneurs isolés qui reflètent votre environnement de production, garantissant ainsi la cohérence de vos tests dans différents environnements.
- Conseil: Docker vous permet d'exécuter vos tests dans des environnements identiques à la production, ce qui minimise les problèmes de type "ça marche sur ma machine".
- DevKinsta: DevKinsta fournit un environnement de développement WordPress local complet, facilitant l'intégration d'outils tels que PHPUnit et Behat.
- Conseil: Utilisez DevKinsta pour tester localement et identifier les problèmes avant de déployer les changements.
- MAMP/WAMP: MAMP et WAMP créent des environnements locaux


Réponses