A Comprehensive Guide to Simplifying Elementor Editing with JSON Files
1. Introduction
In the ever-evolving landscape of web development, efficiency and scalability are paramount. Elementor, a leading WordPress page builder, offers unparalleled design flexibility. However, as projects grow in complexity, managing content and layouts can become cumbersome. This is where JSON (JavaScript Object Notation) comes into play. By leveraging JSON files, developers can simplify and streamline the editing process in Elementor, leading to faster development cycles and more maintainable codebases.

1.1 Understanding Elementor
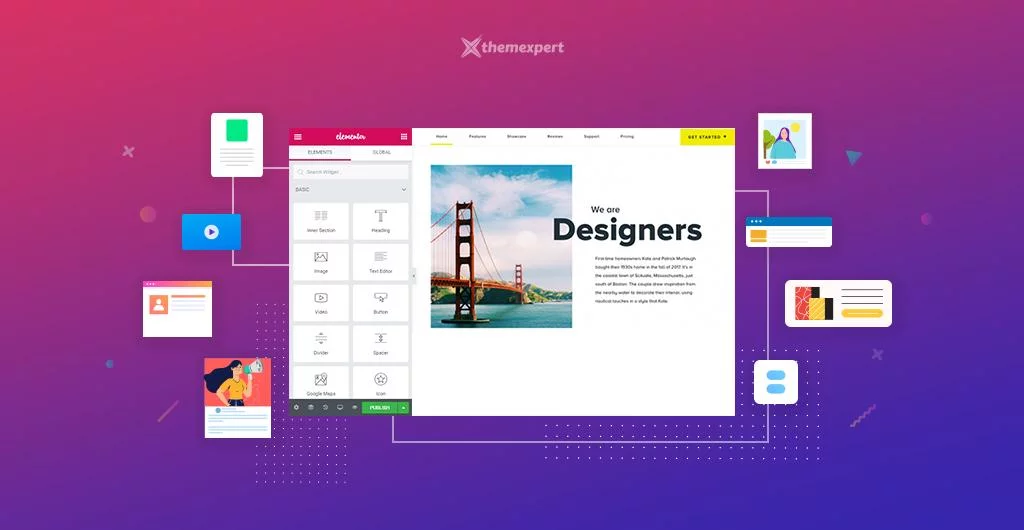
Elementor revolutionized the way we build WordPress websites by introducing a visual, drag-and-drop interface. It allows for real-time editing and offers a vast library of widgets and templates. Despite its user-friendly nature, advanced customization can still be time-consuming, especially when dealing with repetitive tasks or complex layouts.

1.2 The Role of JSON in Web Development
JSON is a lightweight data-interchange format that is easy for humans to read and write, and easy for machines to parse and generate. It has become the de facto standard for data exchange on the web, thanks to its simplicity and compatibility with JavaScript.

1.3 Why Combine JSON with Elementor?
Integrating JSON with Elementor offers several advantages:
- Automation: Automate repetitive tasks by defining structures and content in JSON.
- Scalability: Easily manage large amounts of data and complex layouts.
- Dynamic Content: Fetch and display data from external sources or APIs.
- Portability: Export and import templates across different projects seamlessly.

2. Getting Started with JSON
Before diving into the integration, it’s crucial to understand the basics of JSON and how to work with it effectively.

2.1 Basics of JSON Syntax
JSON structures data using key-value pairs and ordered lists.
- Objects: Defined using curly braces
{}and contain key-value pairs. - Arrays: Defined using square brackets
[]and contain ordered lists of values.
{
  "title": "Welcome to My Website",
  "pages": [
    {
      "name": "Home",
      "url": "/home"
    },
    {
      "name": "About",
      "url": "/about"
    }
  ]
}
2.2 Tools for Editing JSON Files
- Text Editors: Visual Studio Code, Sublime Text, Atom.
- JSON Validators: JSONLint, JSON Formatter.
- Browser Extensions: JSON Viewer, JSON Editor.
3. Deep Dive into Elementor’s Structure
Understanding how Elementor stores and manages data is essential for effective integration.
3.1 How Elementor Stores Data
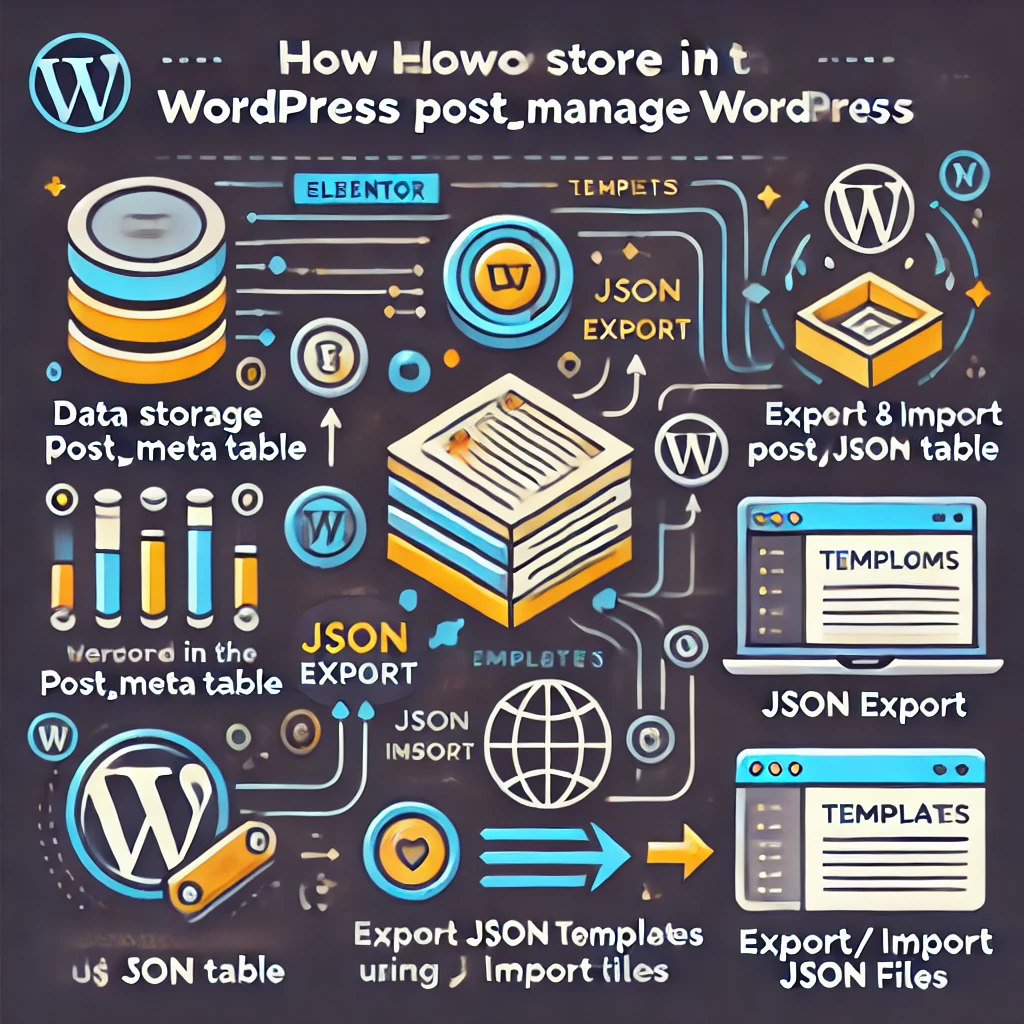
Elementor saves page layouts and content as serialized data in the WordPress database, specifically in the post_meta table. When you export a template, Elementor generates a JSON file containing this data.
3.2 Exporting and Importing Templates
- Exporting:
- Navigate to Templates > Saved Templates.
- Select the template and click Export.
- Importing:
- Go to Templates > Saved Templates.
- Click on Import Templates and upload your JSON file.

4. Creating Custom JSON Files for Elementor
By manually creating or editing JSON files, you can define custom page layouts and content.
4.1 Defining Page Structures
Start by outlining the sections, columns, and widgets.
Example Structure:
{
  "sections": [
    {
      "id": "section1",
      "settings": {},
      "elements": [
        {
          "id": "column1",
          "settings": {},
          "elements": [
            {
              "id": "widget1",
              "widgetType": "heading",
              "settings": {
                "title": "Hello World"
              }
            }
          ]
        }
      ]
    }
  ]
}
4.2 Custom Widgets and Elements
Define custom widgets by specifying the widgetType and associated settings.

Example:
{
  "id": "widget2",
  "widgetType": "image",
  "settings": {
    "image": {
      "url": "https://example.com/image.jpg"
    },
    "caption": "An example image"
  }
}
4.3 Styling and Global Settings
Apply styles globally or to specific elements.

Global Styles:
{
  "global": {
    "typography": {
      "font_family": "Arial",
      "font_size": "16px"
    },
    "colors": {
      "primary": "#3498db",
      "secondary": "#2ecc71"
    }
  }
}
Element Styles:
{
  "id": "widget3",
  "widgetType": "button",
  "settings": {
    "text": "Click Me",
    "style": {
      "background_color": "#e74c3c",
      "text_color": "#ffffff"
    }
  }
}
Element Styles:
{
  "id": "widget3",
  "widgetType": "button",
  "settings": {
    "text": "Click Me",
    "style": {
      "background_color": "#e74c3c",
      "text_color": "#ffffff"
    }
  }
}
5. Advanced Techniques
Elevate your Elementor projects by incorporating advanced JSON strategies.

5.1 Dynamic Content with JSON
Utilize dynamic tags to insert data that changes based on context.
Example:
{
  "id": "widget4",
  "widgetType": "text-editor",
  "settings": {
    "content": "{{dynamic_tag}}"
  }
}
5.2 Integrating APIs and External Data
Fetch data from APIs and display it using custom widgets.
Fetching Data:
{
  "id": "widget5",
  "widgetType": "html",
  "settings": {
    "html": "<div id='api-data'></div>",
    "custom_js": "fetch('https://api.example.com/data').then(response => response.json()).then(data => { document.getElementById('api-data').innerText = data.value; });"
  }
}

5.3 Automation and Batch Processing
Automate the creation of JSON files using scripts.
- Scripting Languages: Python, Node.js.
- Use Cases: Generating multiple pages from a dataset.
Python Example:
import json

pages = ['Home', 'About', 'Services', 'Contact']
for page in pages:
    data = {
        "title": page,
        "sections": []
    }
    with open(f'{page.lower()}.json', 'w') as file:
        json.dump(data, file)
6. Case Study: Building a Dynamic Portfolio Site
A practical example of applying the concepts covered.

6.1 Project Overview
Create a portfolio site that automatically updates with new projects using JSON and Elementor.
6.2 Step-by-Step Implementation
- Define the Data Structure:
- Create a JSON file listing all projects.
- Include fields like
title,description,image_url, andproject_url.
- Create a Template in Elementor:
- Design a single project layout.
- Use dynamic tags to populate data.
- Fetch and Display Data:
- Use a custom widget to loop through the projects.
- Implement JavaScript to render each project.
Sample JSON Data:
[
  {
    "title": "Project One",
    "description": "Description of project one.",
    "image_url": "https://example.com/project1.jpg",
    "project_url": "https://example.com/project1"
  },
  {
    "title": "Project Two",
    "description": "Description of project two.",
    "image_url": "https://example.com/project2.jpg",
    "project_url": "https://example.com/project2"
  }
]
6.3 Challenges and Solutions
- Challenge: Ensuring data consistency.
- Solution: Validate JSON files before importing.
- Challenge: Handling asynchronous data loading.
- Solution: Implement loading states and error handling in JavaScript.
7. Performance Optimization

Efficient websites provide better user experiences and SEO benefits.
7.1 Minimizing File Sizes
- Compression: Use tools to compress JSON files.
- Selective Loading: Load only the necessary data for each page.
7.2 Lazy Loading and Asynchronous Data
- Images: Implement lazy loading for images to improve initial load times.
- Data: Fetch data asynchronously to prevent blocking the rendering process.
7.3 Caching Strategies
- Browser Caching: Set appropriate headers to cache static resources.
- Server-Side Caching: Use plugins or server configurations to cache dynamic content.
8. Troubleshooting Common Issues
Even with careful planning, issues may arise.

8.1 JSON Parsing Errors
- Symptoms: Errors when importing JSON files.
- Solutions:
- Use JSON validators.
- Check for missing commas, brackets, or quotation marks.
8.2 Compatibility Problems
- Symptoms: Widgets not displaying correctly.
- Solutions:
- Ensure Elementor and WordPress are up to date.
- Verify that custom widgets are properly registered.
8.3 Data Security Considerations
- Symptoms: Unauthorized access to sensitive data.
- Solutions:
- Sanitize all inputs.
- Avoid exposing sensitive information in JSON files.
9. Future Trends

Stay ahead by understanding where the industry is heading.
9.1 The Evolution of Elementor and JSON
- Enhanced Dynamic Content: More integration with external data sources.
- Improved Developer Tools: Better support for custom widgets and templates.
9.2 Emerging Technologies to Watch
- Headless CMS: Decoupling front-end and back-end for more flexibility.
- GraphQL: Efficient data querying that could complement or replace REST APIs.
10. Conclusion
Integrating JSON files with Elementor unlocks a new level of efficiency and scalability in web development. By automating repetitive tasks, enabling dynamic content, and simplifying complex layouts, developers can focus on creating engaging user experiences. As both Elementor and web technologies evolve, staying informed and adaptable will ensure continued success in building high-quality websites.






Responses