


Introduction
One effective way to enhance this experience is by adding a preloader—an animation or image that appears while the page content loads in the background. This gives users a seamless transition as they wait, ensuring your site feels polished and professional. In this guide, we’ll walk through each step of setting up a preloader in Elementor Pro, allowing you to display custom animations or brand logos that reinforce your site’s identity.
Click to go to Elementor Pro genuine purchase channel.


What is a Preloader and Why Use It?
A preloader is a placeholder animation or graphic that displays while your site’s content is loading. This can be especially useful for pages with heavy content that may take longer to load. Using a preloader creates a better user experience by reducing perceived load time, keeping users engaged, and preventing them from seeing partially loaded pages. Additionally, a preloader allows you to showcase your branding and add a bit of personality to your website.
How to Create a Preloader in Elementor Pro
Step 1: Create a Header Template
The first step is to create a header template that includes the preloader. By placing the preloader in a header template, you can ensure it appears consistently across all pages on your website.
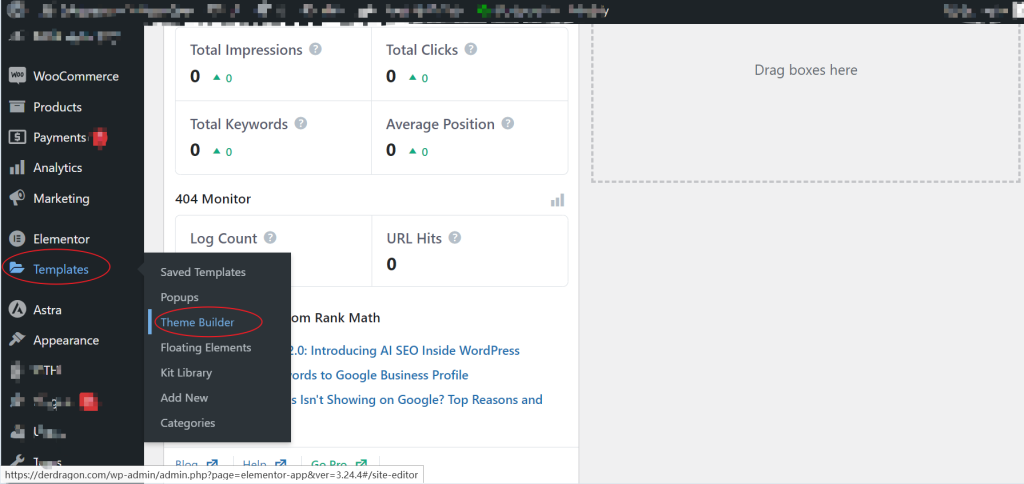
Access the Theme Builder:
- Go to your Elementor Dashboard, navigate Templates, and select Theme Builder.

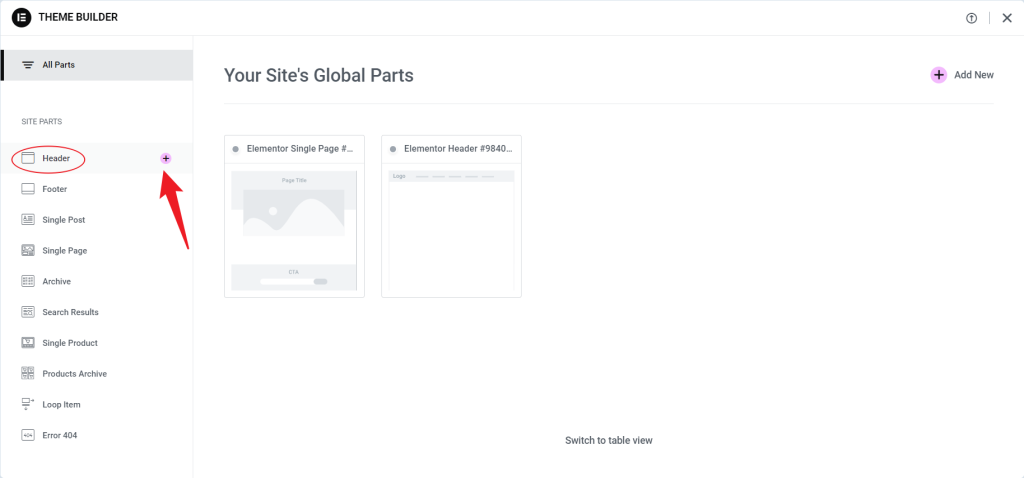
Create a New Header Template:
- In the Theme Builder, locate the Header section and click the + icon to create a new template.

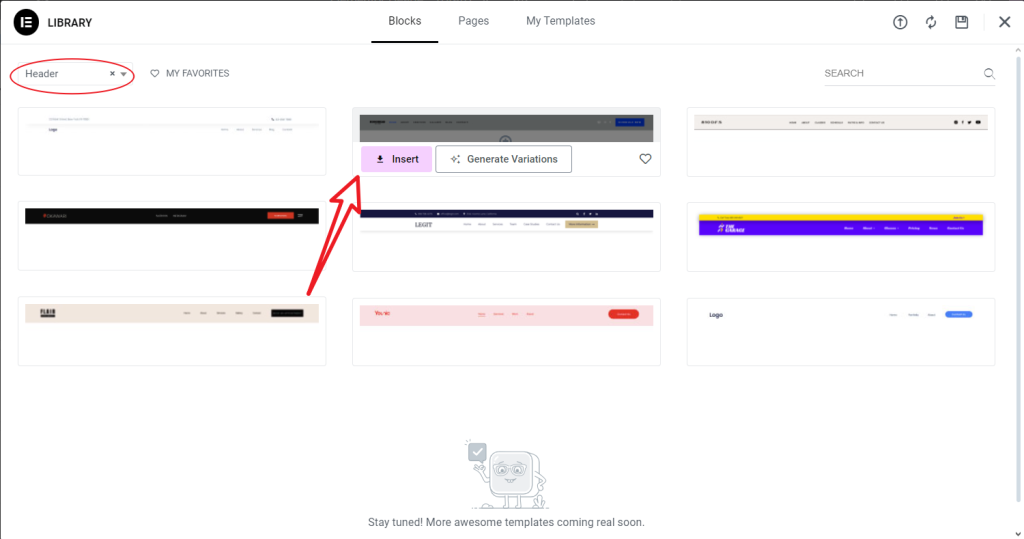
- Select a template and click Insert to go to the page.

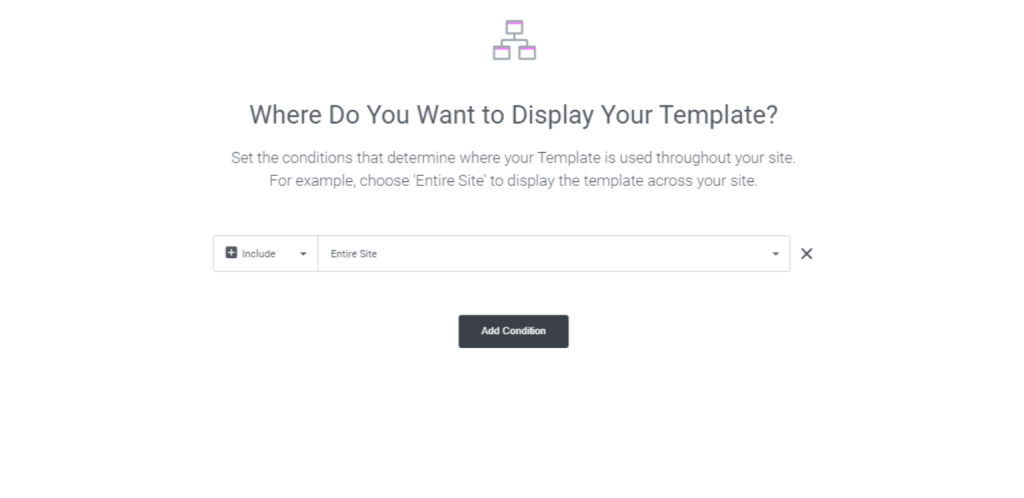
Publish the Template:
- After designing your header, click Publish.
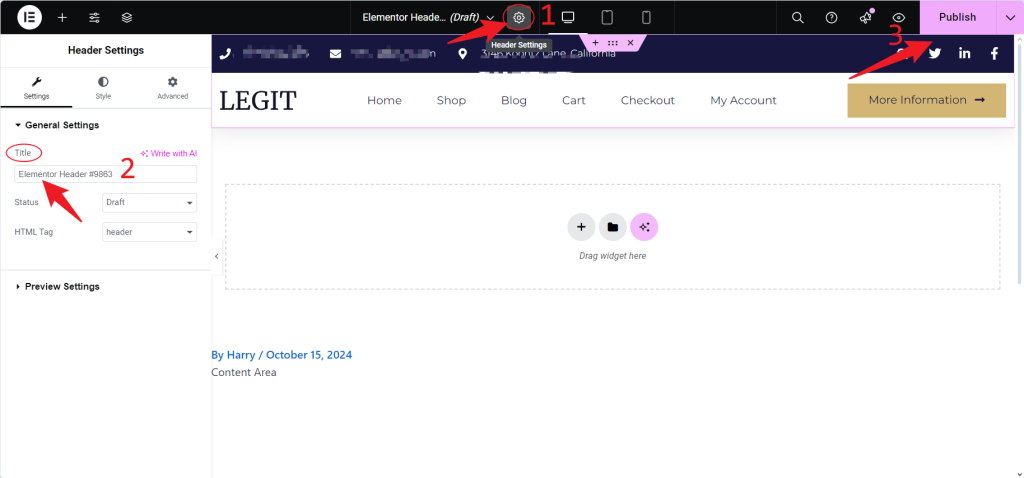
- When prompted with the display conditions, select Entire Site to ensure the preloader is applied to every page on your website.
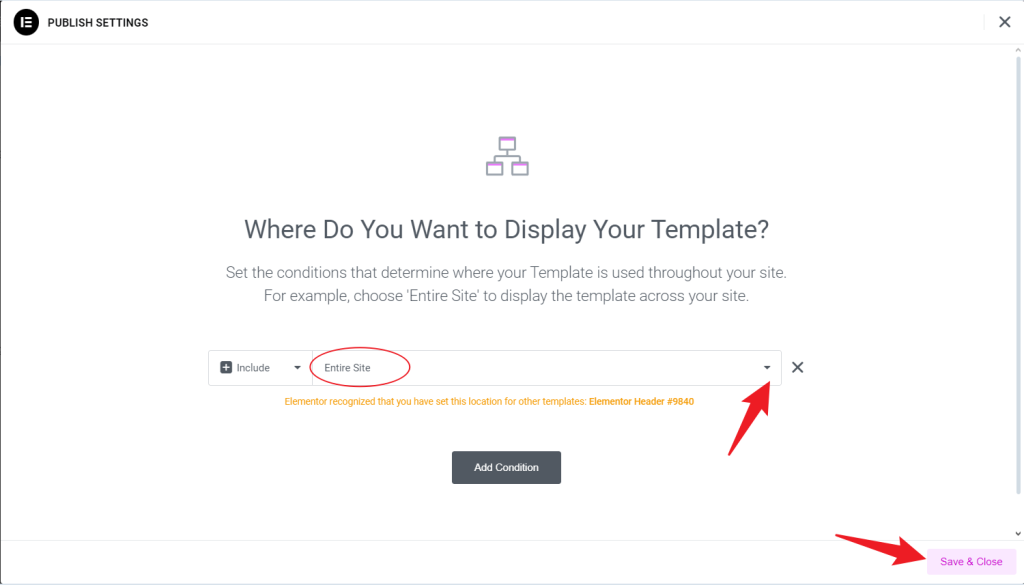
- Click Save & Close.
Step 2: Add a Container and Set a CSS ID

Now, let’s add a container that will house the preloader animation. Setting a unique CSS ID for this container will allow us to target it with CSS and JavaScript later.
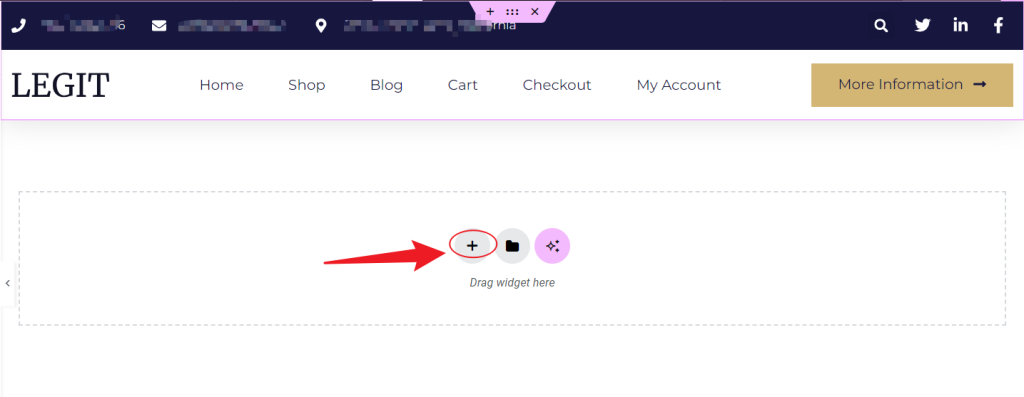
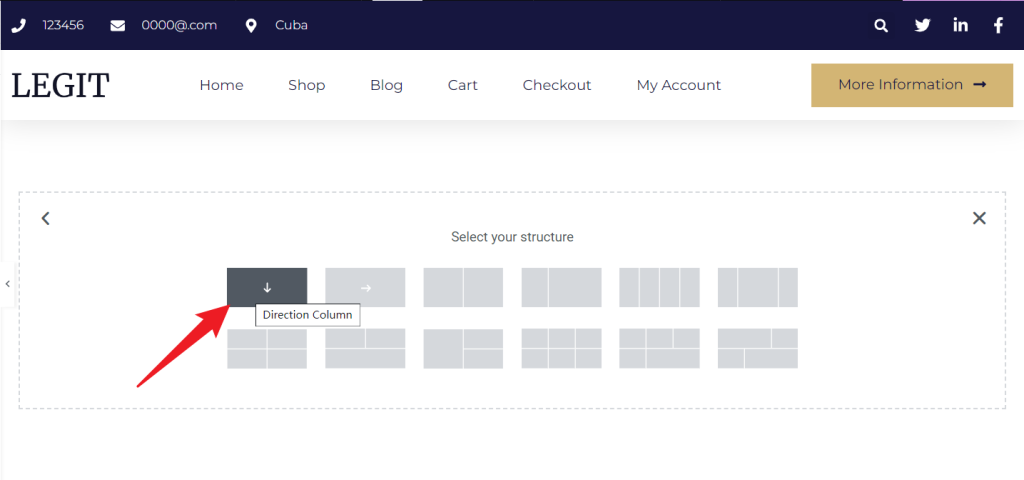
Add a Container:
- Within your new header template, add a single-column container.

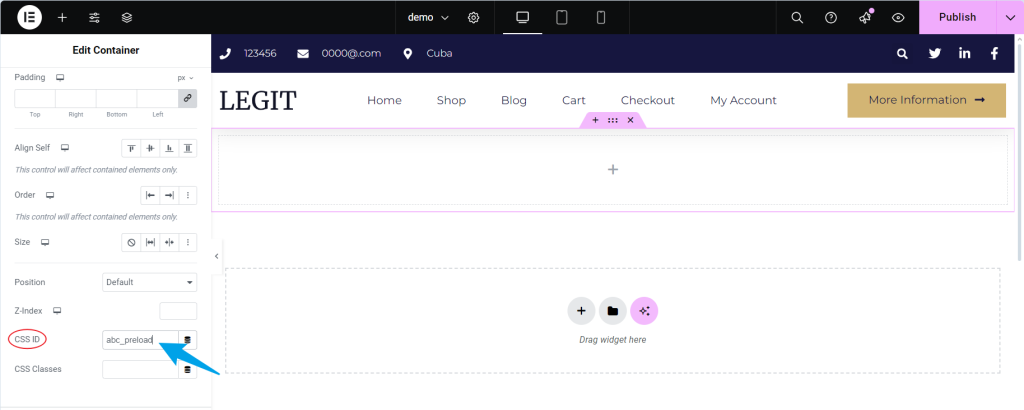
Set the CSS ID:
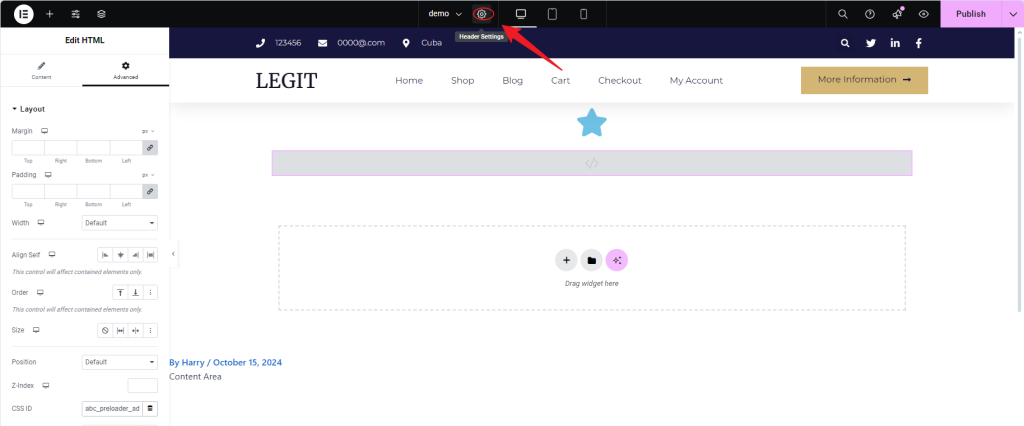
- Go to the Advanced tab of the container’s settings.

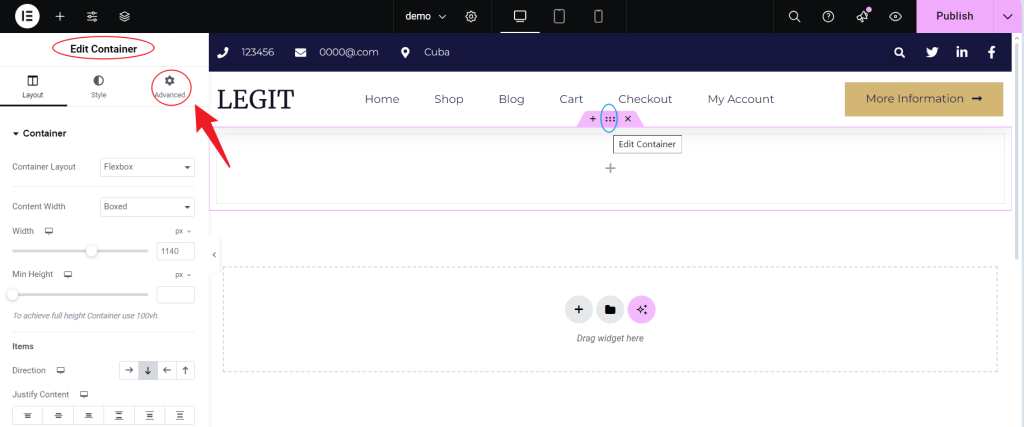
- In the CSS ID field, enter abc_preload. This ID will be used to apply custom CSS and JavaScript to control the preloader’s behavior.

Step 3: Add an Icon or Image Widget
To create the visual element of your preloader, you can add an Icon or Image widget to display either a loading icon or your brand’s logo.
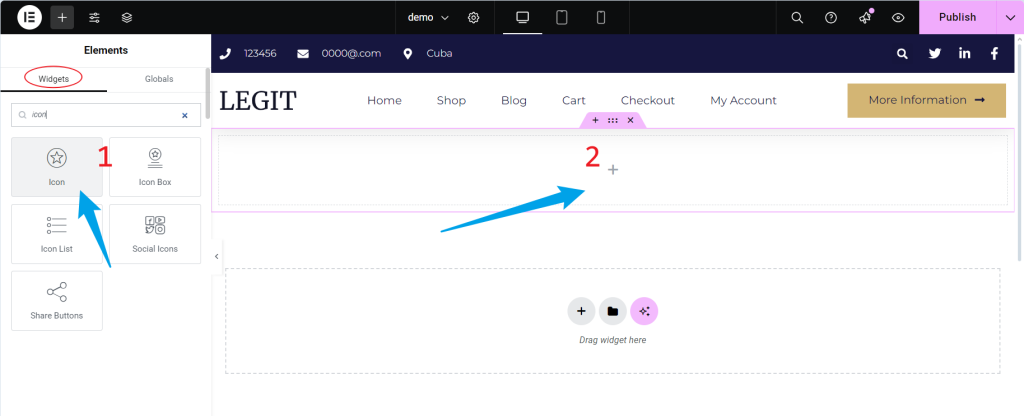
Add the Widget:
- You can add an Icon or Image widget to the container, depending on whether you want a standard loading icon or a custom logo.

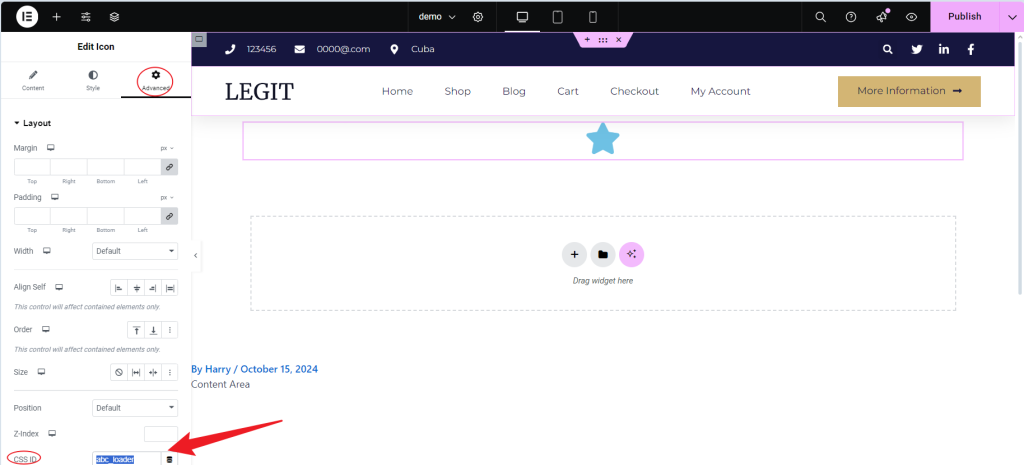
Set the CSS ID for the Widget:
- Go to the Advanced tab of the widget’s settings and set the CSS ID to abc_loader.

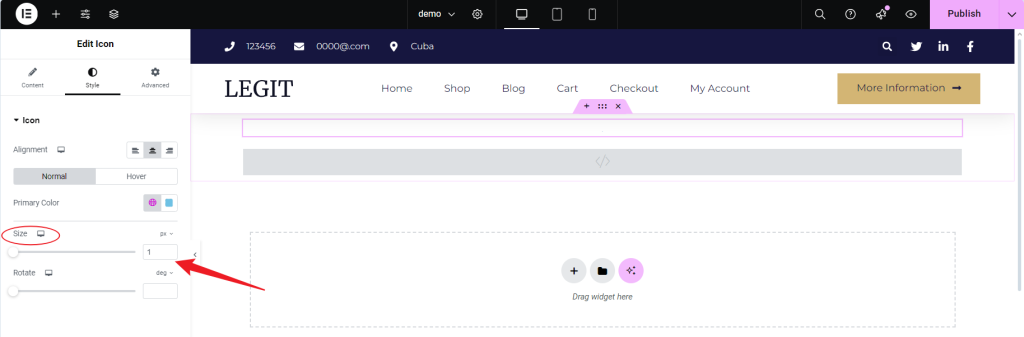
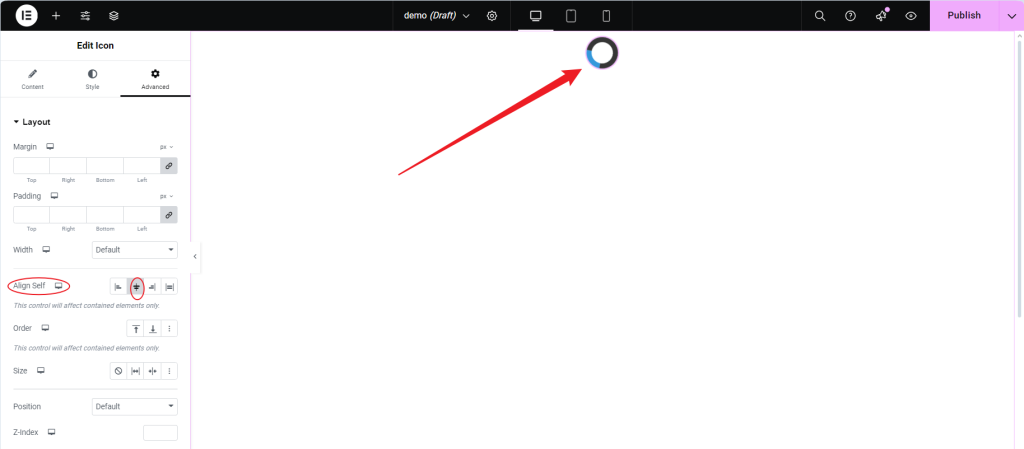
Style the Icon or Image:
- Navigate to the Style tab and adjust the icon or image size to suit your design. It’s often best to use icons with a size of around 1px.

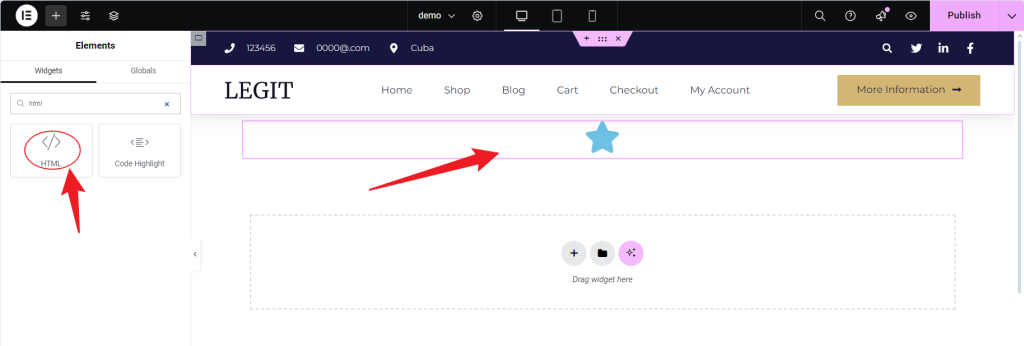
Step 4: Add an HTML Widget to Control the Preloader
Next, we’ll add an HTML widget that contains JavaScript to control when the preloader is displayed and when it disappears. This script will hide the preloader after a short delay, allowing your content to load smoothly.
Add the HTML Widget:
- Below the Icon or Image widget, add an HTML widget.


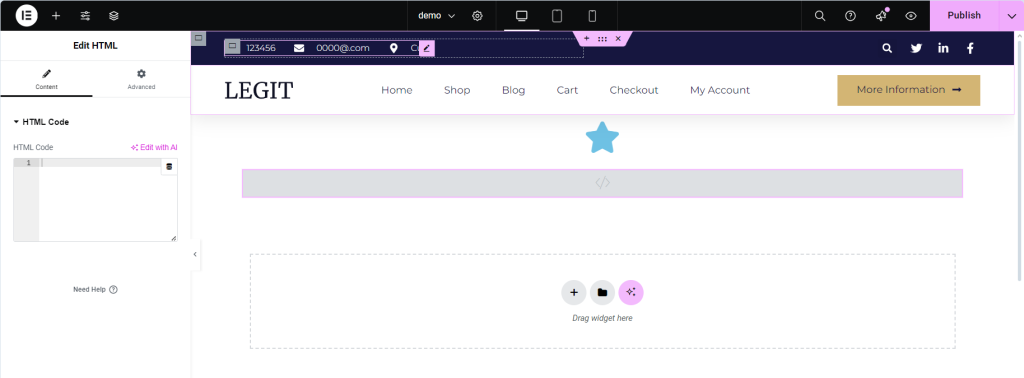
Insert JavaScript Code:
- In the HTML widget, paste the following JavaScript code:
<script>
  document.addEventListener('DOMContentLoaded', function () {
    setTimeout(function () {
      document.getElementById('abc_preload').style.display = 'none';
      document.getElementById('content').classList.add('visible');
    }, 2000); // Adjust the delay as needed (in milliseconds)
  });
</script>

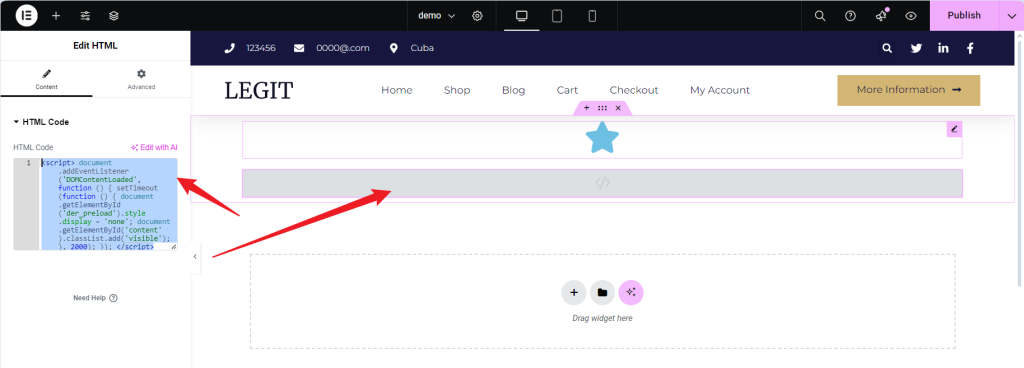
This code will hide the preloader 2 seconds after the page content has started loading. Based on your website’s average load time, you can adjust the 2000 value to increase or decrease the delay (in milliseconds).
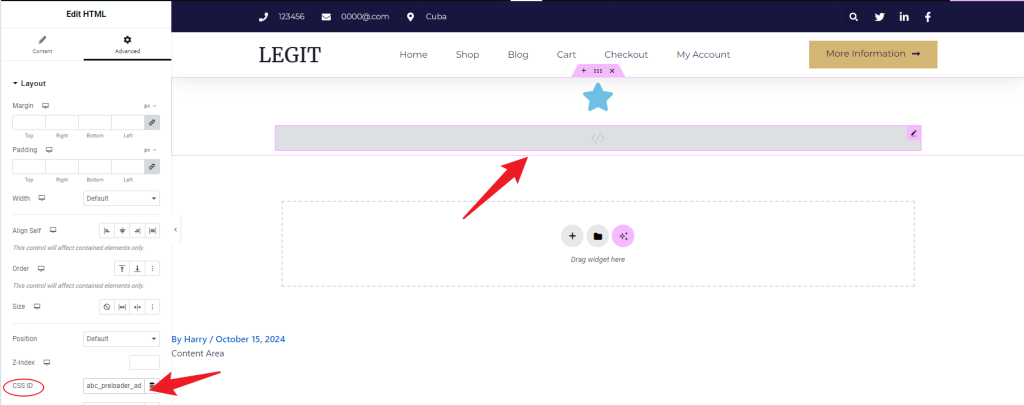
Set the CSS ID for the HTML Widget:
- In the HTML widget’s Advanced tab, set the CSS ID to abc_preloader_adds to prevent unintended spacing.

Step 5: Add Custom CSS for Styling the Preloader
With the structure in place, we’ll add custom CSS to style the preloader container and the loading animation.
Open Custom CSS Settings:
- Click the Page Setting icon (gear icon) in the Elementor panel.

- Go to the Advanced tab and open the Custom CSS section.

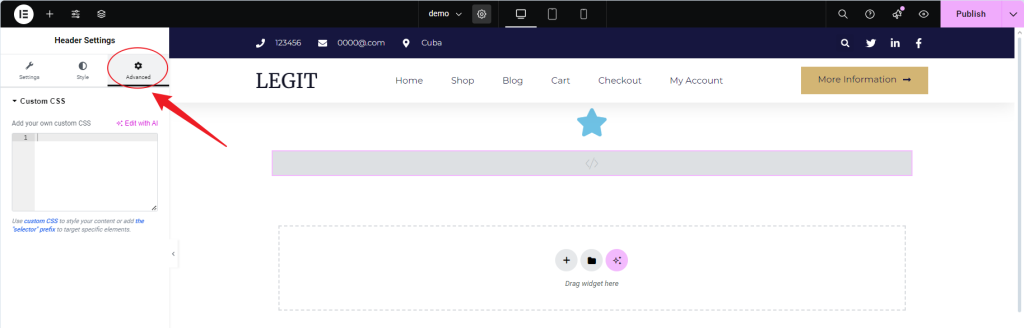
- Paste the Following CSS Code:
#abc_preload {
  position: fixed;
  top: 0;
  left: 0;
  width: 100%;
  height: 100%;
  background: #fff;
  display: flex;
  align-items: center;
  justify-content: center;
  z-index: 1000;
}

#abc_loader {
  border: 8px solid #363636;
  border-top: 8px solid #3498db;
  border-radius: 50%;
  width: 50px;
  height: 50px;
  animation: spin 1s linear infinite;
}

@keyframes spin {
  0% { transform: rotate(0deg); }
  100% { transform: rotate(360deg); }
}

#abc_preloader_adds {
  display: none;
}

- This code will:
- Cover the entire page with a white background until the preloader is hidden.
- Center the loader (#abc_loader) both vertically and horizontally on the page.
- Animate the loader to spin indefinitely.

Step 6: Publish the Template and Test the Preloader
Publish the Header Template:
- Click Publish and confirm the display conditions as Entire Site to ensure the preloader is active across your site.

Test the Preloader:
- Visit your website to see the preloader in action. If the loading time feels too short or long, adjust the delay in the JavaScript code as needed.
Conclusion
Adding a preloader to your Elementor Pro website enhances user experience by creating a seamless transition while content loads. This animation or graphic engages users, reducing perceived load times, and reinforces your brand’s identity with custom visuals like logos or loading icons. The setup process involves:
- Creating a header template.
- Adding a container for the preloader.
- CSS and JavaScript are used to control its appearance and behavior.
Customizable and responsive, a well-designed preloader adds a polished touch to your site, ensuring a smooth, professional experience across all devices.

FAQs
1. What are the benefits of using a preloader?
A preloader can enhance user experience by reducing perceived loading time, keeping users engaged, and adding a professional look to your site. It also helps prevent users from seeing partially loaded pages, creating a smoother browsing experience.
2. Can I customize the preloader animation?
Yes, you can customize the preloader animation by modifying the CSS in the code. You can change the #abc_loader element to include different types of animations, colors, sizes, and other visual effects. If desired, You can replace the icon with a GIF or another custom animation.
3. How can I adjust the duration of the preloader?
In the JavaScript code, you’ll see a 2000 value in the setTimeout function, representing the delay in milliseconds. You can change this value to increase or decrease the time the preloader is visible. For example, changing it to 3000 will make the preloader display for 3 seconds.