A Comprehensive Guide to WordPress Theme Development

WordPress is the most popular website-building platform in the world, powering over 40% of all websites. Custom theme development allows you to create unique designs and functionality, providing personalized solutions for users and clients. Learning how to develop a WordPress theme gives you the flexibility to tailor websites to specific needs. This guide will take you through the essentials of WordPress theme development, helping you to get started efficiently.

1. The Structure of a WordPress Theme
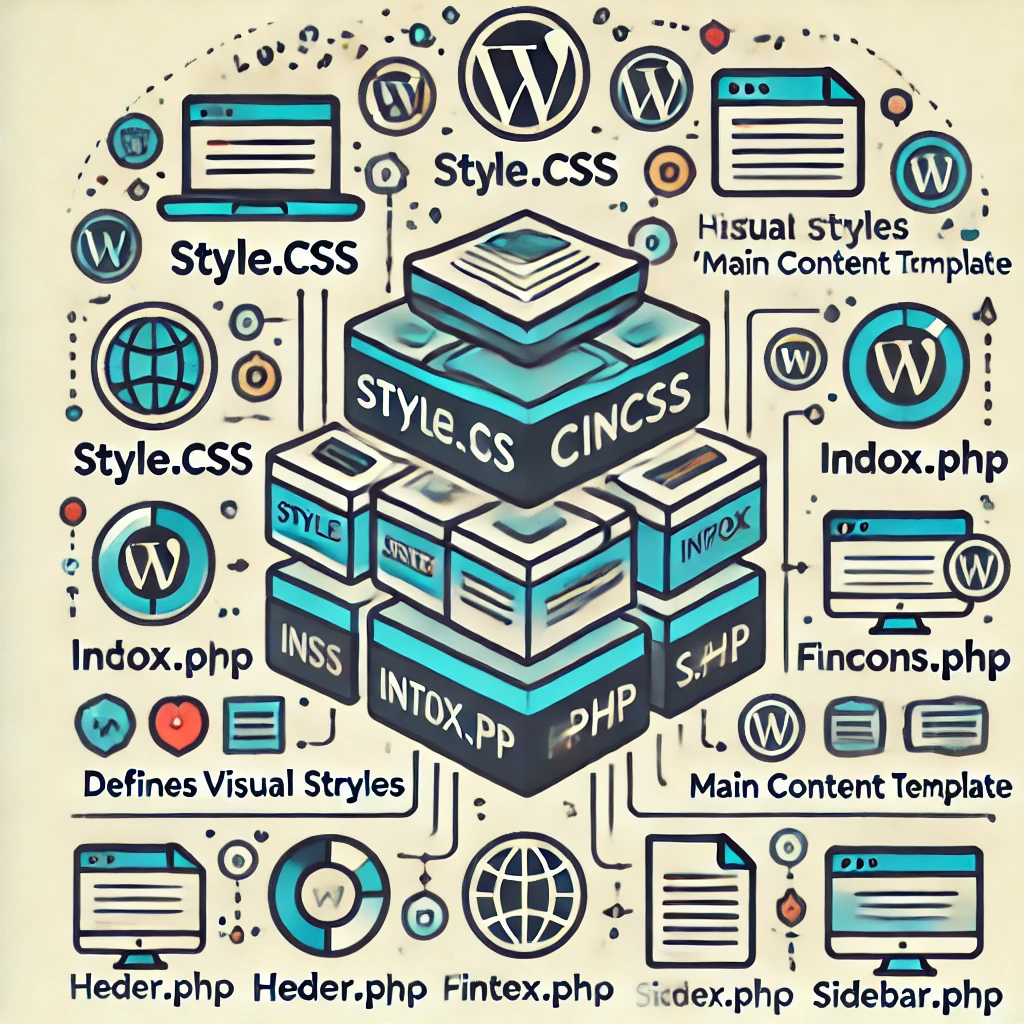
A WordPress theme is essentially a collection of template files, stylesheets, scripts, and functionality code. At the very least, a theme needs three core files:
- style.css: Defines the visual styles of the website.
- index.php: The main template file, serving as the foundation for displaying content.
- functions.php: The functionality file that allows you to register menus, enable features like featured images, and define custom functions.
Typically, a theme also includes header.php, footer.php, and sidebar.php to organize different parts of the layout, making development and maintenance easier.
2. Setting Up the Development Environment
Before you start developing a theme, you need to set up your development environment:
- Local Server: Use tools like XAMPP, Local by Flywheel, or WAMP to create a local environment to build and test your theme.
- Code Editor: Tools like Visual Studio Code or Sublime Text are popular for their extensive features and plugin support that enhance productivity.
- Browser Developer Tools: These are essential for inspecting and debugging CSS and JavaScript.
3. Building Your First Theme
- Create a Theme Folder: In the
/wp-content/themes/directory of your WordPress installation, create a new folder with a descriptive name for your theme. - Write style.css: Add basic theme information to
style.cssso that WordPress can recognize the theme. - Develop index.php: Create a basic template that includes HTML structure and The Loop—WordPress’s way of fetching and displaying posts.

Here’s an example of the style.css template:
/*
Theme Name: My Custom Theme
Author: Your Name
Description: A custom WordPress theme for learning purposes
Version: 1.0
*/
4. Understanding The WordPress Loop
The Loop is the fundamental mechanism used by WordPress to display posts. It controls how content is rendered on the front end. Here is a basic example of The Loop:
<?php if ( have_posts() ) : ?>
    <?php while ( have_posts() ) : the_post(); ?>
        <h2><?php the_title(); ?></h2>
        <div><?php the_content(); ?></div>
    <?php endwhile; ?>
<?php else : ?>
    <p>No posts found.</p>
<?php endif; ?>
Practical Example: Developing a Blog Theme

To illustrate these concepts, let’s create a simple blog theme. Start by creating a header.php file to hold the header section of your site:
<!DOCTYPE html>
<html <?php language_attributes(); ?>>
<head>
    <meta charset="<?php bloginfo( 'charset' ); ?>">
    <meta name="viewport" content="width=device-width, initial-scale=1.0">
    <?php wp_head(); ?>
</head>
<body <?php body_class(); ?>>
    <header>
        <h1><a href="<?php echo esc_url( home_url( '/' ) ); ?>"><?php bloginfo( 'name' ); ?></a></h1>
        <p><?php bloginfo( 'description' ); ?></p>
    </header>
You can then include this header in your index.php file using get_header(). This modular approach helps keep your code organized and reusable.
5. Adding Custom Functionality
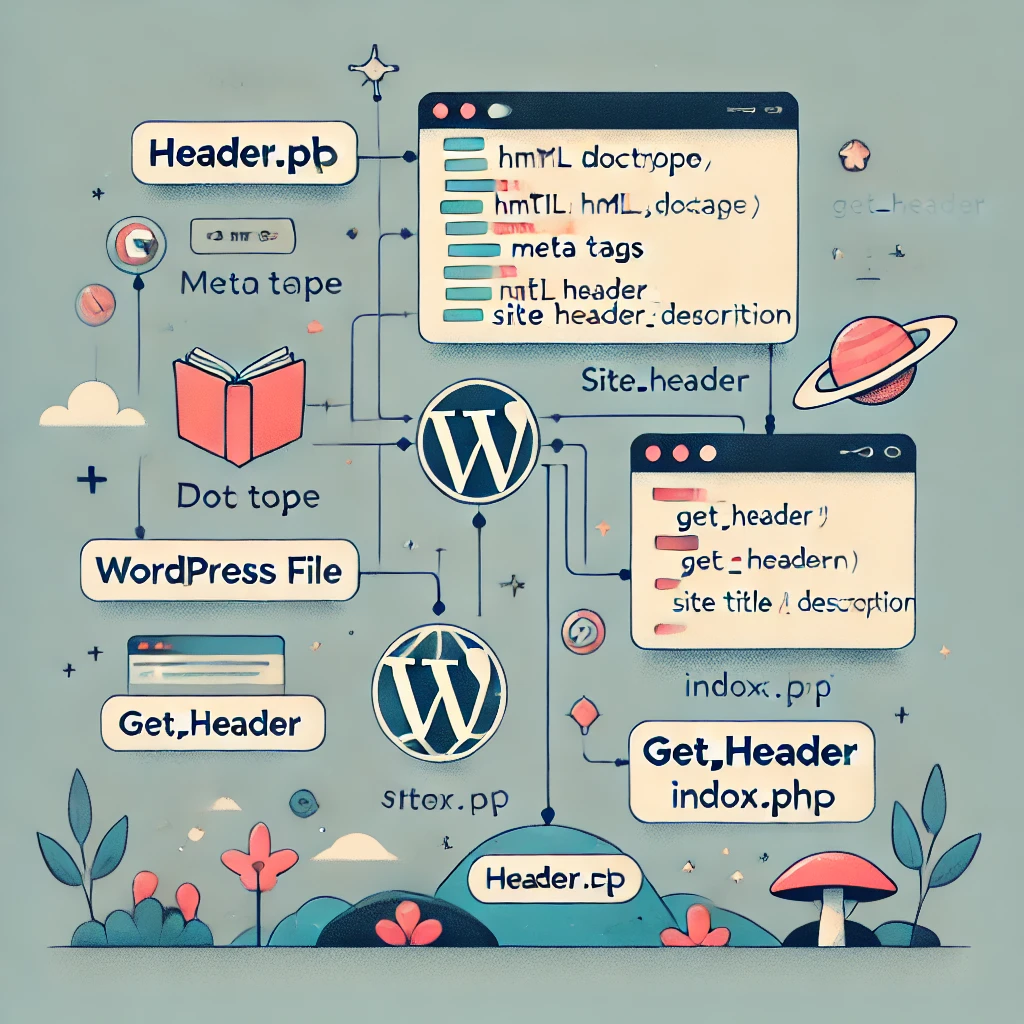
Through functions.php, you can add custom features to your theme. For instance, you can register navigation menus, enable support for post thumbnails, add widgets, and more. Here’s how to register a navigation menu:
<?php
function my_custom_theme_setup() {
    register_nav_menus( array(
        'primary' => __( 'Primary Menu', 'my_custom_theme' ),
    ) );
}
add_action( 'after_setup_theme', 'my_custom_theme_setup' );
?>
Advanced Custom Functionality: Adding Shortcodes and AJAX
For more advanced functionality, consider adding shortcodes and integrating AJAX. Shortcodes allow users to easily insert dynamic content, while AJAX can enhance the user experience by updating parts of the website without refreshing the entire page.
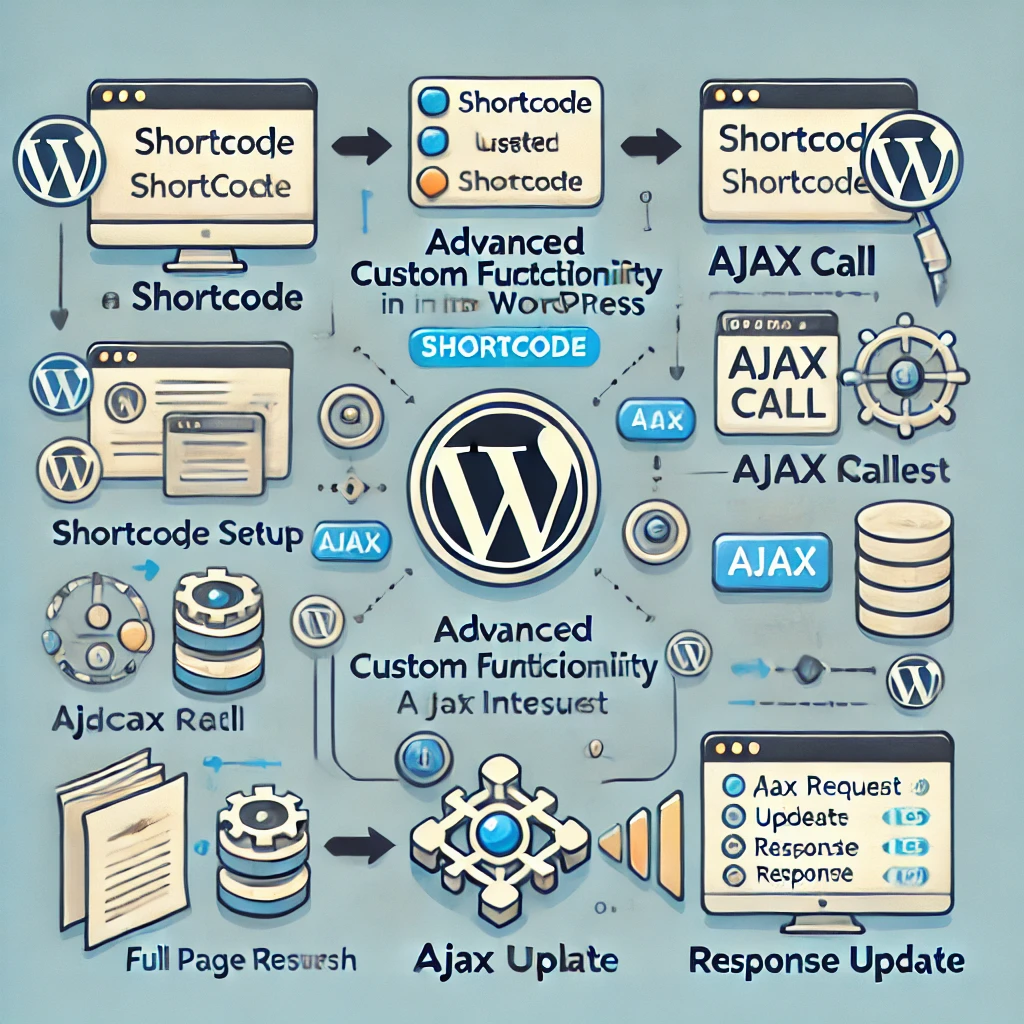
Example of adding a simple shortcode:
function my_custom_shortcode() {
    return '<p>This is a custom shortcode output!</p>';
}
add_shortcode( 'custom_shortcode', 'my_custom_shortcode' )
6. Using Template Tags and Hooks
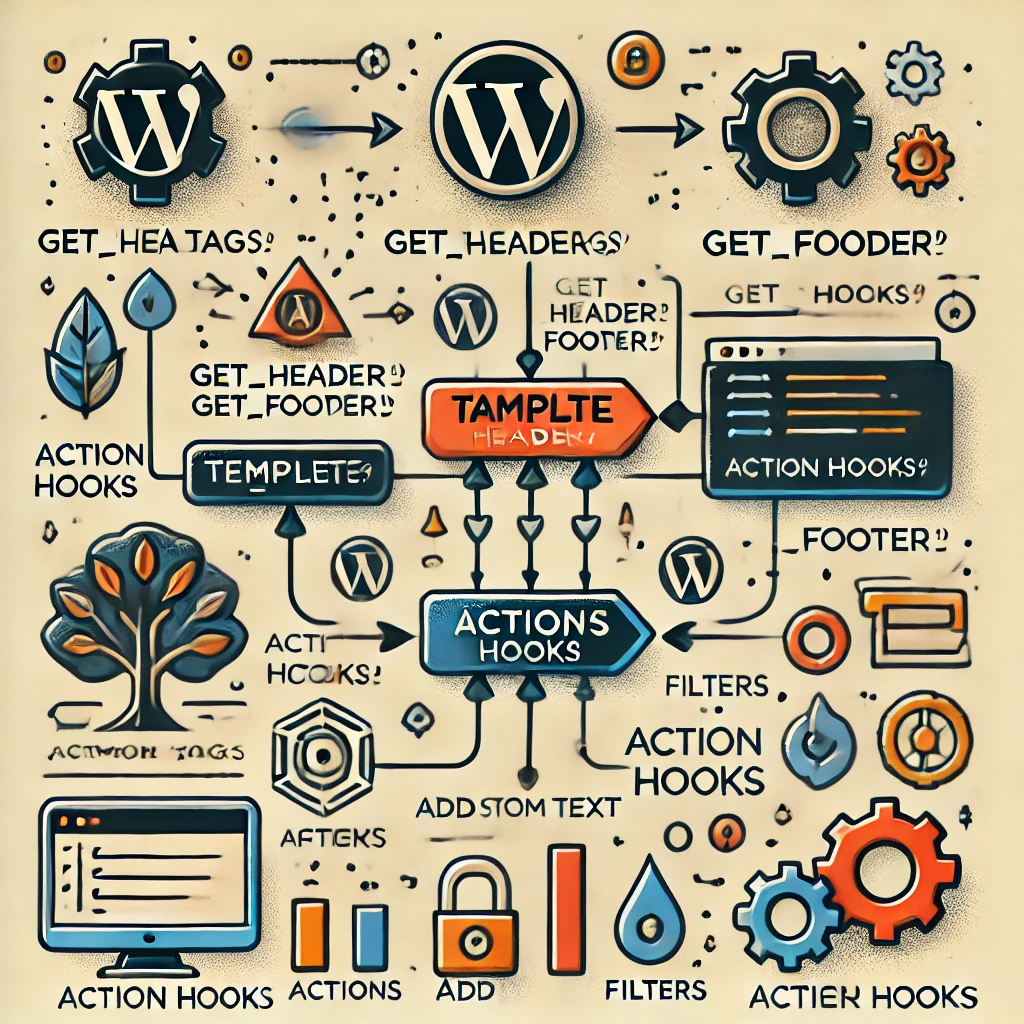
WordPress offers numerous template tags like get_header() and get_footer() to easily include reusable sections in your theme. Hooks—actions and filters—are the backbone of custom functionality in WordPress. Understanding and utilizing hooks can help you significantly extend your theme’s features.
Simplified Explanation of Hooks
Hooks are points in WordPress where you can insert your own code. For example, action hooks let you add functionality, while filter hooks let you modify data. Here’s a simple example of using a hook to add custom code to the footer:
function add_custom_footer_text() {
    echo '<p>Custom footer text added through a hook.</p>';
}
add_action( 'wp_footer', 'add_custom_footer_text' );
7. Theme Customizer for User Options
The WordPress Customizer allows users to modify their theme settings with a live preview. By leveraging the customize_register hook, you can add options to the Customizer, such as changing the site’s color scheme or uploading a logo. This feature gives users more flexibility and control over the appearance of their site.

Enhancing User Experience
To enhance the user experience, consider adding subtle animations and interactive elements. For instance, you could use CSS transitions for buttons or JavaScript to add dynamic features like an image slider. These enhancements can make your theme more engaging and visually appealing.
Modern UX Practices
Consider incorporating modern UX design practices, such as clear navigation, visually distinct calls to action (CTAs), and appropriate use of color and typography. Micro-interactions, like hover effects and loading animations, can make a significant impact on user engagement.

8. Responsive Design and Optimization
With a wide range of devices in use today, building a responsive theme is crucial. Use CSS Flexbox or Grid, combined with media queries, to ensure that your theme adapts well to different screen sizes. Additionally, use tools like Lighthouse to analyze your theme’s performance, SEO, and accessibility, making sure your theme delivers a great user experience.

9. Debugging and Troubleshooting
Errors are inevitable during theme development. Here are some common issues and tips for troubleshooting:
- White Screen of Death: This usually indicates a PHP error. Check your
error_logor enableWP_DEBUGinwp-config.phpto get more information. - Broken Layouts: Inspect your HTML and CSS using browser developer tools to identify any issues with your layout.
- Missing Styles: Ensure that you enqueue styles correctly using
wp_enqueue_style(). Incorrect paths can lead to missing stylesheets.

Practical Debugging Scenario
For instance, if you encounter the White Screen of Death, you can enable debugging in wp-config.php by adding:
define( 'WP_DEBUG', true );
define( 'WP_DEBUG_LOG', true );
This will help you identify the specific error causing the issue. Always make sure to disable debugging on live sites.
10. Version Control with Git
Using a version control system like Git can greatly simplify theme development, especially when collaborating with others. You can track changes, revert to previous versions, and work on different features simultaneously without affecting the main codebase. Tools like GitHub or Bitbucket are widely used for managing and sharing WordPress projects.
Git Workflow for Theme Development
- Initialize Git Repository: Run
git initin your theme directory to start version control. - Create Branches: Use
git branch feature-branchto create new branches for different features. - Commit Changes: Regularly commit changes using
git commit -m "Commit message"to keep track of your progress. - Merge Branches: Once a feature is complete, use
git merge feature-branchto integrate it into the main branch.
11. SEO Optimization

SEO plays a crucial role in making your theme attractive to users. To optimize your WordPress theme for SEO:
- Use semantic HTML tags (e.g.,
<header>,<article>,<footer>). - Implement proper heading hierarchies (
<h1>,<h2>, etc.). - Ensure fast load times by optimizing images and minifying CSS/JavaScript.
- Make your theme mobile-friendly, as Google considers mobile usability a ranking factor.
- Structured Data: Implement structured data using Schema.org to help search engines understand your content better.
Consider adding support for popular SEO plugins like Yoast SEO to help users manage metadata and optimize content.
12. Publishing and Maintaining Your Theme
Once your theme is complete, you can package it into a ZIP file and upload it to your WordPress installation. Alternatively, you can publish it to the WordPress Theme Directory for others to use. Prior to release, rigorously test your theme for compatibility and ensure that it adheres to WordPress coding standards. Maintenance involves regularly updating your theme to fix bugs, improve performance, and keep up with WordPress updates.

Conclusion
WordPress theme development is a creative and rewarding process that allows you to create visually stunning and feature-rich websites. By understanding the basic structure, The Loop, custom functionality, and responsive design techniques, you’ll be well on your way to developing themes that stand out. Adding real-world examples, improving user experience, and including SEO and troubleshooting strategies will help make your themes even more powerful and appealing. Hopefully, this guide has provided a solid foundation to help you start your journey into WordPress theme development with confidence!




Responses