
How to Troubleshoot Plugin Conflicts Effectively
WordPress plugins are powerful tools that allow you to add all sorts of features and functionality to your website without coding from scratch. However, while plugins are great at extending your website’s capabilities, they can sometimes clash, causing your site to behave unexpectedly. These conflicts can lead to significant issues, such as traffic loss or even revenue. Understanding how to troubleshoot plugin conflicts effectively can save you time and stress. This article will guide you through a step-by-step process to help identify and resolve plugin conflicts in WordPress.
1. Recognizing the Symptoms of a Plugin Conflict
The first step in troubleshooting plugin conflicts is to recognize when one might be occurring. Symptoms of plugin conflicts can vary but often include:
- Website not loading properly: Pages may not display as expected, or you might encounter the “White Screen of Death” (WSOD). For example, your homepage might fail to load, or you could see a blank page instead of your content.
- Backend issues: Your WordPress dashboard may become unresponsive, and certain options might fail to load. For instance, you might be unable to access the plugin settings or update pages.
- Error messages: You may receive PHP error messages or warning notices about undefined functions or variables. These messages can often indicate the specific file or plugin causing the issue.
- Functionality issues: Specific features or widgets may stop working or act unpredictably, such as contact forms not submitting or sliders failing to display correctly.
Recognizing these symptoms is key to diagnosing plugin conflicts effectively
2. Switch to Debug Mode
WordPress has a built-in debug mode that helps you identify underlying issues. Debug mode allows you to see detailed error messages that can guide you in pinpointing the source of the conflict. Here’s how to enable and use debug mode effectively:
Access the wp-config.php File:
- The
wp-config.phpfile is located in the root directory of your WordPress installation. You can access it using an FTP client (such as FileZilla) or through your hosting provider’s file manager. - It’s important to proceed carefully when editing this file, as incorrect changes can break your website. Always create a backup of
wp-config.phpbefore making any modifications.
Enable Debug Mode:
- Add the following line to your
wp-config.phpfile to turn on debug mode:
define('WP_DEBUG', true);- This setting will display errors directly on your website, making it easier to identify where the problem lies. However, displaying errors on a live site is not recommended as it may expose sensitive information to your visitors.
Log Errors for Analysis:
- Instead of displaying errors on your website, you can log them to a file by adding the following line:
define('WP_DEBUG_LOG', true);- This will create a
debug.logfile inside thewp-contentdirectory, where all error messages will be recorded. You can then review this log to understand what is causing the issue without exposing error details to your site visitors.
Hide Errors from Front-End Users:
- To ensure that errors are not visible to your visitors while still logging them, you can also add:
define('WP_DEBUG_DISPLAY', false);- This will prevent errors from being displayed on the front end of your site, maintaining a professional appearance while still collecting the information you need in the debug log.
Review the Debug Log:
- After enabling WP_DEBUG_LOG, navigate to the wp-content directory and open the debug.log file. This file will contain detailed error messages to help you identify the specific plugin or file causing the problem.
- Look for repeated errors or errors that reference specific plugins or theme files. This can give you clues about which plugin is causing the conflict.
Use Debugging Plugins:
- Several debugging plugins can simplify the process. Query Monitor is a popular plugin that provides detailed information about database queries, PHP errors, and hooks, making identifying issues related to plugin conflicts easier.
- Health Check & Troubleshooting is another useful plugin that allows you to troubleshoot your site in a safe mode where all plugins are disabled for your user session. In contrast, the rest of the site remains unaffected for other visitors.
Using debug mode and these tools allows you to gather detailed information that can significantly speed up the process of identifying and fixing plugin conflicts.
3. Deactivate All Plugins
If you suspect a plugin conflict, deactivate all plugins at once to see if the issue is resolved. Here’s how:
- Go to Plugins > Installed Plugins in your WordPress dashboard.
- Select all plugins and choose Deactivate from the bulk actions dropdown menu.
If deactivating all plugins resolves the issue, you’ve confirmed that one (or more) of the plugins is the culprit. If the issue persists, it may be related to your theme or WordPress core.
4.Reactivate Plugins One by One
Once you’ve deactivated all plugins, the next step is to reactivate them one at a time. This will help you identify which specific plugin is causing the issue.
- After each activation, start reactivating plugins individually while checking your website’s front-end and back-end.
- When the issue reappears, you’ll have found the conflicting plugin.
- To make the process more efficient, consider reactivating the most recently installed or updated plugins first, as they are more likely to be the source of the conflict.
5. Check for Updates and Compatibility
Once you’ve identified the problematic plugin, check if it’s current. Developers often release updates to fix compatibility issues, so ensure all your plugins use the latest version. Additionally, check compatibility with your current WordPress version. Sometimes, plugins are incompatible with recent WordPress updates, leading to conflicts.
- If a plugin hasn’t been updated in a long time or is incompatible with your WordPress version, consider looking for an alternative plugin that offers similar functionality.
6. Consult the Plugin Documentation and Support Forums
Most popular plugins have extensive documentation or dedicated support forums. After identifying the plugin causing the issue, head over to the plugin’s page on the WordPress Plugin Directory and look for support topics related to similar issues. This can provide valuable information or workarounds.
You can also contact the plugin developers directly. Often, providing them with detailed information—such as the error messages from your debug log—can help them offer specific solutions or point you in the right direction.
Consider visiting well-known WordPress forums such as WordPress.org Support, Stack Exchange, or Reddit’s WordPress community for additional support.
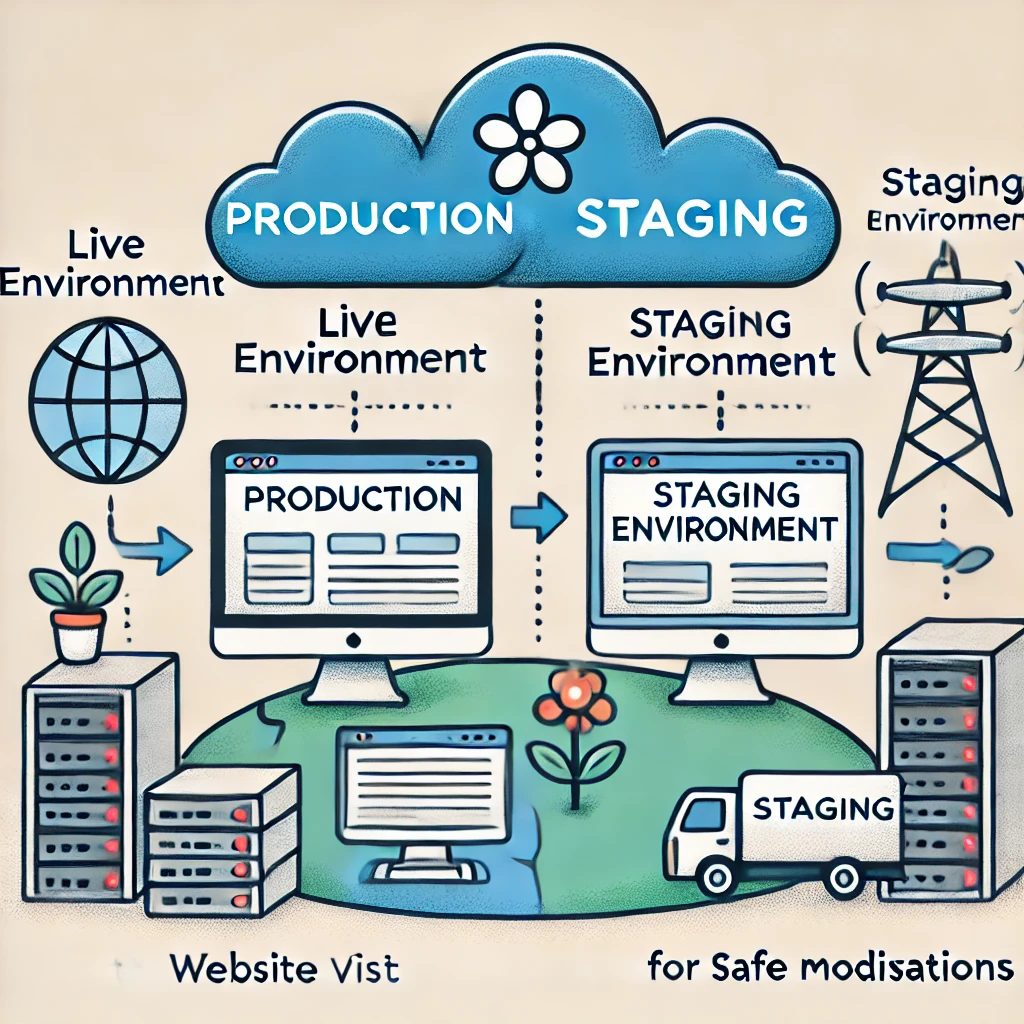
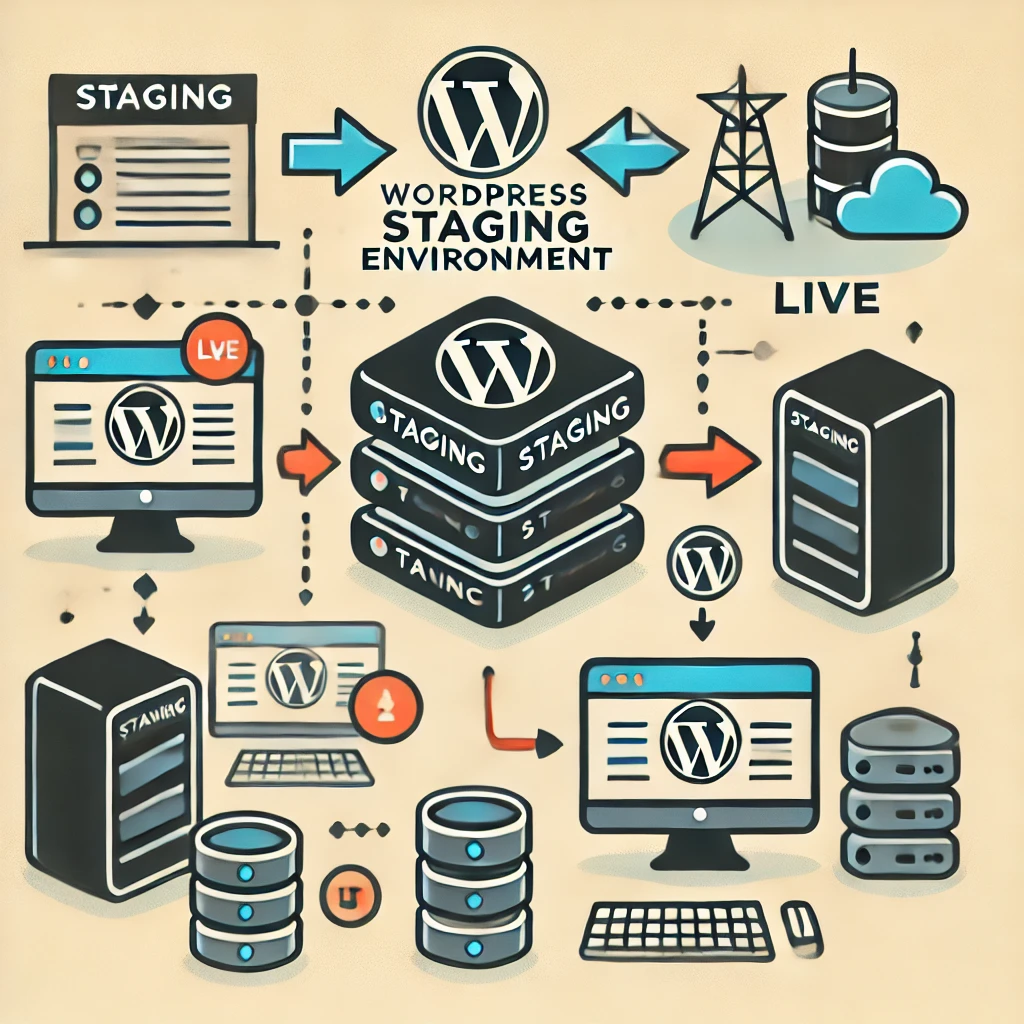
7.Use a Staging Environment
It’s essential to troubleshoot conflicts in a safe environment to avoid breaking your live site. A staging environment is a duplicate version of your website where you can test changes without affecting your live audience.
A staging environment allows you to freely make changes, test plugins, and troubleshoot issues without the risk of causing downtime or affecting your visitors. Many hosting providers offer staging environments, or you can use plugins like WP Staging to create a test version of your site.
Always back up your live site before making significant changes, even when using a staging environment. This ensures you have a restore point in case anything goes wrong.
8.Consider Plugin Alternatives or Custom Solutions
If you cannot resolve the conflict between two plugins, it might be time to find an alternative. Search for a replacement plugin that offers similar features without compatibility issues. When selecting an alternative, consider factors such as developer reputation, user reviews, and the frequency of updates.
Alternatively, if you have the resources, you can consider hiring a developer to create a custom solution tailored to your needs.
Conclusion
Troubleshooting plugin conflicts in WordPress can feel daunting, but you can effectively pinpoint and resolve issues with a systematic approach. Start by recognizing the symptoms, use WordPress’s debug mode, deactivate and reactivate plugins, and always test in a safe environment. Always back up your site before making changes to ensure you can recover if something goes wrong. If all else fails, don’t hesitate to consult support forums or seek professional help.


Responses