
Enhance WooCommerce Product Pages with Custom Tabs in Elementor Pro: A Step-by-Step Guide

Introduction
Adding custom tabs to WooCommerce product pages can enhance the customer experience by neatly organizing product information and allowing users to quickly access the details they need. Elementor Pro provides a versatile platform to add and fully customize these tabs so you can present product information, customer reviews, and FAQs in a visually appealing and intuitive way. This guide will walk you through each step, from setup to styling, and provide additional tips for mobile optimization and advanced tab management.
Step-by-Step Guide to Adding Custom Tabs
Step 1: Install and Activate Required Plugins
To get started, you’ll need to have the following plugins installed on your WordPress site:
- WooCommerce: This is the essential plugin for any e-commerce store on WordPress.
- Elementor Pro: While the accessible version of Elementor provides basic functionality, Elementor Pro offers advanced tools like WooCommerce widgets, which are crucial for this tutorial.
- Product Tabs Manager for WooCommerce (Optional): This plugin can be handy for creating uniform custom tabs across all products or adding advanced tab management features.
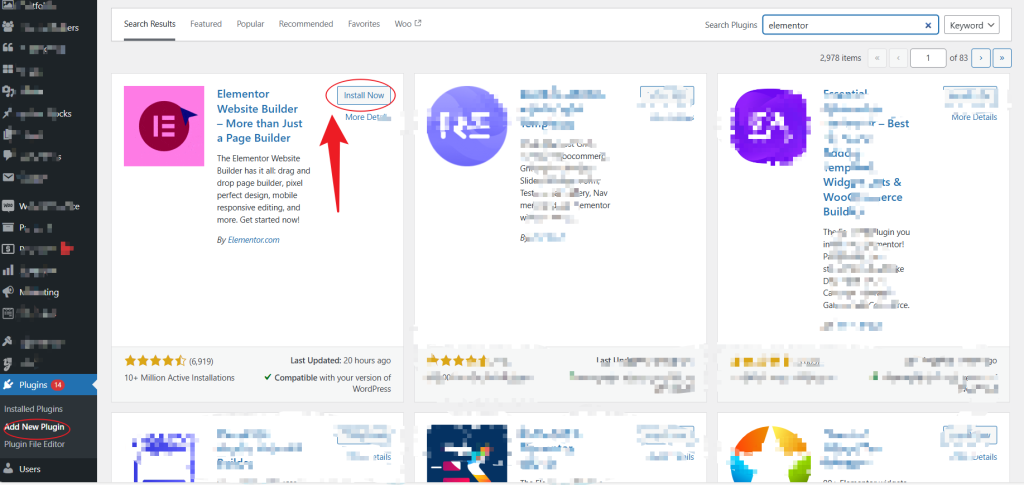
How to Install and Activate Plugins:
- From your WordPress dashboard, navigate to Plugins > Add New Plugin.
- Install and activate each plugin as directed.
Step 2: Open the Product Page with Elementor
To begin customizing your product page, follow these steps:
- Go to Products > All Products in the WordPress dashboard.
- Select the product you wish to edit and click Edit with Elementor. This will open the product page in the Elementor editor, where you can visually modify the layout.

Step 3: Add Tabs to Your Product Page Using Elementor
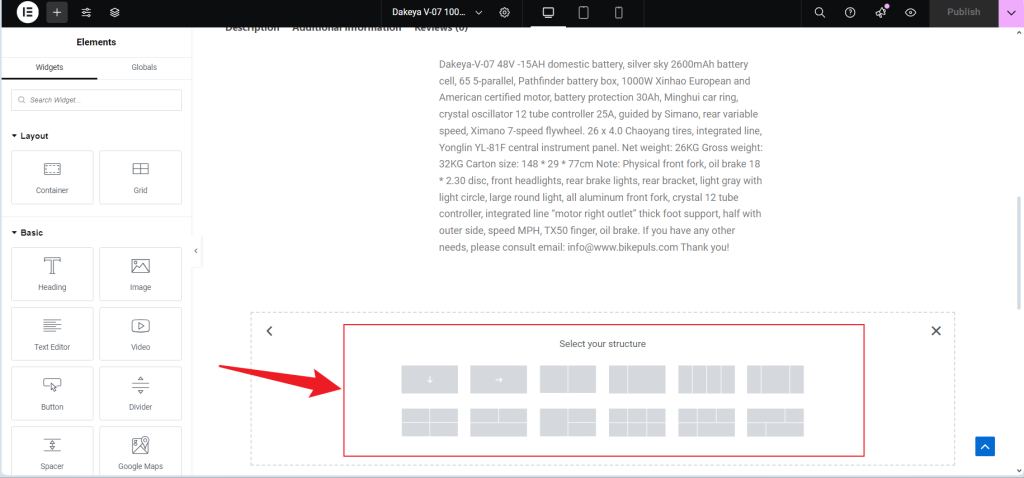
Adding a tabs widget allows you to structure product information into separate sections:
- In the Elementor editor, click on Add New Section. Choose the structure you want; for example, a single-column layout might work well for tabs.
- From the left panel, drag the Tabs widget into the newly created section.
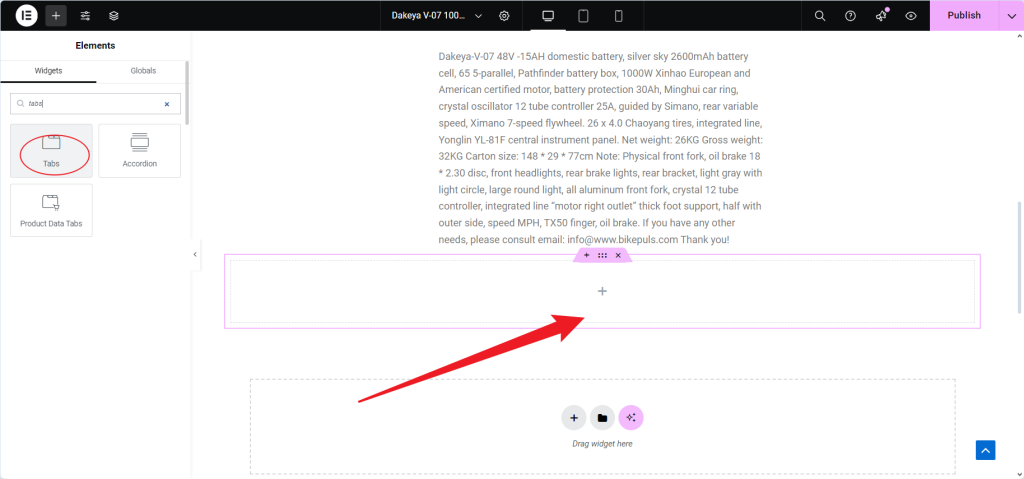
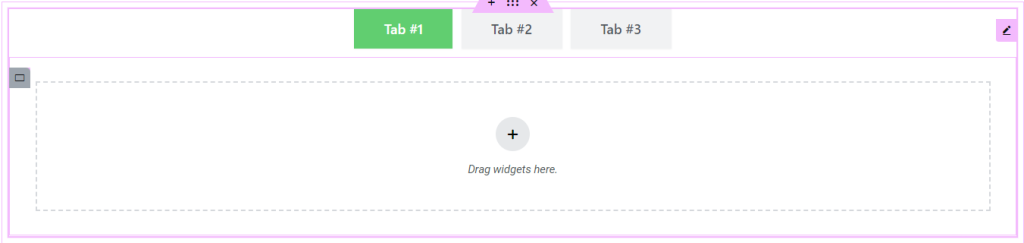
- By default, Elementor provides a few sample tabs labeled “Tab 1,” “Tab 2,” etc. You can modify these to suit your content.
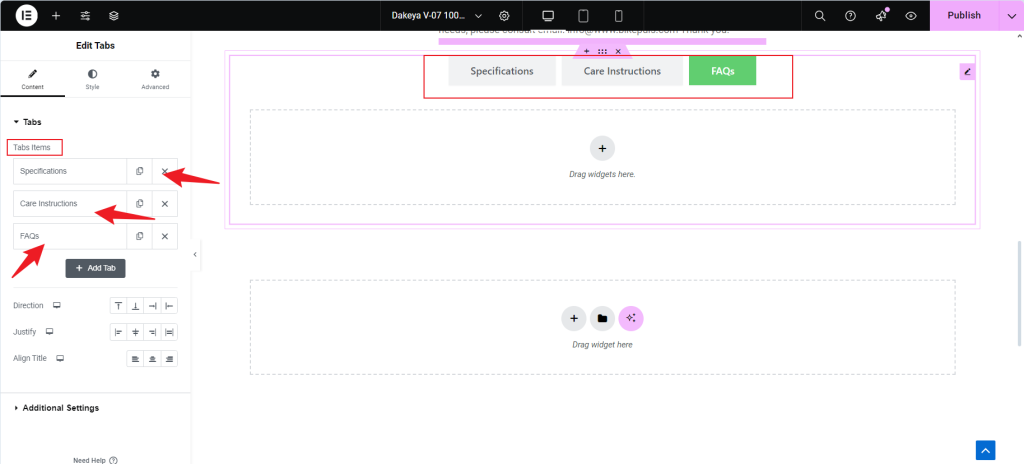
Step 4: Customize Each Tab with Product Information
You can tailor each tab to showcase specific product details:
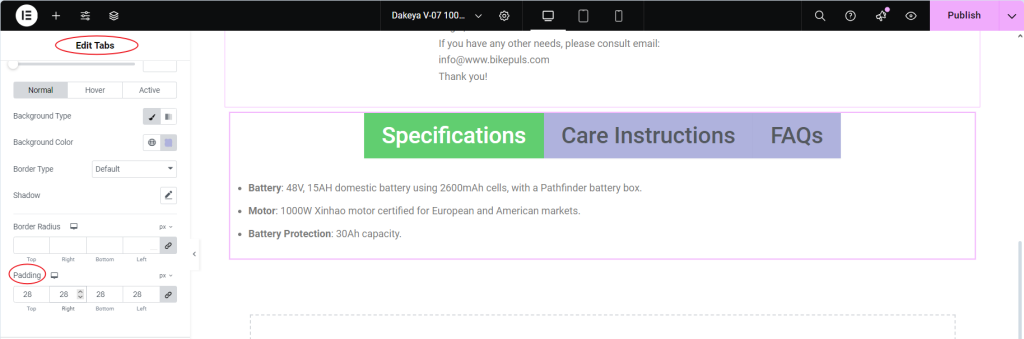
- Click on a tab’s title to rename it. For example, you might rename tabs as “Specifications”, “Care Instructions” or “FAQs.”
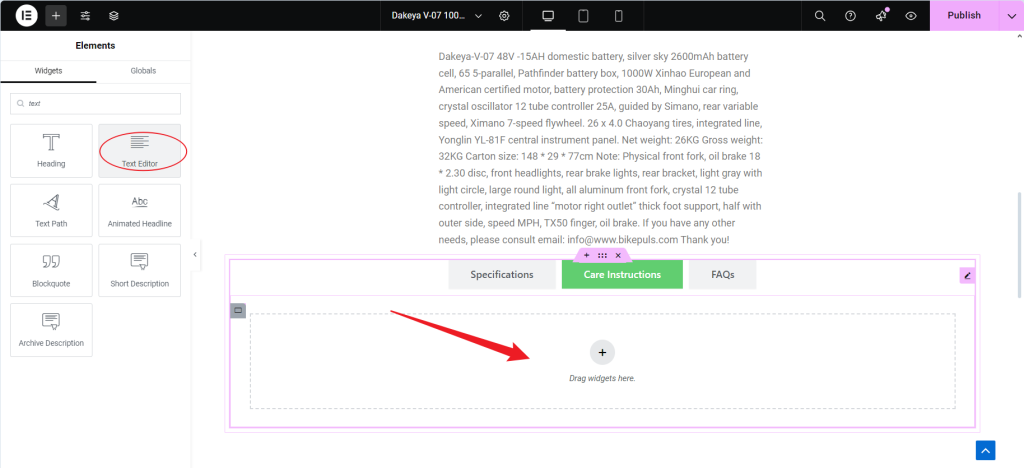
- In the content area, use widgets like Text Editor, Image, List, or Accordion to add rich content.
- Specifications: Add a list or text widget to detail technical specifications. For example, list details like battery capacity, dimensions, and weight if you’re selling electronics.
- Care Instructions: Use a text widget to include instructions on how to care for the product. This could cover washing and drying methods if it’s a clothing item.
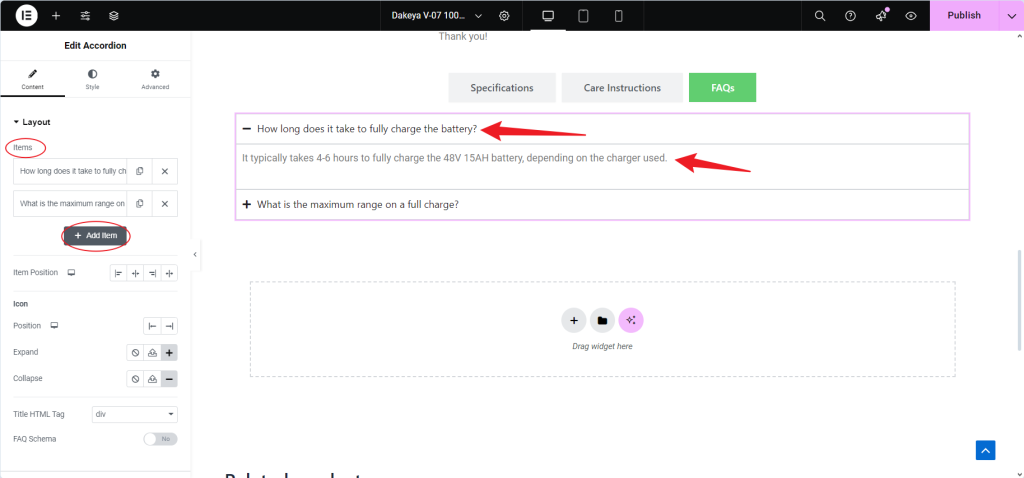
- FAQs: Add an Accordion widget to organize common questions and answers, such as “What is the warranty period?” or “How long does shipping take?”
Examples of FAQs:
Step 5: Add Dynamic WooCommerce Content to Tabs(Optional)
To make your tabs more interactive, you can integrate WooCommerce data dynamically. Here’s how:
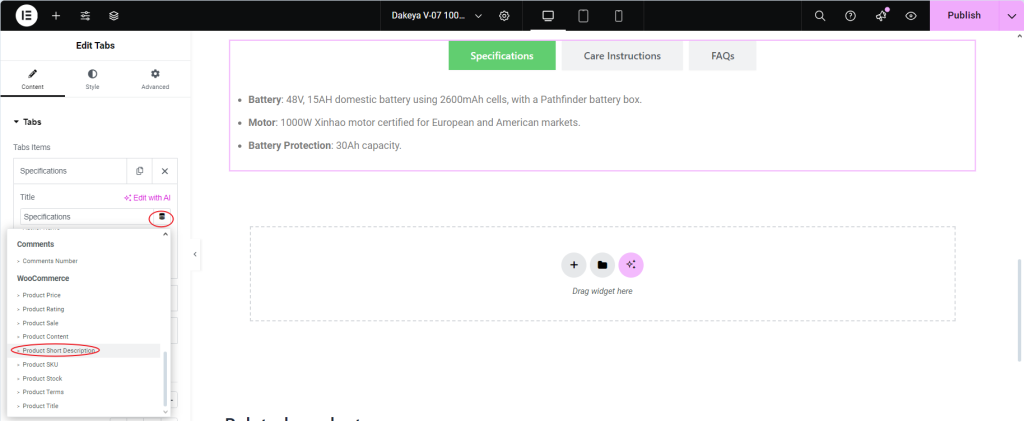
- In the tab content area, click the Dynamic Tags icon (which looks like a stack of small boxes), e.g., Specifications.
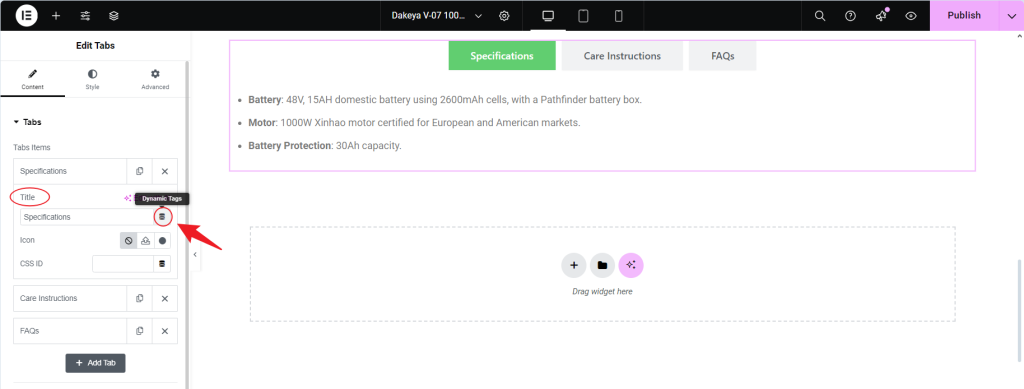
- Select the WooCommerce content you want, such as Product Description, Product Price, or Product Rating.
- Example: In the “Specifications” tab, select Product Short Description as the dynamic tag. This will ensure that any updates to the short description in WooCommerce are reflected automatically in the “Specifications” tab.
Step 6: Style and Customize Your Tabs
Elementor provides extensive styling options, allowing you to tailor your tabs to align with your brand:
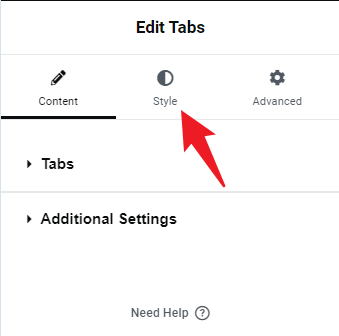
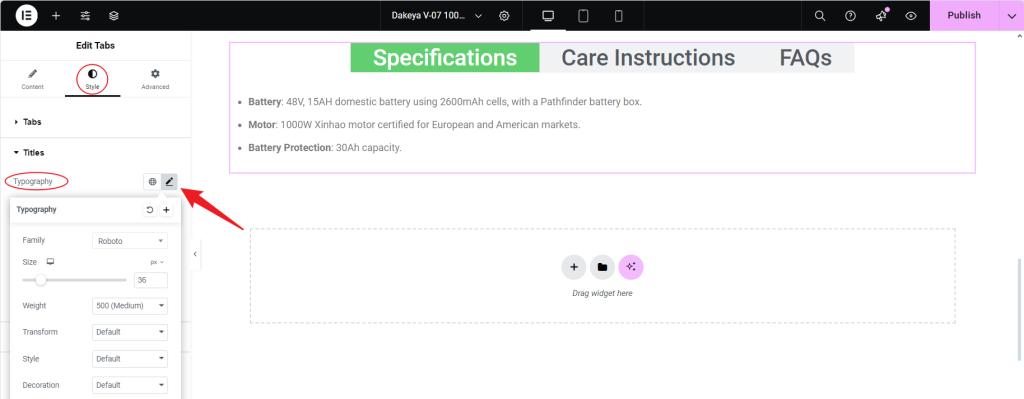
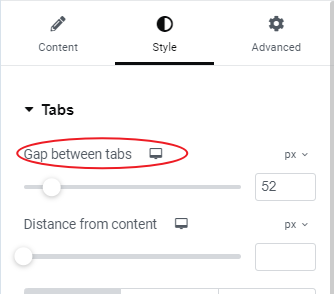
In the Elementor panel, go to the Style tab and adjust typography, colors, and spacing:
- Typography: Set font styles, sizes, and colors that align with your branding. For example, use bold, large fonts for tab titles to draw attention.
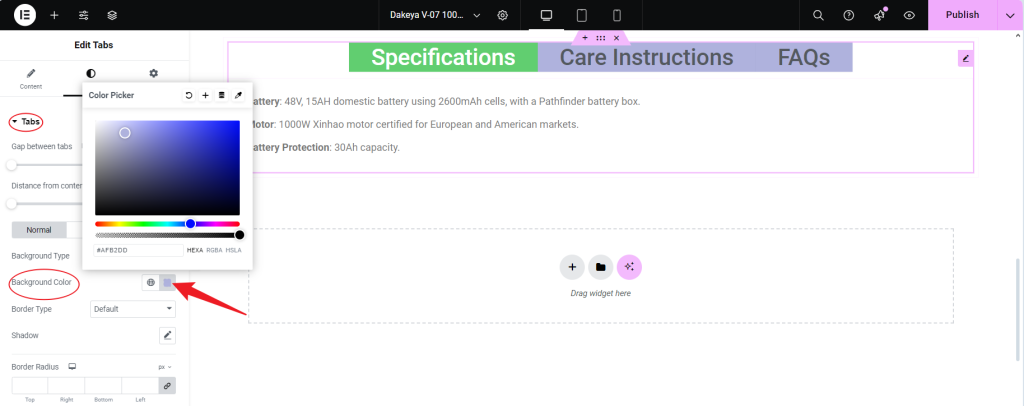
- Colors: Customize tab backgrounds, text, and active tab colors to ensure a cohesive look. For instance, you can use your brand colors for the active tab background.
- Spacing: Add padding and margin adjustments for comfortable spacing, avoiding overcrowded content.
Step 7: Optimize Tabs for Mobile Devices
Elementor makes it easy to preview and adjust your layout for different devices:
- Switch to Responsive Mode in the Elementor editor and select Mobile.
- Adjust the tab layout, text size, and spacing for mobile optimization.
- Example: You may stack tabs vertically on mobile devices for easier access, especially on smaller screens where horizontal layouts can be complex to navigate.
Optional: Using Product Tabs Manager for WooCommerce for Advanced Features
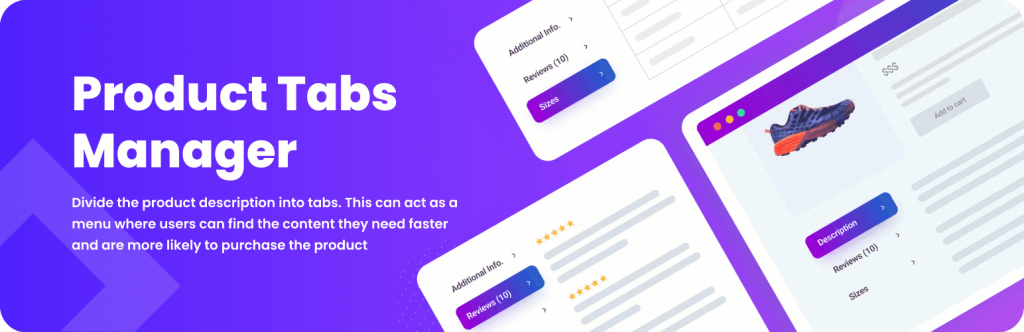
The Product Tabs Manager for WooCommerce plugin provides extra functionality for managing tabs across multiple products:
- Global Tabs: These are ideal for information that applies to all products, such as “Shipping Details” or “Warranty.”
- Drag-and-Drop Tab Ordering: Organize tabs by priority, placing the most critical content first.
- Product-Specific Tabs: Customize tabs for individual products to highlight unique features, such as specific usage instructions for one product but not another.
Conclusion
In conclusion, adding custom tabs to WooCommerce product pages using Elementor Pro offers a powerful way to enhance the user experience and make product information easily accessible. You can improve customer engagement and streamline navigation by organizing details like specifications, care instructions, and FAQs into visually appealing tabs. With Elementor’s flexible styling options and mobile optimization features, you can ensure that your tabs are attractive and functional across all devices. For advanced tab management, consider using the Product Tabs Manager plugin to create global, product-specific, and prioritized tabs, tailoring your product pages to meet your customers’ needs.
FAQs

Q: Can I use this method with the accessible version of Elementor?
A: Elementor Pro is required to access WooCommerce-specific widgets and dynamic content features. However, you can create simple static tabs with the free version.
Q: Are the custom tabs mobile-friendly?
A: Yes, Elementor’s Responsive Mode lets you preview and customize the mobile tabs, ensuring they look great on any device.
Q: Is it possible to add global tabs to all product pages?
A: Yes, the WooCommerce Tab Manager plugin allows you to create global tabs that appear across all product pages, saving time on repetitive customization.


Responses