Ultimate WordPress Firewall Setup Guide: Protect Your Site Like a Pro
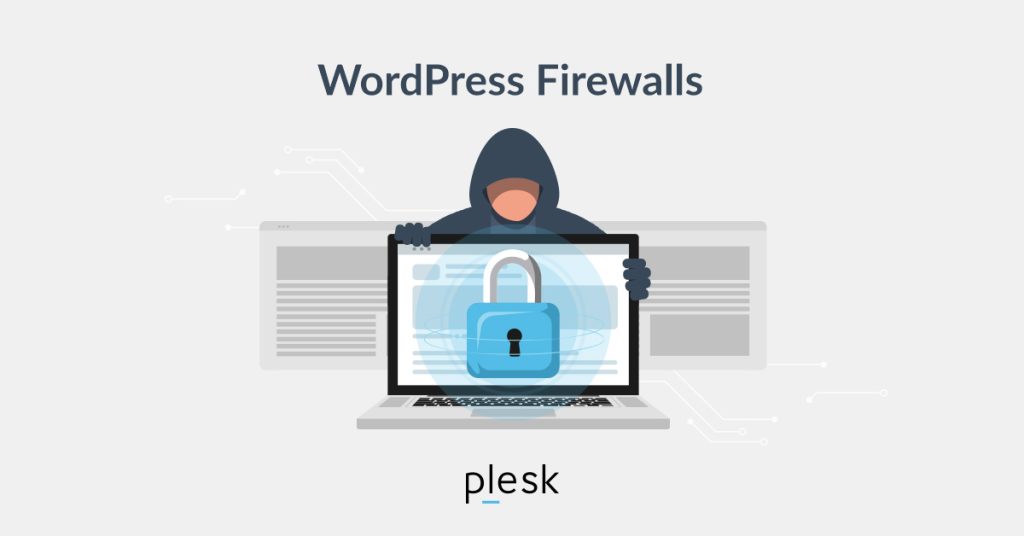
A firewall is crucial to any website security plan, especially for WordPress websites that attackers often target. This guide will help you understand why firewalls are essential, what could happen if you don’t have one, and the different methods you can use to set up a firewall to protect your site. We will explore plugins, server-level settings, and control panel configurations with practical examples and clear instructions for beginners.

1. What is a Firewall?
A firewall is a security system that acts as a gatekeeper for your website, monitoring and controlling incoming and outgoing traffic. For a WordPress website, the firewall is like a security guard standing at the door, deciding who gets in and who doesn’t. It keeps hackers out and ensures that your website’s data remains secure.
Firewalls can be implemented in various ways, such as through hardware, software, or a cloud-based service. They prevent attacks like SQL injections (where hackers try to manipulate your database), cross-site scripting (XSS, where attackers inject malicious code), and brute force attacks (repeated attempts to guess your password).

2. Why is a Firewall Important?
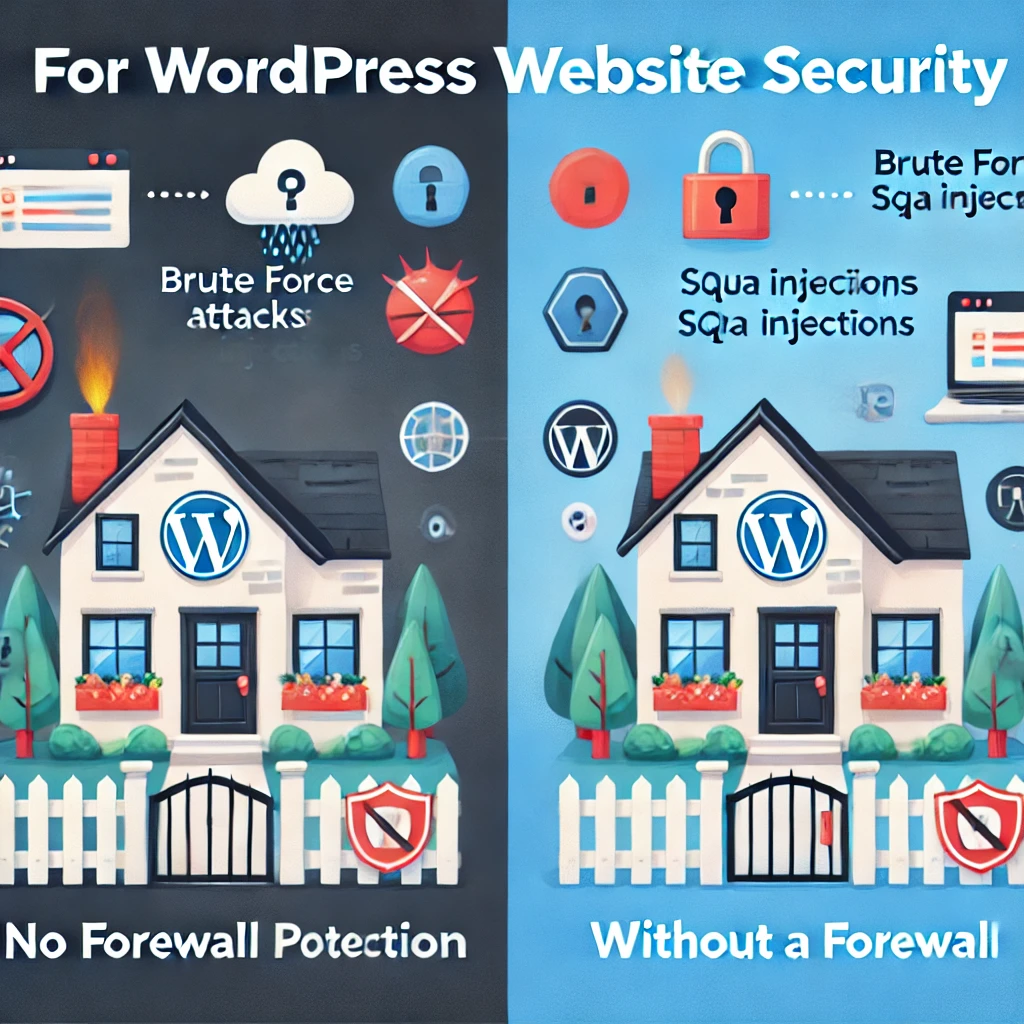
Imagine your website as a house. Without a door lock, anyone could walk in. A firewall is a lock that ensures only legitimate visitors can enter. Here are some reasons why a firewall is vital for your WordPress site:
- Brute Force Attacks: Attackers may try to guess your login credentials repeatedly. Without a firewall, there’s nothing to stop them from trying again and again, which is like someone repeatedly trying to break into your house.
- SQL Injections and XSS Attacks: Hackers could exploit vulnerabilities to inject malicious scripts or execute unauthorized commands. It’s like leaving your house keys under the mat without a firewall.
- Data Breaches: Sensitive data, such as customer information and site credentials, can be exposed if malicious traffic isn’t filtered. This could lead to losing your users’ trust, much like a burglar stealing from your home would make you feel unsafe.
By setting up a firewall, you add a crucial layer of security to protect your site from these threats, ensuring smooth operation and safeguarding your and your users’ data.
3. How to Set Up a WordPress Firewall
There are several ways to set up a firewall for your WordPress site. You can use plugins, configure server-level firewalls, or your hosting control panel, like cPanel. Let’s dive into each method with some practical examples.
3.1 Setting Up a Firewall Using a Plugin
For most WordPress beginners, a plugin is the easiest way to set up a firewall. Plugins don’t require much technical knowledge and can be set up directly from your WordPress dashboard. Here are some popular plugins and how to set them up:
3.1.1 Wordfence Security
1.Install the Plugin:
- Go to your WordPress dashboard, navigate to Plugins → Add New, and search for Wordfence Security.
- Click Install and then Activate.
2.Configure the Firewall:
- Go to the Wordfence menu in your dashboard and select Firewall.
- Click on Optimize the Firewall to ensure it runs with maximum protection.
- Example: Wordfence can block a bot that tries to log in using different username-password combinations.
3.Benefits:
- Wordfence provides real-time monitoring, IP blocking, and protection against various types of attacks.
- Example: If a user from a suspicious country tries to log in, Wordfence will block them automatically.
3.1.2 Sucuri Security
- Install the Plugin:
- Go to your WordPress dashboard, navigate to Plugins → Add New, and search for Sucuri Security.
- Click Install and then Activate.
- Configure WAF:
- Sucuri provides a cloud-based Web Application Firewall (WAF). Sign up on Sucuri’s website and add your site to their dashboard.
- Update your DNS settings to point to Sucuri, allowing all traffic to pass through their WAF. This is like setting up a security checkpoint that everyone must pass through before reaching your website.
- Benefits:
- Offers protection against SQL injections, XSS attacks, and provides DDoS mitigation.
- Example: If someone tries to overwhelm your website with requests (DDoS), Sucuri can filter that traffic before it even reaches your server.

3.1.3 All In One WP Security & Firewall
- Install the Plugin:
- Go to your WordPress dashboard, navigate to Plugins → Add New, and search for All In One WP Security & Firewall.
- Click Install and then Activate.
- Basic Configuration:
- After activation, go to the WP Security menu.
- Use the Firewall tab to enable basic firewall settings. You can also allow Login Lockdown to limit login attempts.
- Example: This plugin offers a grading system, allowing you to see how secure your site is and improve upon it.
- Benefits:
- It has a user-friendly interface that is suitable for beginners who want a simple firewall solution.
- Example: The plugin allows you to block IP addresses attempting repeated failed logins.

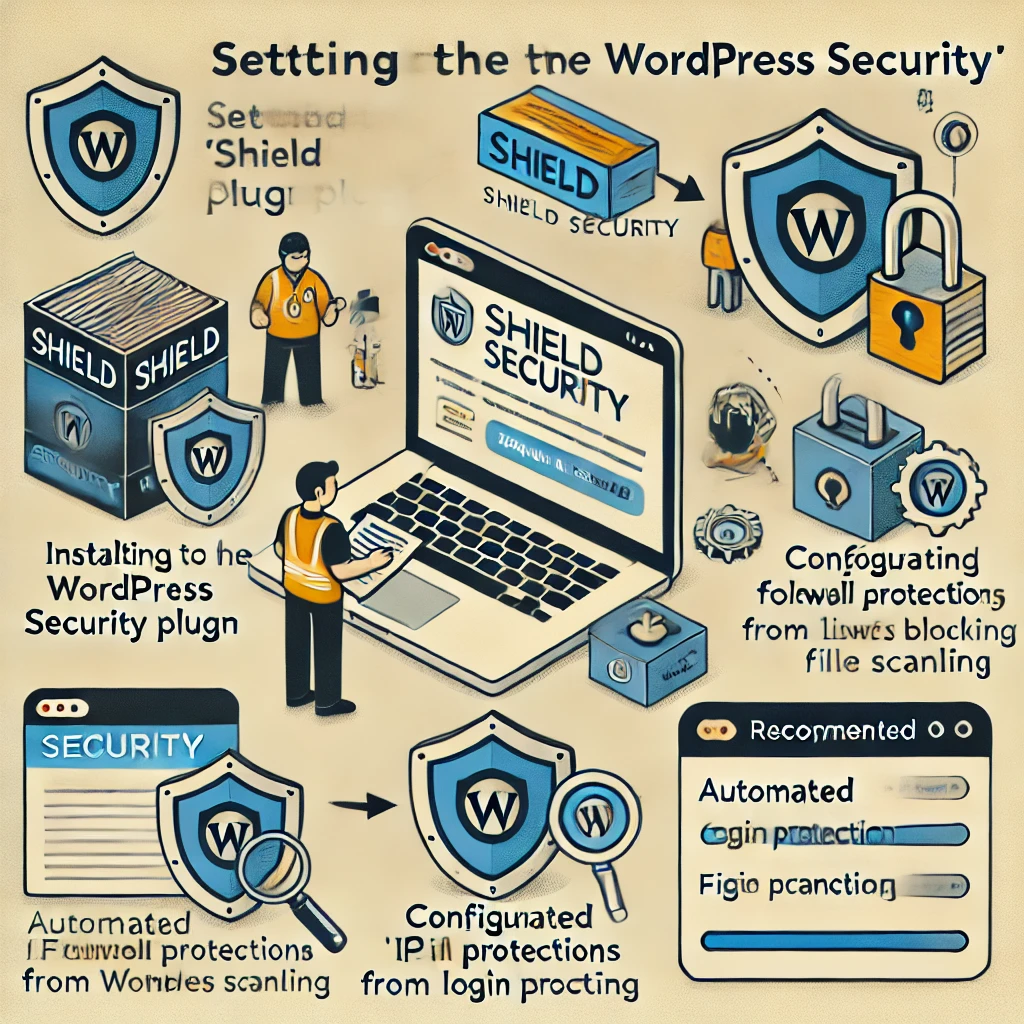
3.1.4 Shield Security
- Install the Plugin:
- Go to your WordPress dashboard, navigate to Plugins → Add New, and search for Shield Security.
- Click Install and then Activate.
- Configure the Firewall:
- Go to the Shield menu and select Firewall.
- Enable the recommended firewall settings for essential protection and adjust them for your site.
- Example: Shield Security has an automatic block feature for specific countries, allowing you to prevent access from locations with suspicious activity.
- Benefits:
- Provides automated IP blocking, file scanning, and login protection.
- Example: If there is a sudden surge in login attempts from the same IP, Shield Security will automatically block that IP address.
3.2 Setting Up a Firewall at the Server Level
If you have control over your server, you can set up a firewall at the server level to protect all websites hosted on that server. This requires some technical skills but offers robust protection.
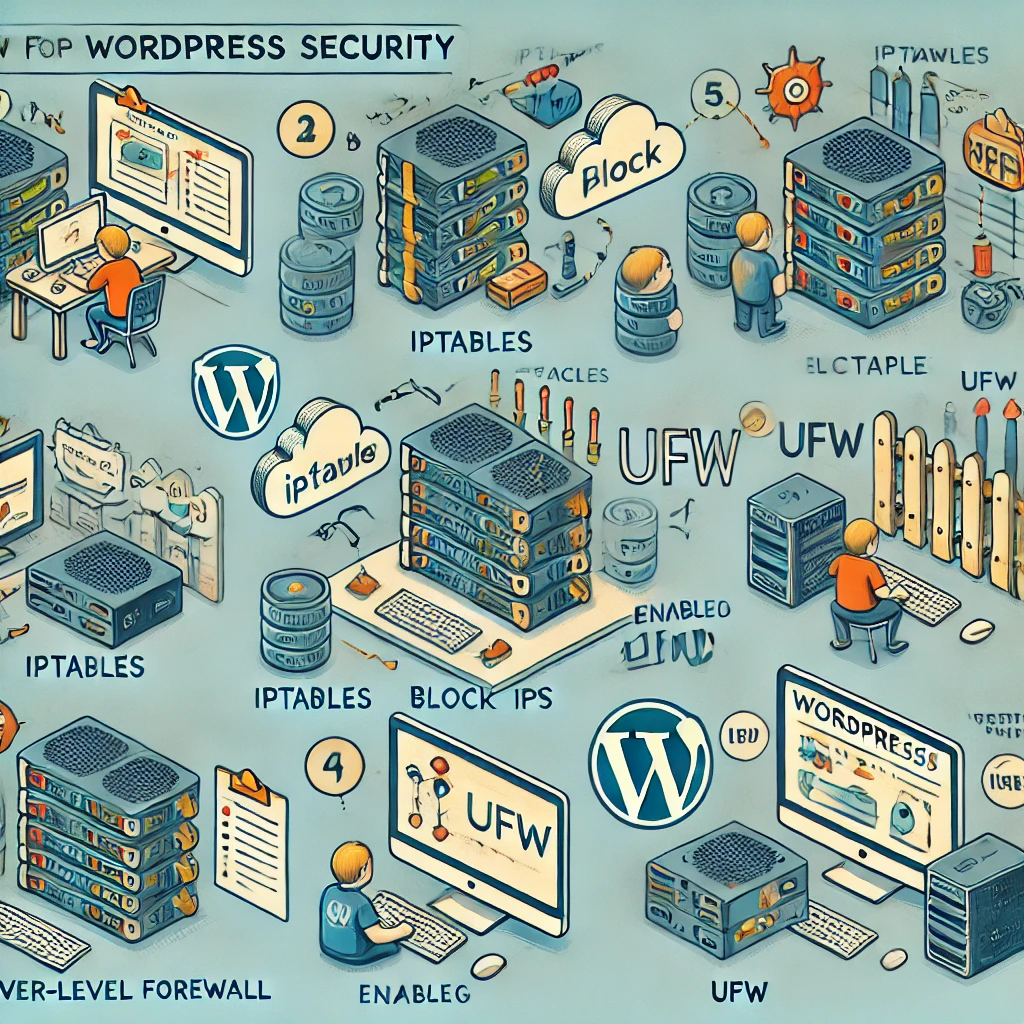
3.2.1 Using IPTables (Linux Servers)
- Access the Server via SSH:
- Use SSH to log in to your server. You can use a terminal or an SSH client like PuTTY.
- Set Up Firewall Rules:
- Use commands like
iptablesto set rules for incoming and outgoing traffic. - Example: To block an IP address:
- Use commands like
sudo iptables -A INPUT -s 192.168.1.100 -j DROPThis command will drop all traffic from IP 192.168.1.100, just like not allowing an unwanted visitor into your home.

3.Benefits:
Provides granular control over what traffic is allowed or denied, ensuring server-level protection.
3.2.2 Using UFW (Ubuntu Firewall)
- Enable UFW:
- Run the command:
sudo ufw enable.
- Run the command:
- Add Rules:
- Allow only essential ports (e.g., HTTP, HTTPS):
sudo ufw allow 80/tcp
sudo ufw allow 443/tcp
This is like only allowing specific guests who are on your approved list.
3.Benefits:
- Simple to use and effective for managing access to your server.
- Example: UFW can block all incoming traffic except for essential services, providing a robust line of defense.
3.3 Setting Up a Firewall via cPanel
If your hosting provider uses cPanel, you can also set up firewall protection through the control panel. This method is excellent for beginners because it doesn’t require advanced technical skills.
3.3.1 Using ModSecurity
1.Enable ModSecurity:
- Log in to cPanel, go to the Security section, and click ModSecurity.
- Please enable it for all domains or select specific domains.
- Example: Enabling ModSecurity is like having a doorman that checks everyone who tries to enter based on predefined rules.
2.Benefits:
- ModSecurity is an open-source WAF that provides real-time monitoring and filtering of malicious HTTP requests.
- Example: ModSecurity can help filter out SQL injection attempts and block suspicious behavior before it affects your site.
3.3.2 Using IP Blocker
Block Suspicious IPs:
- Go to Security in cPanel and select IP Blocker.
- Enter the IP address you want to block and click Add.
- Example: If you notice suspicious activity from a specific IP, you can block it to prevent further attempts.
Benefits:
- It helps prevent malicious traffic from known IP addresses.
- Example: If a particular IP address makes too many requests, blocking it using the IP Blocker can alleviate server load.
4. Control Panel-Based Firewall Setup for Popular Hosts
4.1 Hostinger
- Navigate to MySQL Databases:
- Log in to your Hostinger account, go to Hosting → Manage.
- Scroll to the Advanced section and click MySQL Databases to ensure secure access to your database.
- Firewall Settings:
- Use IP Manager to allow or block specific IP addresses.
- Example: If you see unusual activity from a particular country, you can block it through the IP Manager.
- Additional Steps:
- SSH Access: Enable SSH and use commands like iptables to configure custom rules for advanced security.

4.2 SiteGround
- Site Tools Access:
- Log in to SiteGround, go to Websites → Site Tools.
- Navigate to Dev Tools → MySQL Manager for secure database management.
- Firewall Control:
- SiteGround provides automatic firewall updates and management. Contact their support for additional control if needed.
- Additional Security Tools:
- Anti-bot AI: SiteGround has an AI-based system that automatically blocks millions of brute-force attempts.

5. Summary and Best Practices
Firewalls are a critical component of WordPress security. Without a firewall, your site is vulnerable to attacks that can lead to data loss, downtime, and damage to your reputation. Setting up a firewall—whether through a plugin, server configuration, or control panel—adds a necessary layer of protection.
Key Takeaways:
- Use Plugins like Wordfence, Sucuri, Shield Security, or All In One WP Security & Firewall for a quick and easy setup.
- Server-level firewalls provide robust protection if you manage your server.
- Control Panel Options like cPanel offer easy methods to configure ModSecurity or block IP addresses.
By implementing these firewall solutions, you can significantly improve your WordPress website’s security, ensuring a safe experience for both you and your users.
Next Steps: Choose the firewall setup method that best suits your needs and follow the detailed instructions to protect your WordPress site today. If you’re unsure, start with a plugin for easy configuration and move towards server-level or control panel-based solutions as your familiarity grows.




Responses